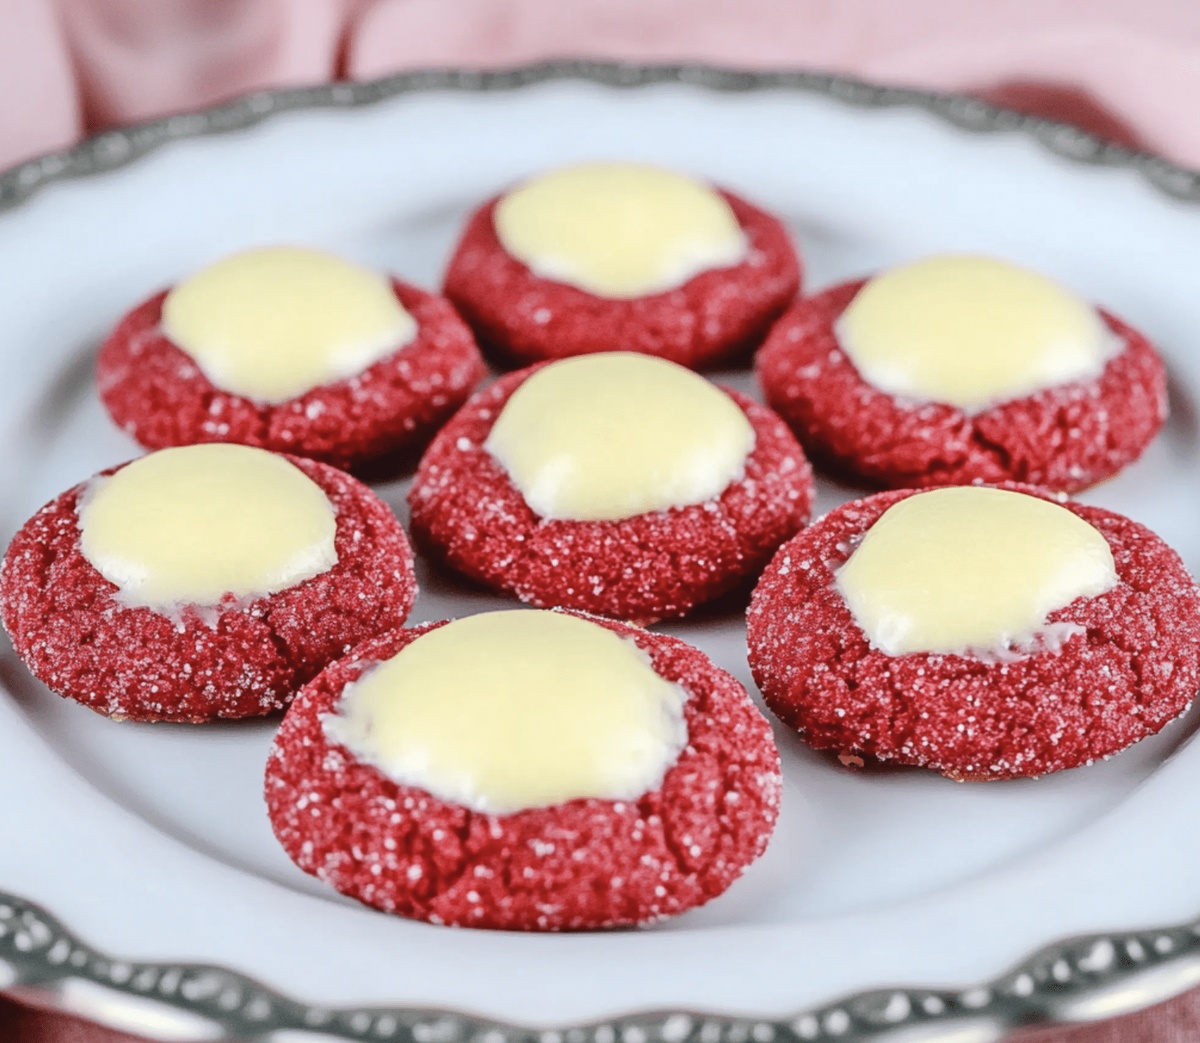
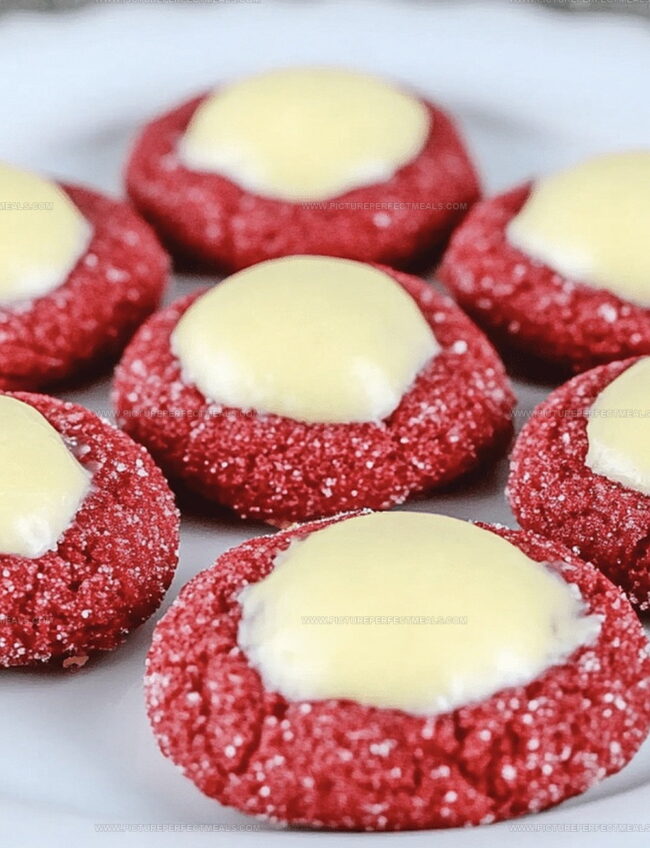
Divine Red Velvet Thumbprint Cookies with Cream Cheese Recipe
Indulgent red velvet thumbprint cookies with cream cheese bring a touch of sweet magic to any dessert table.
These delectable treats blend rich cocoa with a velvety texture that melts in your mouth.
The soft, crimson-hued cookies cradle a luscious cream cheese center that adds creamy decadence.
Each bite promises a delightful harmony of flavors and textures that dance across your palate.
Bakers of all skill levels can master this simple yet impressive recipe with ease.
The vibrant red color and elegant cream cheese filling make these cookies a showstopper at gatherings.
Prepare to delight everyone with these irresistible morsels that promise pure cookie bliss.
Quick Recipe Overview
Gather These to Make Red Velvet Thumbprint Cookies with Cream Cheese Happen
For Filling:For Liquid Ingredients:Tools to Master Red Velvet Thumbprints
How to Make Red Velvet Cream Cheese Cookies with Ease

Blend cream cheese with powdered sugar and vanilla until silky smooth. Get that mixture super creamy and dreamy.
Mix flour, cocoa powder, and salt in one bowl. In another, cream butter and sugar until fluffy and light. Crack in eggs and splash of vanilla. Gently fold dry ingredients into wet mixture until just combined.
Roll dough into small balls and place on lined baking sheet. Use your thumb or back of a spoon to create little wells in each cookie’s center.
Slide cookies into preheated oven and bake until edges look set and centers are slightly soft. Let them cool completely on baking rack.
Grab that chilled cream cheese mixture from the fridge. Snip corner of piping bag and fill each cookie’s center with luxurious cream cheese goodness.
Dust cookies with powdered sugar or drizzle with melted chocolate for extra pizzazz. Serve and watch everyone’s eyes light up with joy.
Creative Twists for Red Velvet Thumbprint Cookies
Serving Ideas to Showcase Red Velvet Cookies
Save & Store Red Velvet Thumbprint Cookies the Right Way
Print
Heavenly Red Velvet Thumbprint Cookies With Cream Cheese Recipe
- Total Time: 50 minutes
- Yield: 25 1x
Description
Red velvet thumbprint cookies with cream cheese bring classic Southern charm to holiday dessert tables. Rich cocoa-infused cookies cradle silky cream cheese filling, offering a delightful twist you’ll savor with each delectable bite.
Ingredients
- 0.5 cup (115 g) butter, unsalted, softened
- ⅔ cup (135 g) sugar, granulated
- 1.5 cups (190 g) flour, all-purpose
- 1 egg, large
- 2 tbsps (15 g) cocoa powder
- 1 tbsp red gel food coloring
- 0.5 tsp baking powder
- 0.25 tsp salt
- 1 tsp vanilla extract
- 4 oz (115 g) cream cheese, softened
- 0.25 cup (30 g) sugar, powdered
- 0.5 tsp vanilla extract
- 0.5 cup (50 g) sugar, powdered (for rolling, optional)
Instructions
- Prepare Cream Cheese Filling: Whip cream cheese, powdered sugar, and vanilla extract into a silky, uniform mixture. Transfer to a piping bag and refrigerate until firm and chilled, ensuring a stable consistency for later filling.
- Create Cookie Dough: Blend dry ingredients like flour, cocoa powder, and salt. Incorporate butter, sugar, eggs, and red food coloring to form a vibrant red velvet dough. Chill the mixture to enhance flavor development and prevent spreading during baking.
- Shape and Indent Cookies: Roll chilled dough into uniform balls. Using a thumb or the back of a small measuring spoon, create gentle wells in each cookie’s center. Place cookies on a parchment-lined baking sheet, spacing them evenly.
- Bake and Cool: Slide cookies into a preheated oven at 350°F. Bake for 10-12 minutes until edges are set and centers appear slightly soft. Remove and allow cookies to cool completely on the baking sheet, ensuring the delicate structure remains intact.
- Fill and Finish: Once cookies have cooled, pipe the chilled cream cheese filling into the center indentations. Use a steady hand to create elegant, even swirls. Optionally, dust with powdered sugar for a final decorative touch.
Notes
- Control Cream Cheese Consistency: Whip cream cheese mixture at room temperature to achieve a smooth, lump-free filling that pipes effortlessly into cookie centers.
- Prevent Color Bleeding: Refrigerate filled cookies for at least 30 minutes to help stabilize the cream cheese and maintain the vibrant red velvet color without smudging.
- Master Thumbprint Technique: Create precise cookie indentations using the back of a measuring spoon or your thumb, ensuring uniform depth for even filling distribution.
- Dietary Adaptation: Substitute regular cream cheese with dairy-free alternatives and use gluten-free flour blend to make these cookies suitable for various dietary restrictions while maintaining their rich, decadent flavor profile.
- Prep Time: 20 minutes
- Cook Time: 30 minutes
- Category: Desserts, Snacks
- Method: Blending
- Cuisine: American
Nutrition
- Serving Size: 25
- Calories: 143
- Sugar: 10 g
- Sodium: 78 mg
- Fat: 7 g
- Saturated Fat: 4 g
- Unsaturated Fat: 2 g
- Trans Fat: 0 g
- Carbohydrates: 18 g
- Fiber: 0.5 g
- Protein: 2 g
- Cholesterol: 20 mg
Jenna Hartley
Founder & Recipe Creator
Expertise
Education
Box Hill Institute, Melbourne
William Angliss Institute, Melbourne
Jenna is the heart of Picture Perfect Meals, turning simple ingredients into beautiful, easy‑to‑make dishes.
Growing up around family meals in Melbourne, she trained at Box Hill Institute and then perfected her pastry skills at William Angliss Institute. She loves mixing classic Australian flavors with fresh ideas to keep cooking fun and stress‑free.