Easy Homemade Garlic Butter Cheese Bombs Recipe for Cheesy Bliss
These savory garlic butter cheese bombs burst with mouthwatering flavor that’ll make you weak in the knees.
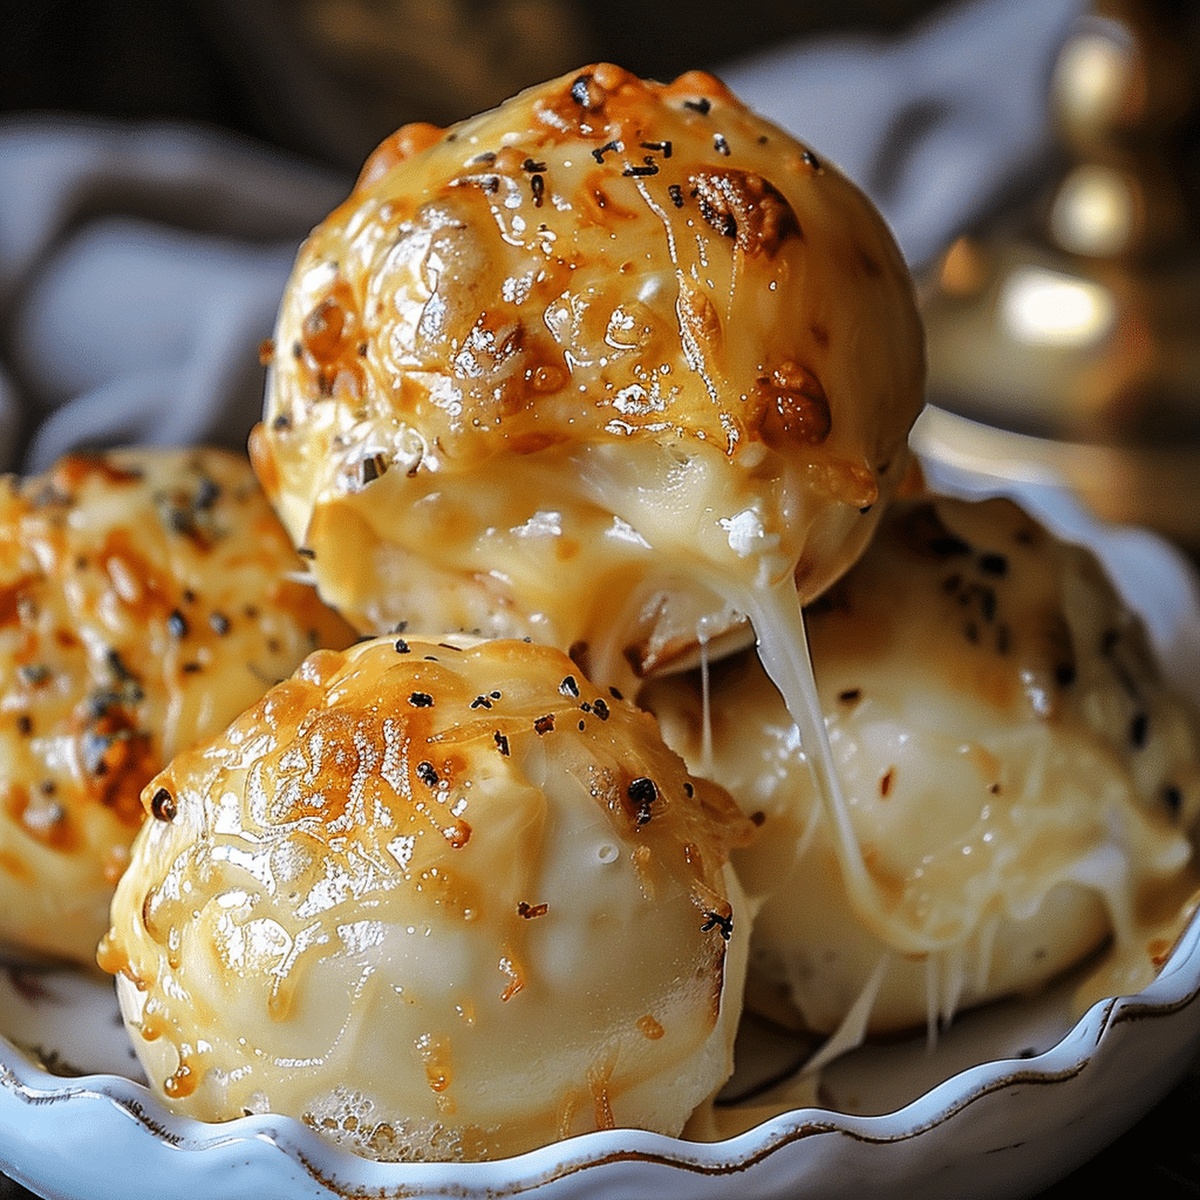
Small pockets of melted cheese nestle inside soft, pillowy dough waiting to surprise you.
Each bite promises an explosion of rich, creamy goodness that melts perfectly on your tongue.
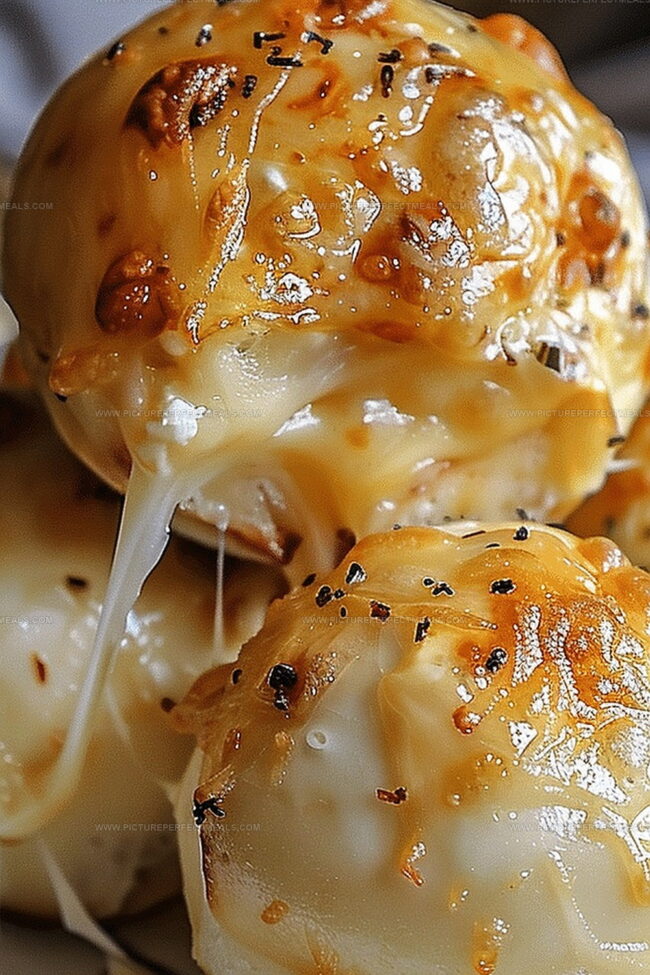
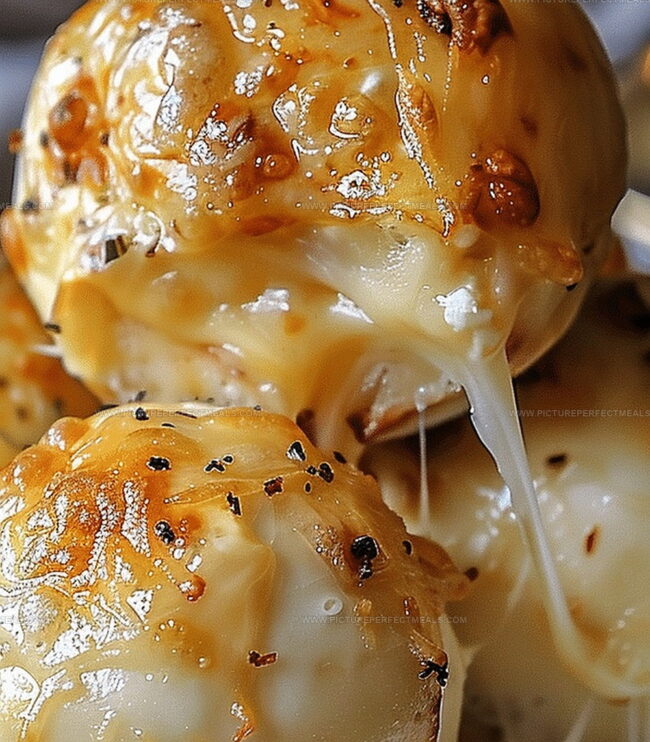
Warm, golden-brown exteriors give way to gooey interiors packed with sharp cheddar and aromatic garlic.
Crisp edges and tender centers create a textural symphony that speaks directly to comfort food cravings.
Quick to assemble and even faster to disappear, these little bombs pack serious deliciousness into every single morsel.
You’ll want to serve these immediately while they’re hot and irresistibly tempting.
Why Garlic Butter Cheese Bombs Are a Party Hit
Everything You Need to Make Cheese Bombs at Home
Main Ingredients:
Biscuit Dough:- Refrigerated Biscuit Dough: Provides the soft, golden base for the cheese bombs, quick and convenient for creating delicious appetizers.
Cheese:- Mozzarella Cheese: Creates the gooey, stretchy center that melts beautifully inside the dough, best when using full-fat, fresh cheese cubes.
Butter Topping:- Unsalted Butter, Minced Garlic: Creates a rich, aromatic coating that adds incredible flavor to the cheese bombs, fresh garlic recommended for best taste.
Seasoning and Garnish:
Herbs and Seasonings:- Italian Seasoning, Fresh Parsley: Adds depth of flavor and fresh green garnish, dried Italian seasoning works well if fresh herbs are unavailable.
Optional Serving:
Dipping Sauce:- Marinara Sauce: Provides a classic complementary dipping option for extra flavor, store-bought or homemade sauce works perfectly.
Steps to Get Golden and Gooey Cheese Bombs
Step 1: Warm Up the Oven
Turn the oven to 375F (190C). Cover a baking sheet with parchment paper to prevent sticking.
Step 2: Shape the Dough Pockets
Open the biscuit container and separate each piece. Use your fingers to gently press and flatten each biscuit into a soft circle.
Step 3: Stuff with Melty Goodness
Place a cube of mozzarella right in the center of each dough circle. Carefully fold the edges over the cheese, pinching and sealing tightly to create perfect little round balls.
Step 4: Create Golden Delights
Set the cheese-filled dough balls onto the prepared baking sheet with the sealed side facing down. Slide the tray into the oven and bake until the exterior turns a beautiful golden brown, about 10-12 minutes.
Step 5: Craft Flavor-Packed Butter
While the bites are cooking, whip together:Mix these ingredients in a small bowl until well combined.
Step 6: Add Magical Finishing Touch
Take the baking sheet out of the oven. Immediately brush each hot bite generously with the garlic butter mixture. Sprinkle chopped parsley on top for a fresh burst of color and flavor.
Step 7: Serve and Enjoy
Plate these delectable bites while they’re warm. The cheese will stretch beautifully when pulled apart. Grab some marinara sauce on the side for extra dipping excitement.
Tips to Keep the Butter Flavor Balanced
How to Store and Warm Cheese Bombs for Later
What Goes Well with Garlic Cheese Bombs
Fun Ways to Switch Up the Filling
Print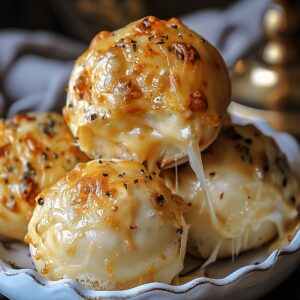
Homemade Garlic Butter Cheese Bombs Recipe
- Total Time: 22 minutes
- Yield: 8 1x
Description
Garlic butter cheese bombs bring explosive flavor to dinner tables, melting hearts with their irresistible cheesy goodness. Pillowy dough embraces savory cheese and aromatic garlic, promising a delightful culinary adventure you’ll crave again and again.
Ingredients
Cheese:
- 4 ounces (113 grams) mozzarella cheese, cut into 8 cubes
Dough:
- 1 can (16 ounces/454 grams) refrigerated biscuit dough (8 biscuits)
Seasonings and Herbs:
- 4 tablespoons (60 milliliters) unsalted butter, melted
- 2 cloves garlic, minced
- ½ teaspoon (2.5 milliliters) Italian seasoning
- 1 tablespoon (15 milliliters) fresh parsley, chopped (or 1 teaspoon/5 milliliters dried parsley)
Instructions
- Prepare the oven environment by heating to 375F (190C) and lining a baking sheet with parchment paper to ensure even cooking and prevent sticking.
- Gently separate each biscuit dough, using fingertips to carefully flatten into delicate circular shapes, creating a smooth base for the cheese filling.
- Position a single mozzarella cheese cube precisely in the center of each dough circle, then meticulously fold and pinch the edges upward, creating a completely sealed spherical package that encases the cheese.
- Arrange the cheese-filled dough spheres onto the prepared baking sheet with the sealed side facing downward, maintaining uniform spacing to promote consistent browning.
- Transfer the baking sheet to the preheated oven, allowing the cheese bombs to transform into golden-brown delicacies over 10-12 minutes, monitoring their color and texture.
- Simultaneously craft a luxurious garlic butter blend by combining melted butter with finely minced garlic and aromatic Italian seasoning in a compact mixing vessel.
- Upon removing the freshly baked cheese bombs, immediately lavish each sphere with the fragrant garlic butter, ensuring complete coverage for maximum flavor infusion.
- Embellish the glistening bombs with a sprinkle of finely chopped parsley, adding a vibrant green accent and fresh herbaceous note.
- Serve these molten cheese treasures while piping hot, accompanied by optional marinara sauce for an indulgent dipping experience that heightens the culinary delight.
Notes
- Opt for room temperature mozzarella cubes to ensure even melting and prevent cheese leakage during baking.
- Seal biscuit edges meticulously by pinching and rolling to prevent cheese from oozing out while cooking.
- Brush garlic butter immediately after baking to maximize flavor absorption and create a glossy, appetizing appearance.
- Consider gluten-free adaptation by using gluten-free biscuit dough and checking ingredient compatibility for those with dietary restrictions.
- Prep Time: 10 minutes
- Cook Time: 12 minutes
- Category: Appetizer, Snacks
- Method: Baking
- Cuisine: American
Nutrition
- Serving Size: 8
- Calories: 200
- Sugar: 1 g
- Sodium: 500 mg
- Fat: 14 g
- Saturated Fat: 8 g
- Unsaturated Fat: 6 g
- Trans Fat: 0 g
- Carbohydrates: 18 g
- Fiber: 0.5 g
- Protein: 4 g
- Cholesterol: 30 mg
Daves Miller
Contributing Chef & Culinary Educator
Expertise
Education
Sullivan University, Louisville, Kentucky
White Mountains Community College, Berlin, New Hampshire
Daves is the friendly face guiding you through flavorful, fuss-free recipes at Picture Perfect Meals.
He studied culinary arts at Sullivan University and embraced Baking and Pastry Arts at White Mountains Community College. Daves specializes in comforting meals with vibrant flavors, highlighting fresh, seasonal ingredients.