Sweet Homemade Hard Candy Recipe: Classic Treats Made Simple
Sweet memories dance through kitchens when crafting this homemade hard candy recipe that sparks joy and nostalgia.
Childhood whispers echo from vibrant sugar crystals melting into delightful shapes.
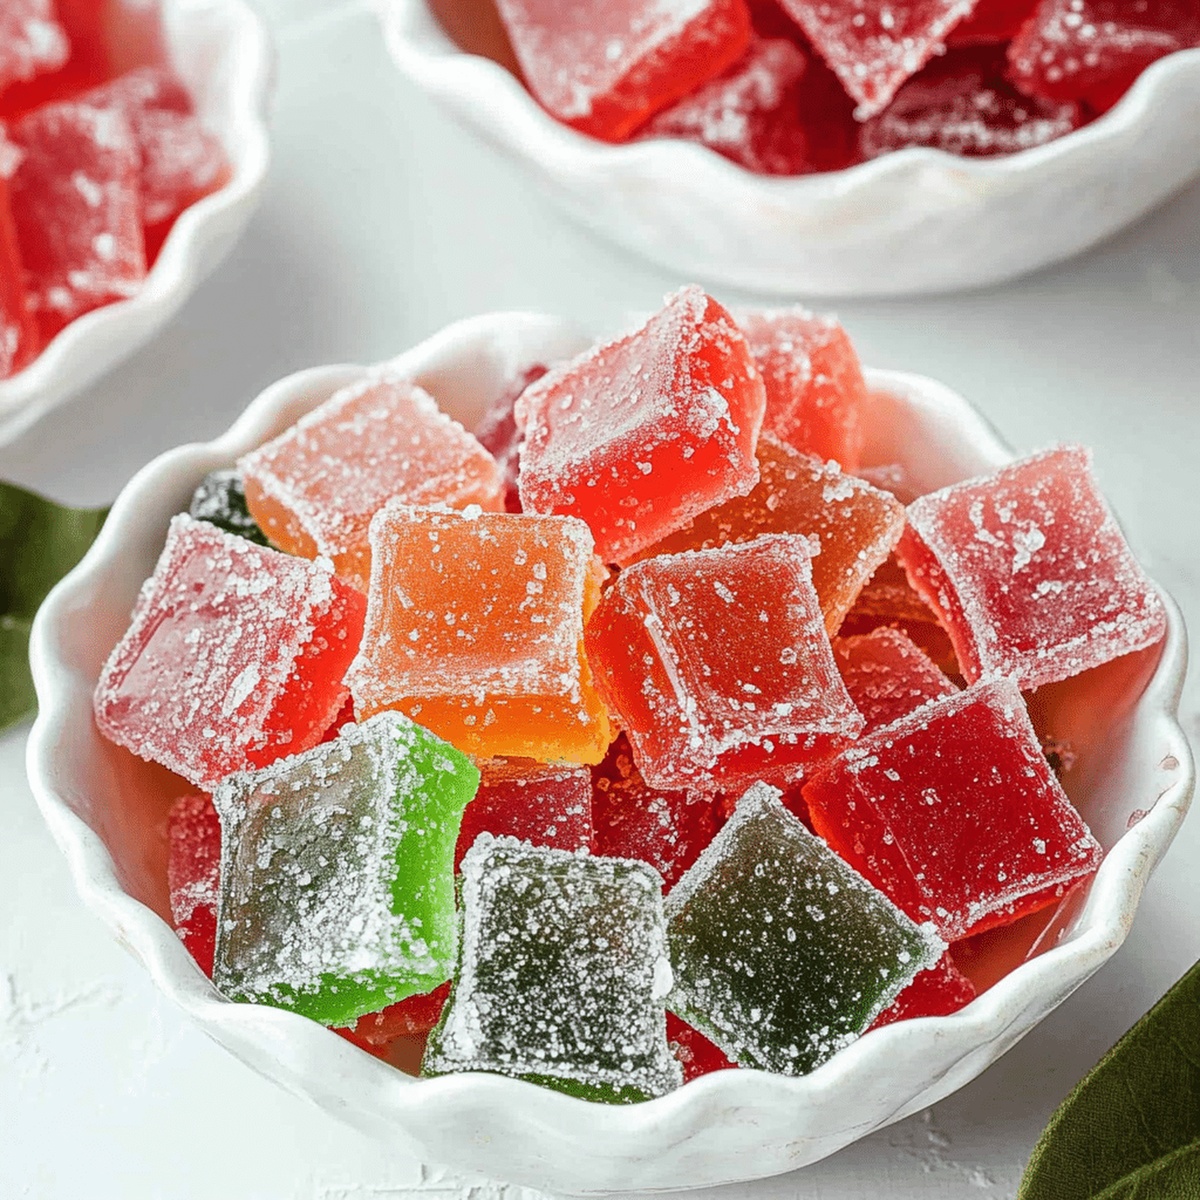
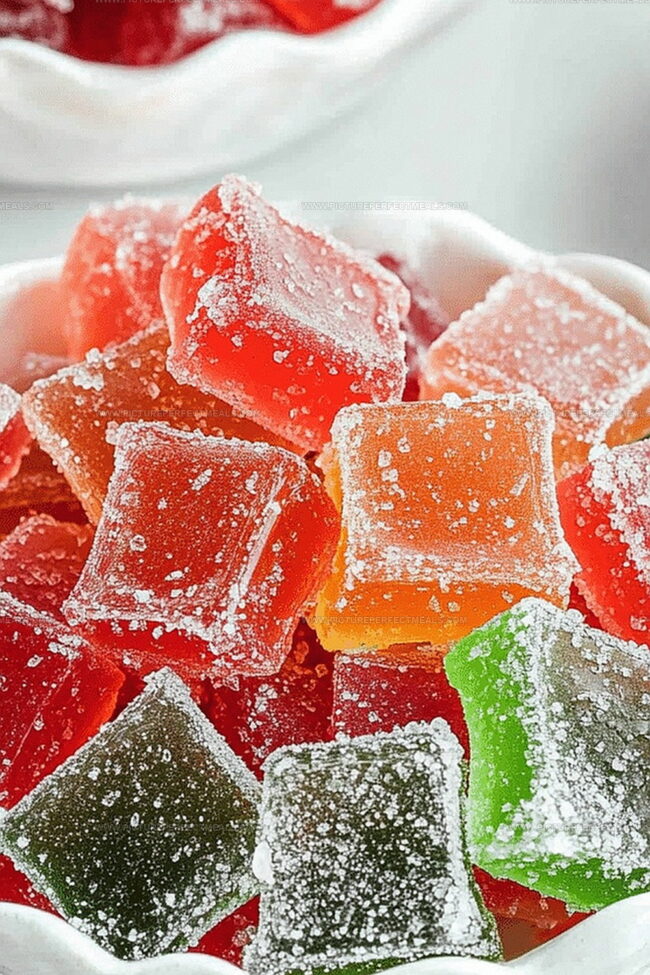
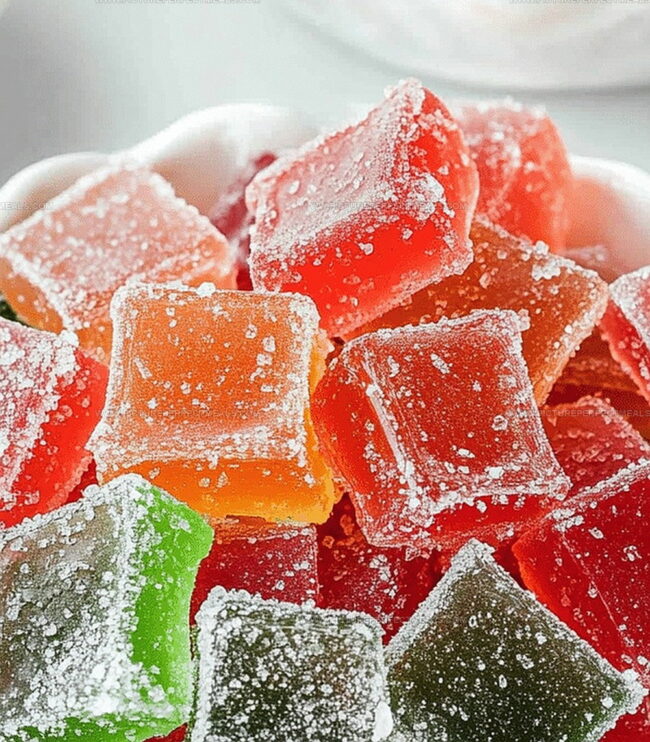
Colorful confections shimmer like edible jewels waiting to enchant taste buds.
Crafting these delicate treats connects generations through simple ingredients and careful techniques.
Professional and amateur cooks can master this delightful art with patience and creativity.
Small hands help measure and stir, creating magical moments in the kitchen.
You’ll laugh and learn together while transforming sugar into sparkling treasures.
Crack open a world of sugary wonder and let your culinary adventure begin!
What Makes Homemade Hard Candy a Classic
Ingredients to Make Homemade Hard Candy Shine
Main Ingredients:
Sugar Base:- Sugar, Light Corn Syrup, Water: The foundation of hard candy that provides sweetness and helps create the right sugar crystal structure. White granulated sugar works best, with light corn syrup preventing sugar crystallization.
Flavoring and Coloring:Preparation and Finishing:Create Homemade Hard Candy Like a Champ
Step 1: Prep Your Candy Station
Grab a baking sheet and cover it with parchment paper or a silicone mat. Sprinkle a light dusting of powdered sugar to keep the candy from becoming sticky.
Step 2: Mix Sweet Base
Grab a heavy saucepan and combine:Stir ingredients gently until sugar completely dissolves.
Step 3: Heat and Transform
Place saucepan on medium-high heat. Let the mixture boil without stirring. Use a candy thermometer to track temperature. Cook until it reaches hard crack stage (300F to 310F).
Step 4: Customize Your Candy
Remove pan from heat. Quickly add:Stir rapidly but carefully to blend.
Step 5: Pour and Spread
Carefully pour hot candy mixture onto prepared baking sheet. Tilt sheet to help mixture spread evenly. Move quickly as mixture cools fast.
Step 6: Cool and Break
Let candy cool completely at room temperature for 30-60 minutes. Once hardened, break into bite-sized pieces using a mallet or spoon back. Store in sealed container to maintain crispness.
Tricks for Perfect Homemade Hard Candy
Store Homemade Hard Candy the Right Way
Pairing Ideas for Homemade Hard Candy
Homemade Hard Candy with Flavor Variations
Print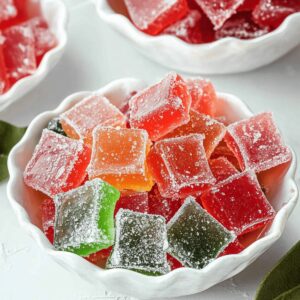
Homemade Hard Candy Recipe
- Total Time: 40 minutes
- Yield: Approximately 20 servings. 1x
Description
Sweet memories crystallize in this homemade hard candy that whispers nostalgic childhood treats. Crafted with simple ingredients and love, these glossy gems promise delightful flavor adventures for friends and family.
Ingredients
Main Ingredients:
- 2 cups (400 g) granulated sugar
- ⅔ cup (160 ml) light corn syrup
- ¾ cup (180 ml) water
Flavoring and Coloring:
- ½ teaspoon flavoring extract (such as peppermint, cinnamon, or fruit flavors)
- Food coloring (optional)
- Powdered sugar (for dusting, optional)
Equipment:
- Heavy-bottomed saucepan
- Candy thermometer
- Heatproof spoon or spatula
- Baking sheet lined with parchment paper or a silicone mat
- Optional: Candy molds
Instructions
- Meticulously prepare a workspace by lining a baking sheet with parchment paper or silicone mat, then lightly dust with confectioners sugar to prevent potential candy adhesion.
- Select a heavy-bottomed saucepan and combine sugar, light corn syrup, and water, stirring gently until sugar dissolves completely.
- Position the saucepan over medium-high heat, allowing the mixture to reach a rolling boil without disturbing its surface. Attach a candy thermometer to monitor temperature progression.
- Continue heating the syrup until it precisely reaches the hard crack stage, approximately 300F to 310F (150C to 154C), maintaining a steady, watchful eye on the thermometer.
- Immediately remove the molten mixture from heat source, then swiftly incorporate flavor extract and desired food coloring, stirring with controlled, gentle movements to ensure even distribution.
- Carefully transfer the liquid candy onto the prepared baking sheet, using careful tilting motions to encourage uniform spreading while maintaining caution due to extreme temperature.
- Allow the candy to cool naturally at room temperature for 30-60 minutes, enabling complete solidification without disruption.
- Once fully set, fragment the hardened candy into irregular pieces using a mallet or the back of a sturdy spoon, creating delightful shards of sweet confectionery.
- Preserve the finished candy in an airtight container to maintain optimal freshness and prevent moisture absorption.
Notes
- Precision is key when making hard candy, so invest in a reliable candy thermometer to accurately monitor the temperature and achieve the perfect consistency.
- Work quickly after removing the mixture from heat, as it will start to harden rapidly and become difficult to pour or shape.
- Use caution when handling the hot sugar syrup, as it can cause severe burns. Keep children and pets away from the cooking area and use long-handled utensils.
- Experiment with different flavor extracts and food colorings to create unique and personalized hard candy variations that suit your taste preferences.
- Prep Time: 10 minutes
- Cook Time: 30 minutes
- Category: Snacks, Desserts
- Method: Boiling
- Cuisine: American
Nutrition
- Serving Size: Approximately 20 servings.
- Calories: 80
- Sugar: 16 g
- Sodium: 0 mg
- Fat: 0 g
- Saturated Fat: 0 g
- Unsaturated Fat: 0 g
- Trans Fat: 0 g
- Carbohydrates: 20 g
- Fiber: 0 g
- Protein: 0 g
- Cholesterol: 0 mg
Daves Miller
Contributing Chef & Culinary Educator
Expertise
Education
Sullivan University, Louisville, Kentucky
White Mountains Community College, Berlin, New Hampshire
Daves is the friendly face guiding you through flavorful, fuss-free recipes at Picture Perfect Meals.
He studied culinary arts at Sullivan University and embraced Baking and Pastry Arts at White Mountains Community College. Daves specializes in comforting meals with vibrant flavors, highlighting fresh, seasonal ingredients.