
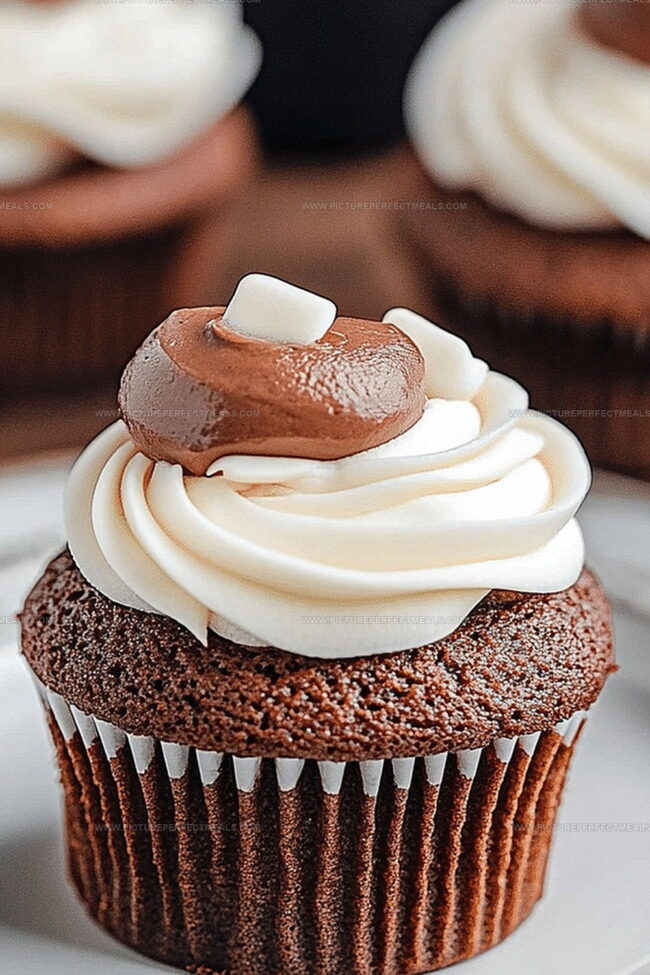
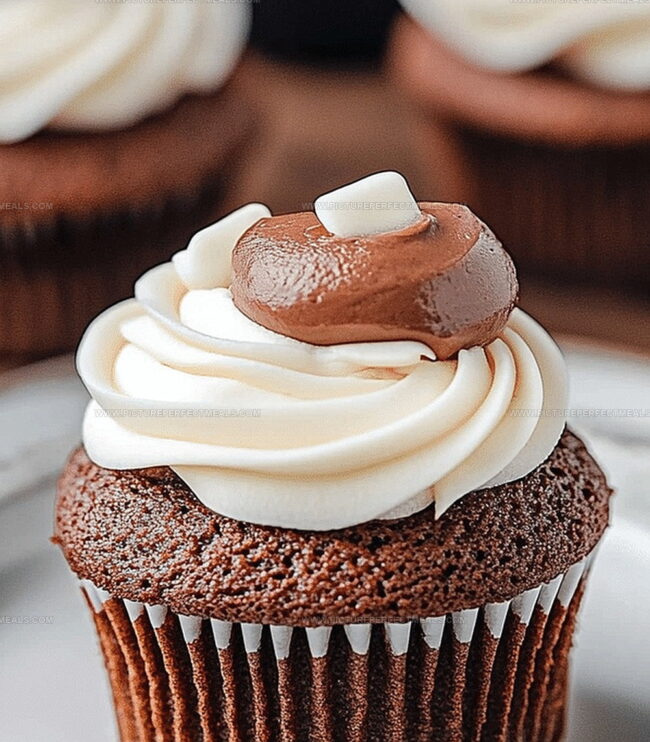
Sweet & Fluffy Hot Chocolate Cupcakes Recipe: A Cozy Treat
Cozy winter afternoons call for decadent hot chocolate cupcakes that melt hearts instantly.
Rich cocoa flavors dance through each tender crumb, promising pure comfort.
These delightful treats capture the essence of your favorite warm beverage in a delectable handheld form.
Chocolate lovers will swoon over the intense, velvety texture that mimics a steaming mug of classic hot chocolate.
Sweet hints of marshmallow and a sprinkle of cinnamon elevate these cupcakes beyond ordinary desserts.
Indulgent and irresistible, they spark joy with every single bite.
You’ll want to savor every delicious moment of this delightful cupcake experience.
What Makes Hot Chocolate Cupcakes Rich
Ingredients You’ll Need for Hot Chocolate Cupcakes
Dry Ingredients:Wet Ingredients:Finishing Ingredients:Bake Hot Chocolate Cupcakes to Perfection
Step 1: Warm Up the Oven
Crank the oven to 350F and grab your muffin tin. Line it with cute cupcake papers.
Step 2: Create Dry Mixture
Grab a mixing bowl and toss in:Whisk everything together until perfectly blended.
Step 3: Blend Wet Ingredients
In a separate large bowl, whisk together:Pour the dry ingredients into the wet ingredients and stir gently. Mix just until combined- don’t go crazy with stirring.
Step 4: Add Liquid Magic
Slowly pour in hot water or hot chocolate. Stir gently until the batter looks silky and smooth.
Step 5: Fill and Bake
Carefully pour batter into cupcake liners, filling each about two-thirds full. Slide the tray into the preheated oven and bake for 18-20 minutes. Check doneness by inserting a toothpick- it should come out clean.
Step 6: Cool and Decorate
Let cupcakes rest in the pan for 5 minutes. Transfer to a cooling rack. Once completely cool, top with fluffy whipped cream. Sprinkle with mini marshmallows or dust with cocoa powder for extra charm.
Tricks for Hot Chocolate Cupcake Success
Keep Hot Chocolate Cupcakes Moist and Tasty
What Matches Well with Hot Chocolate Cupcakes
Hot Chocolate Cupcake Variations Worth Baking
Print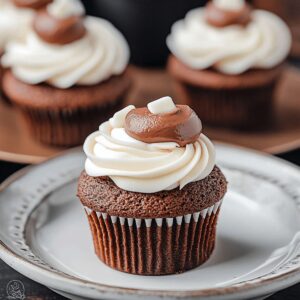
Hot Chocolate Cupcakes Recipe
- Total Time: 40 minutes
- Yield: 12 1x
Description
Chocolate lovers rejoice with these indulgent hot chocolate cupcakes, a delightful dessert combining rich cocoa and marshmallow magic. Creamy chocolate frosting and mini marshmallow garnishes create a sweet winter wonderland you’ll crave all season long.
Ingredients
Dry Ingredients:
- 1 cup (120 grams) all-purpose flour
- ½ cup (50 grams) unsweetened cocoa powder
- 1 teaspoon baking powder
- ½ teaspoon baking soda
- ¼ teaspoon salt
- ¾ cup (150 grams) granulated sugar
Wet Ingredients:
- ½ cup (113 grams) unsalted butter, softened
- 2 large eggs
- 1 teaspoon vanilla extract
- ½ cup (120 milliliters) milk
- ¼ cup (60 milliliters) hot water
Frosting and Garnish:
- 2 cups (200 grams) mini marshmallows
- ½ cup (113 grams) unsalted butter, softened
- 2 cups (240 grams) powdered sugar
- ½ teaspoon vanilla extract
- 12 tablespoons milk (as needed for consistency)
- Cocoa powder or grated chocolate (optional)
- Mini marshmallows or chocolate sprinkles
Instructions
- Create a cozy baking environment by warming the oven to 350F (175C) and arranging cupcake liners in a muffin tin.
- Combine flour, cocoa powder, sugar, baking powder, baking soda, and salt in a medium mixing bowl, thoroughly whisking to eliminate any potential lumps.
- In a separate larger bowl, blend melted butter, eggs, milk, sour cream, and vanilla extract until the mixture achieves a consistent, silky texture.
- Gently fold the dry ingredient mixture into the wet ingredients, stirring carefully to prevent overmixing, which can result in dense cupcakes.
- Introduce hot water or hot chocolate to the batter, stirring delicately until the mixture transforms into a smooth, liquid consistency.
- Distribute the batter evenly into cupcake liners, filling each approximately two-thirds full to allow room for rising during baking.
- Place the muffin tin in the preheated oven and bake for 18-20 minutes, verifying doneness by inserting a toothpick into the center – it should emerge clean.
- Remove cupcakes from the oven and let them rest in the pan for 5 minutes to stabilize their structure.
- Transfer cupcakes to a wire cooling rack, allowing them to reach room temperature completely.
- Embellish the cooled cupcakes with a generous swirl of whipped cream, garnishing with mini marshmallows or a light dusting of cocoa powder for an extra touch of indulgence.
Notes
- Use room temperature ingredients to ensure smooth mixing and even baking of cupcakes.
- Sift cocoa powder and flour together to prevent lumps and create a more delicate texture.
- Replace sour cream with Greek yogurt for a lighter, tangier version of the cupcakes.
- For a gluten-free option, swap all-purpose flour with a gluten-free flour blend and add xanthan gum for better structure.
- Prep Time: 20 minutes
- Cook Time: 20 minutes
- Category: Desserts, Snacks
- Method: Baking
- Cuisine: American
Nutrition
- Serving Size: 12
- Calories: 210
- Sugar: 21 g
- Sodium: 150 mg
- Fat: 10 g
- Saturated Fat: 6 g
- Unsaturated Fat: 4 g
- Trans Fat: 0 g
- Carbohydrates: 30 g
- Fiber: 1 g
- Protein: 2 g
- Cholesterol: 35 mg
Daves Miller
Contributing Chef & Culinary Educator
Expertise
Education
Sullivan University, Louisville, Kentucky
White Mountains Community College, Berlin, New Hampshire
Daves is the friendly face guiding you through flavorful, fuss-free recipes at Picture Perfect Meals.
He studied culinary arts at Sullivan University and embraced Baking and Pastry Arts at White Mountains Community College. Daves specializes in comforting meals with vibrant flavors, highlighting fresh, seasonal ingredients.