
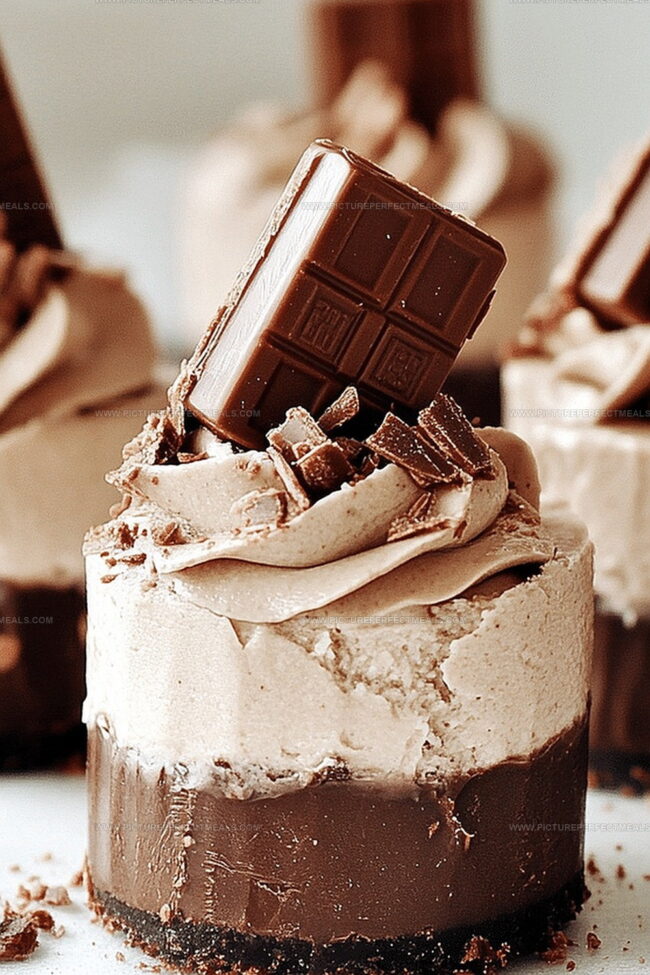
Easy No-Bake Kit Kat Cheesecakes Recipe: Bite-Sized Joy!
Indulgent chocolate lovers find pure bliss in these mini no-bake Kit Kat cheesecakes that blend creamy richness with crispy wafer excitement.
Layers of sweet, decadent goodness stack perfectly in each small dessert.
The classic candy bar adds a delightful crunch to a smooth cheesecake base.
Silky cream cheese mingles with crushed Kit Kat pieces, creating a dessert that feels both nostalgic and innovative.
Each bite promises a symphony of textures that dance across your palate.
Chocolate and cream cheese lovers will adore this simple yet spectacular treat that comes together without ever touching an oven.
Prepare to experience dessert magic in the most delectable miniature form.
Quick Recipe Overview
Mini No-Bake Kit Kat Cheesecakes: Ingredient Lineup
For Crust:For Filling:For Garnish:Tools to Make These No-Bake Kit Kat Cheesecakes
Step-by-Step: Mini No-Bake Kit Kat Cheesecakes
Smash Kit Kat bars into fine crumbs and blend with melted butter. Press mixture firmly into lined muffin cups creating a solid foundation. Chill for quick setting.
Blend cream cheese with powdered sugar and vanilla until silky smooth. In another bowl, whip heavy cream until peaks stand tall. Gently fold whipped cream into cheesecake mixture creating a light, airy texture.
Sprinkle chopped Kit Kat pieces throughout the creamy mixture, ensuring even distribution for bursts of chocolate in every bite.
Carefully spoon the chocolatey cheesecake blend over the chilled candy base. Smooth the tops for a professional finish.
Refrigerate for several hours until firm and perfectly set. The waiting transforms your creation into a decadent dessert.
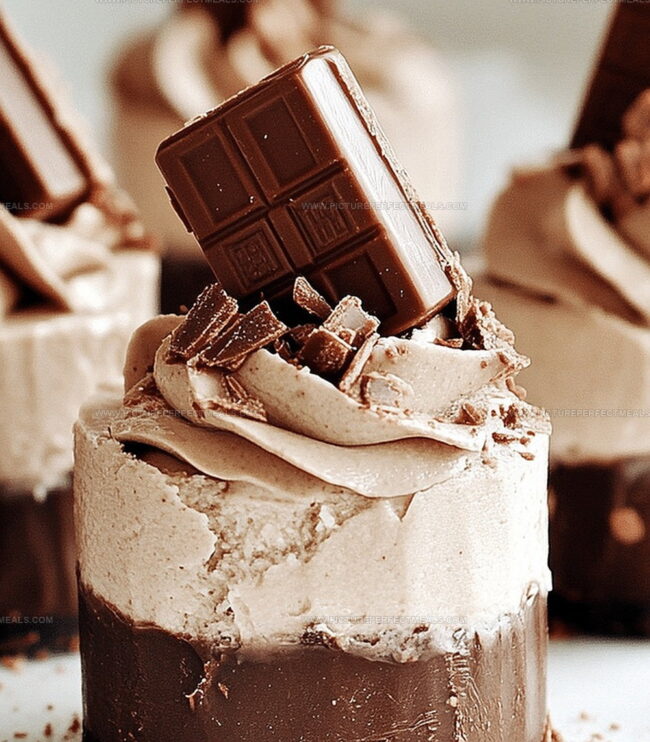
Crown each mini cheesecake with additional Kit Kat pieces. Drizzle with chocolate syrup and add a dollop of whipped cream for extra indulgence. Serve chilled and watch everyone’s eyes light up.
Fun Mix-Ins for Mini Cheesecakes with Crunch
Serve Mini Kit Kat Cheesecakes to Impress
Refrigerate Mini Cheesecakes the Smart Way
Print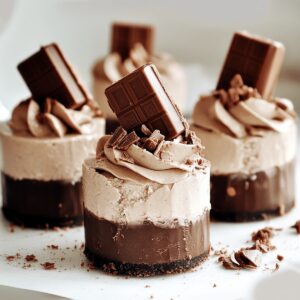
Incredible Mini No-Bake Kit Kat Cheesecakes Recipe
- Total Time: 20 minutes
- Yield: 9 1x
Description
Kit Kat cheesecakes showcase a delightful no-bake dessert that merges chocolate and creamy textures. Chocolate lovers can craft these simple individual treats with minimal kitchen effort and maximum satisfaction.
Ingredients
- 14 Kit Kat bars (total: about 28 fingers)
- 8 oz (225 g) cream cheese, softened
- ½ cup heavy whipping cream
- ½ cup powdered sugar
- ½ tsp vanilla extract
- 2 tbsps unsalted butter, melted
- chocolate syrup (optional)
- whipped cream (optional)
Instructions
- Crust Preparation: Crush Kit Kat bars and blend with melted butter, firmly pressing the mixture into lined muffin tin compartments. Chill for 15 minutes to solidify the base.
- Cream Cheese Mixture: Blend cream cheese with powdered sugar and vanilla extract until silky smooth, eliminating any lumps for a perfect texture.
- Cream Integration: Whip heavy cream into stiff peaks, then gently fold into the cream cheese mixture, maintaining a light and airy consistency. Scatter chopped Kit Kat pieces throughout the blend, ensuring even chocolate distribution.
- Filling Technique: Elegantly spoon the creamy cheesecake mixture over the chilled crusts, smoothing the surface with a spatula for a professional finish.
- Chilling and Setting: Refrigerate the mini cheesecakes for at least 4 hours, allowing them to firm up and develop a rich, cohesive flavor profile.
- Garnish and Serve: Embellish with additional Kit Kat fragments, drizzle chocolate syrup, and top with optional whipped cream to create a visually stunning and indulgent dessert.
Notes
- Chill Thoroughly: Ensure complete refrigeration for at least 4 hours to achieve the perfect creamy, set texture that allows flavors to develop fully.
- Smooth Mixing Technique: Gently fold whipped cream into cream cheese mixture to maintain airiness and prevent deflating the delicate mixture, which guarantees a light, fluffy consistency.
- Prevent Crumbly Crust: Press Kit Kat crust firmly into muffin liners and refrigerate briefly to create a compact, stable base that won’t fall apart when serving.
- Chocolate Distribution Trick: Chop Kit Kat pieces uniformly and fold gently to ensure even chocolate chunk spread throughout the cheesecake filling for consistent flavor in every bite.
- Prep Time: 20 minutes
- Cook Time: 0 minutes
- Category: Desserts, Snacks
- Method: None
- Cuisine: American
Nutrition
- Serving Size: 9
- Calories: 305
- Sugar: 23 g
- Sodium: 55 mg
- Fat: 22 g
- Saturated Fat: 13 g
- Unsaturated Fat: 9 g
- Trans Fat: 0 g
- Carbohydrates: 26 g
- Fiber: 0 g
- Protein: 3 g
- Cholesterol: 40 mg
Jenna Hartley
Founder & Recipe Creator
Expertise
Education
Box Hill Institute, Melbourne
William Angliss Institute, Melbourne
Jenna is the heart of Picture Perfect Meals, turning simple ingredients into beautiful, easy‑to‑make dishes.
Growing up around family meals in Melbourne, she trained at Box Hill Institute and then perfected her pastry skills at William Angliss Institute. She loves mixing classic Australian flavors with fresh ideas to keep cooking fun and stress‑free.