Lavish Brandied Cherry-and-Chocolate Chunk Ice Cream Recipe
Sweet summer nights call for a decadent brandied cherry and chocolate chunk ice cream that promises pure bliss.
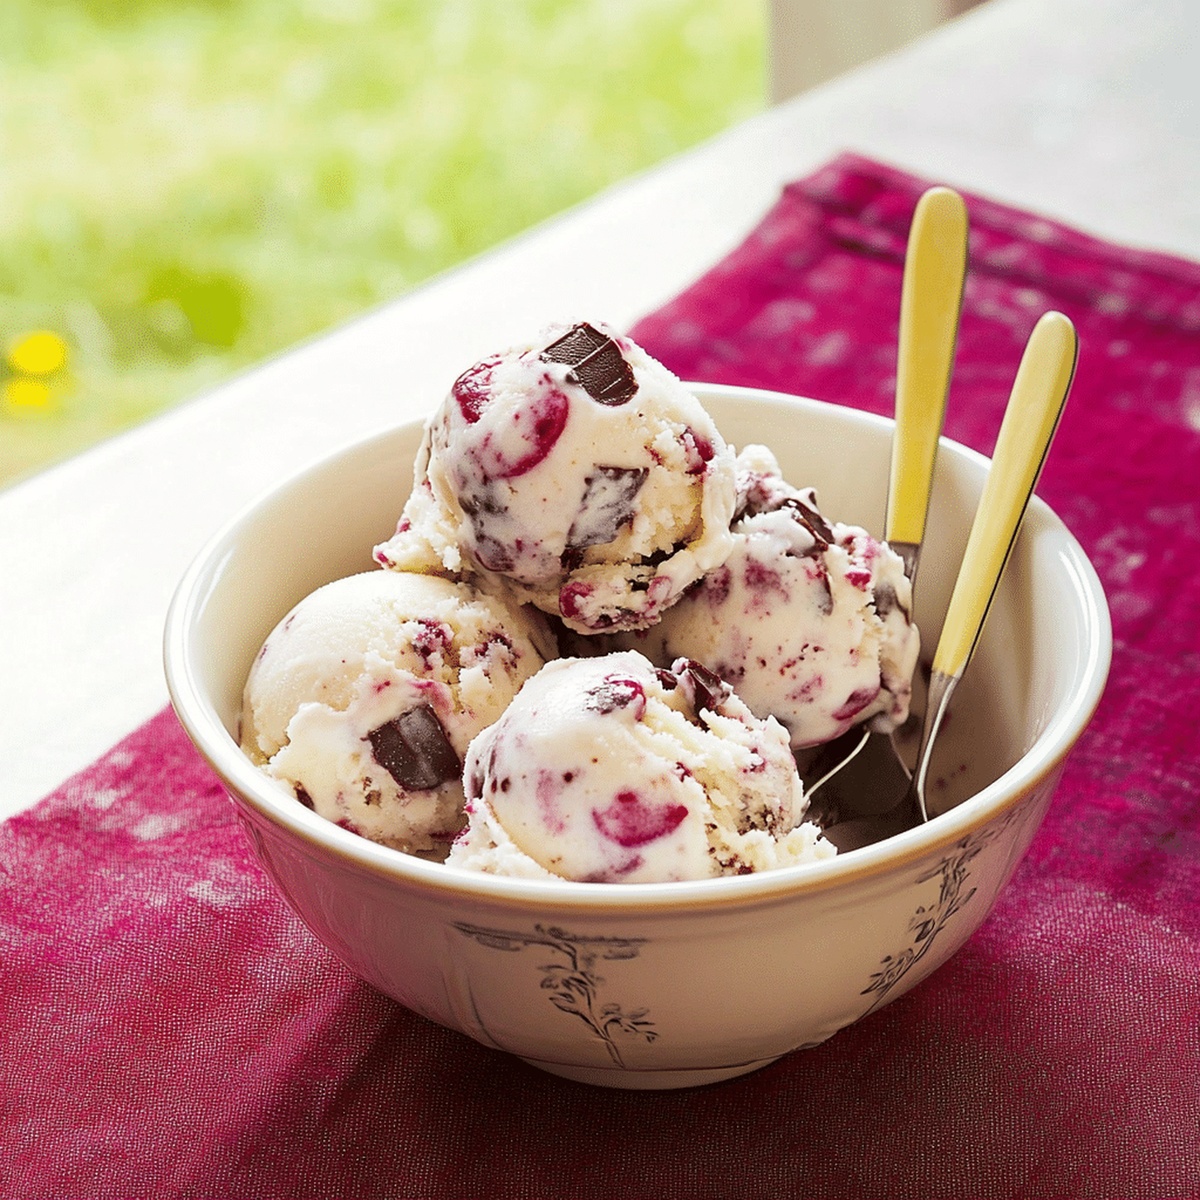
Creamy homemade ice cream studded with rich chocolate chunks becomes an irresistible dessert for chocolate lovers.
Dark, luscious cherries soaked in brandy add sophisticated depth to this frozen treat.
Each spoonful delivers a luxurious combination of smooth, velvety texture and intense flavors.
The contrasting elements of sweet cherries and deep chocolate create a harmonious symphony on your palate.
Handcrafted with care, this recipe transforms simple ingredients into an extraordinary dessert experience.
Prepare to elevate your summer nights with this show-stopping homemade ice cream that will impress even the most discerning dessert enthusiasts.
Quick Recipe Overview

Brandied Cherry Ice Cream Ingredient Guide
For Base Ingredients:For Flavor Enhancers:For Mix-In Ingredients:Ice Cream Tools You’ll Want for Cherry Chunks
How to Make Brandied Cherry Chocolate Ice Cream

Combine cherries, sugar, and brandy in a saucepan. Simmer gently, stirring occasionally, until sugar melts and mixture becomes slightly syrupy. Remove from heat, stir in vanilla, and let cool completely.
Warm cream, milk, and sugar in a saucepan until steaming. Whisk egg yolks separately with remaining sugar until creamy and pale. Slowly blend hot cream into egg mixture, stirring constantly to prevent curdling.
Return mixed liquid to pan, cooking over low heat while stirring. Watch for thickening that coats the spoon. Remove from heat, strain through fine sieve to catch any egg bits. Cool to room temperature, then refrigerate for several hours.
Pour chilled custard into ice cream maker. Churn according to machine instructions. During final churning minutes, fold in brandied cherries and chocolate chunks.
Transfer churned ice cream to airtight container. Freeze for 2-4 hours until firm. Scoop and savor the rich, complex flavors of this luxurious dessert.
Flavor Variations for Brandied Cherry Ice Cream
Serving Ideas for Cherry Chocolate Ice Cream
Store Brandied Ice Cream for Later
Print
Indulgent Brandied Cherry-And-Chocolate Chunk Ice Cream Recipe
- Total Time: 4 hours 30 minutes
- Yield: 9 1x
Description
Brandied cherry-and-chocolate chunk ice cream combines rich, creamy textures with luxurious French-inspired flavors. Sweet cherries and dark chocolate create a sophisticated dessert that delights discerning palates and offers pure indulgence in each cool spoonful.
Ingredients
- 4 large egg yolks
- 1 cup granulated sugar
- ¼ cup granulated sugar
- 2 cups (473 ml) heavy cream
- 1 cup (237 ml) whole milk
- 1 cup fresh or frozen cherries, pitted and halved
- ½ cup dark chocolate chunks or chips
- ¼ cup (60 ml) brandy
- 2 tsps vanilla extract
Instructions
- Cherry Preparation: Gently simmer cherries with sugar and brandy in a saucepan until liquid reduces to a luxurious syrup, stirring occasionally to prevent burning. Remove from heat, stir in vanilla extract, and cool completely.
- Cream Base Development: Warm cream, milk, and partial sugar in a saucepan until steaming. Simultaneously, whisk egg yolks with remaining sugar until pale and silky. Carefully temper egg mixture by gradually incorporating hot cream while whisking continuously.
- Custard Refinement: Return tempered mixture to saucepan, stirring over low heat until custard thickens and coats the back of a spoon. Strain through fine-mesh sieve to ensure smoothness, then cool to room temperature and refrigerate for 4-6 hours to intensify flavors.
- Churning and Incorporation: Pour chilled custard into ice cream maker and churn according to manufacturer’s instructions. During final moments of churning, fold in brandied cherries with their syrupy essence and chocolate chunks for even distribution.
- Freezing and Serving: Transfer freshly churned ice cream to an airtight container and freeze for 2-4 hours until achieving desired consistency. Scoop and enjoy this decadent brandied cherry-chocolate frozen delicacy.
Notes
- Prevent Curdling Carefully: Slowly temper egg yolks by adding hot cream gradually while constantly whisking to avoid scrambling eggs, ensuring smooth custard base.
- Strain for Silky Texture: Always strain custard through fine-mesh sieve to remove any potential egg fragments, creating ultra-smooth ice cream consistency.
- Control Simmering Closely: When macerated cherries are cooking, stir frequently and maintain gentle heat to prevent burning and develop perfect syrupy texture.
- Patience Matters: Allow custard to chill thoroughly in refrigerator for minimum 4 hours, which develops deeper flavor complexity and helps ice cream set properly.
- Prep Time: 30 minutes
- Cook Time: 2-4 hours
- Category: Desserts, Snacks
- Method: Simmering
- Cuisine: American
Nutrition
- Serving Size: 9
- Calories: 469
- Sugar: 36 g
- Sodium: 55 mg
- Fat: 30 g
- Saturated Fat: 18 g
- Unsaturated Fat: 9 g
- Trans Fat: 0 g
- Carbohydrates: 42 g
- Fiber: 1 g
- Protein: 5 g
- Cholesterol: 186 mg
Jenna Hartley
Founder & Recipe Creator
Expertise
Education
Box Hill Institute, Melbourne
William Angliss Institute, Melbourne
Jenna is the heart of Picture Perfect Meals, turning simple ingredients into beautiful, easy‑to‑make dishes.
Growing up around family meals in Melbourne, she trained at Box Hill Institute and then perfected her pastry skills at William Angliss Institute. She loves mixing classic Australian flavors with fresh ideas to keep cooking fun and stress‑free.