Irresistible Brown Sugar Cookies Recipe

Soft & Buttery Brown Sugar Cookies Recipe: A Sweet Delight

Sweet aromas of warm brown sugar cookies waft through kitchens, promising comfort in every bite.

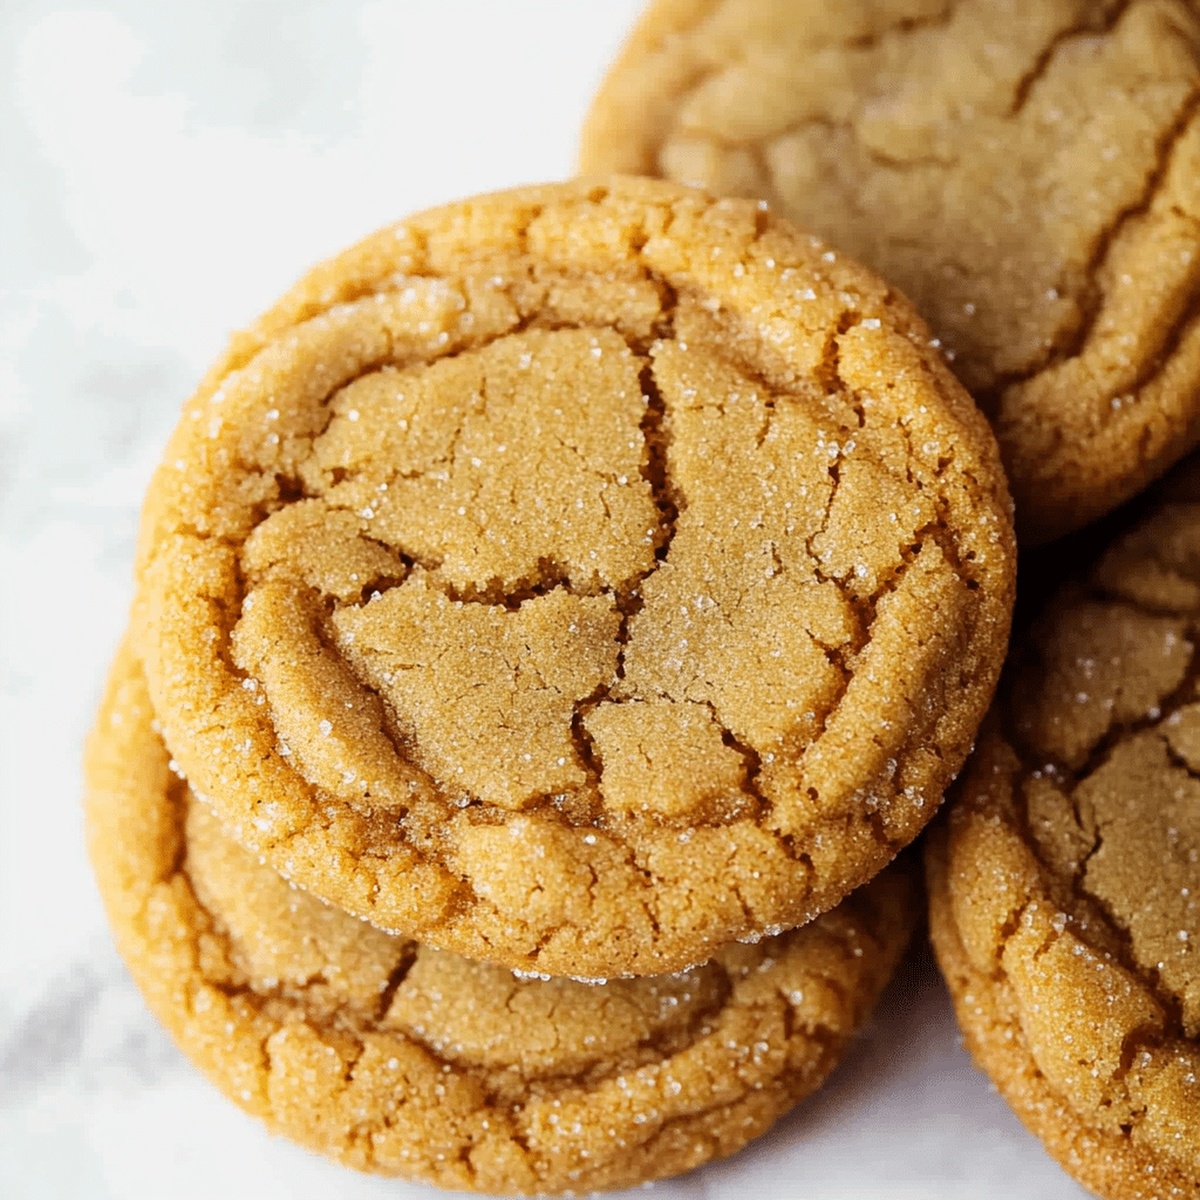
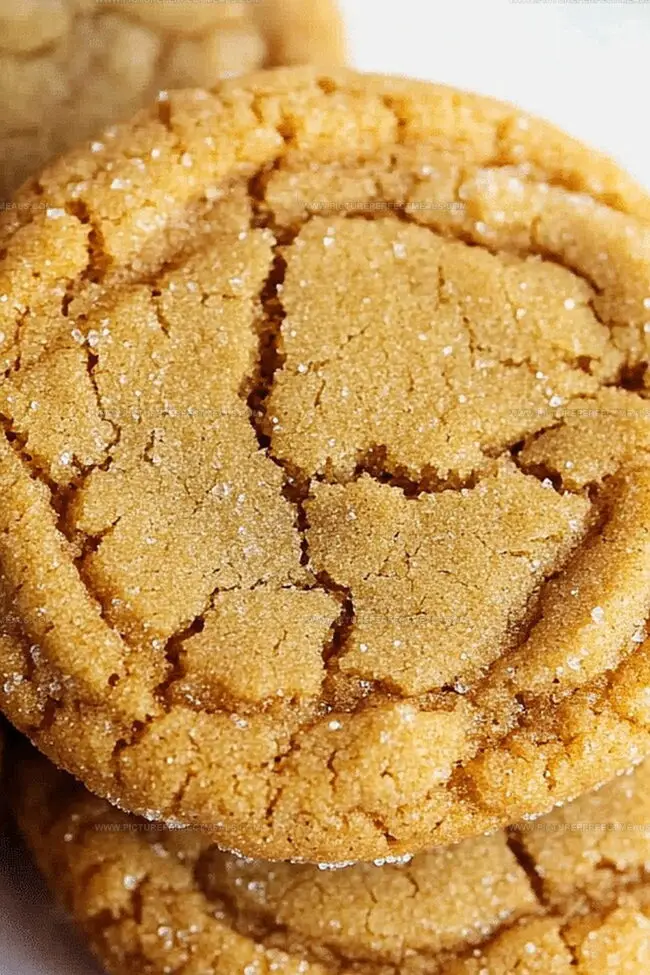
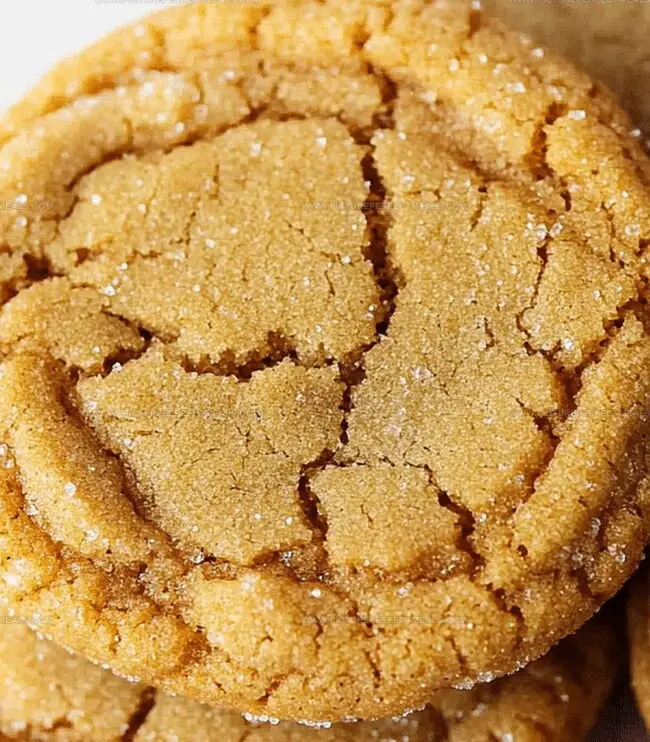
These delectable treats blend rich caramel notes with a soft, chewy texture that melts instantly.

Brown sugar cookies carry a nostalgic charm that connects generations of bakers and dessert lovers.

The simple ingredients transform into something magical with just a few careful steps.

Buttery edges and tender centers make these cookies a perfect companion to afternoon tea or an after-dinner indulgence.

Each cookie brings a sweet reminder of home-baked goodness that no store-bought treat can match.

Prepare to savor every delightful crumb of this beloved classic recipe.

Quick Recipe Overview

Prep Time: 10 minutes

Cook Time: 10 minutes

Total Time: 20 minutes

Calories: 185 kcal

Servings: 12

Building Blocks of Brown Sugar Cookies

For Base Ingredients:
  • Unsalted Butter: Melted butter creates rich, velvety texture and enhances the deep caramel notes of brown sugar.
  • Brown Sugar: Provides moisture, chewiness, and a luxurious molasses-like flavor to the cookies.
  • Granulated Sugar: Adds sweetness and helps create a delightful crackly exterior when rolled before baking.
For Binding Ingredients:
  • Egg: Helps bind the ingredients and provides structure to the cookie.
  • Egg Yolk: Adds extra richness and contributes to a softer, more tender cookie texture.
  • Vanilla Extract: Amplifies the warm, sweet flavor profile and adds depth to the overall taste.
For Dry Ingredients:
  • All-Purpose Flour: Forms the base structure of the cookie and ensures a perfect chewy consistency.
  • Baking Soda: Helps the cookies rise and spread, creating a soft and light texture.
  • Salt: Balances the sweetness and enhances the overall flavor complexity of the cookies.

Must-Have Tools for That Soft Bite

  • Large mixing bowl: Perfect for combining wet and dry ingredients smoothly.
  • Whisk: Essential for blending butter, sugar, eggs, and creating a creamy mixture.
  • Measuring cups and spoons: Crucial for accurate ingredient measurements.
  • Medium bowl: Needed for mixing dry ingredients separately.
  • Baking sheets: Key for baking cookies evenly.
  • Parchment paper or silicone mats: Prevents cookies from sticking and ensures easy cleanup.
  • Cookie scoop or tablespoon: Helps create uniform cookie sizes.
  • Wire cooling rack: Allows cookies to cool completely without becoming soggy.
  • Warm Up the Oven

Crank your oven to 350F and line baking sheets with parchment paper for smooth cookie magic.

  • Create Cookie Base

Blend melted butter and brown sugar into a silky smooth mixture that looks like caramel dreams.

  • Add Moisture and Flavor

Whisk in egg, extra egg yolk, and vanilla until the mixture becomes gorgeously glossy.

  • Combine Dry Elements

Gently mix flour, baking soda, and salt in a separate bowl, creating your secret cookie powder.

  • Form Tender Dough

Slowly fold dry ingredients into wet mixture, stirring just until everything comes together. Don’t overwork the dough.

  • Chill and Relax

Pop the dough in the refrigerator for 30 minutes to help cookies stay thick and luscious.

  • Shape Cookie Rounds

Roll dough into balls, optionally coating them in granulated sugar for a sparkling exterior.

  • Bake to Perfection

Place dough balls on prepared sheets, spacing them apart. Bake 9-11 minutes until edges look set but centers remain soft.

  • Cool and Enjoy

Let cookies rest on baking sheet for 5 minutes, then transfer to wire rack for complete cooling. Savor your homemade treats!

Level-Up Tips for More Texture and Chew

  • Butter Browning Boost: Brown the butter before mixing for a deeper, nuttier flavor that enhances the brown sugar's rich caramel notes.
  • Make-Ahead Magic: Prepare cookie dough up to 3 days in advance and store in the refrigerator, allowing flavors to develop and intensify.
  • Gluten-Free Goodness: Swap all-purpose flour with a gluten-free blend for those with wheat sensitivities, ensuring everyone can enjoy these delectable treats.
  • Texture Tricks: For extra chewiness, reduce baking time by 1-2 minutes and remove cookies when centers still look slightly soft and underbaked.
  • Flavor Fun: Experiment with mix-ins like chopped pecans, dark chocolate chips, or a sprinkle of sea salt to create unique flavor combinations that elevate the classic brown sugar cookie.

Serving Up the Softest Batch

  • Cozy Dessert Companion: Pair these brown sugar cookies with a warm mug of chai tea or spiced apple cider for a delightful flavor combination that enhances the cookie's rich caramel notes.
  • Sweet Scoop Delight: Top each cookie with a small scoop of vanilla bean ice cream or cinnamon gelato to create an indulgent dessert that balances the cookie's chewy texture with cool, creamy goodness.
  • Gifting Gourmet Touch: Package these cookies in cute mason jars or decorative tins with a ribbon, making them a perfect homemade gift for friends, teachers, or holiday gatherings, showcasing your baking skills with a personal touch.
  • Breakfast Treat Twist: Crumble these cookies over morning yogurt or use them as a base for a quick parfait, transforming your ordinary breakfast into a special morning indulgence with minimal effort.

Keep Those Cookies Soft Until the Last One

  • Fridge Storage Magic: Seal cooled cookies in an airtight container lined with parchment paper. These delightful treats stay fresh for 5-7 days when refrigerated, maintaining their soft and chewy texture.
  • Freezer Friendly Strategy: Layer cookies between wax paper in a freezer-safe container. Freeze up to 3 months for quick sweet treats. Thaw at room temperature for 15-20 minutes before enjoying.
  • Make-Ahead Dough Technique: Prepared cookie dough can rest in the refrigerator for 48 hours before baking. Wrap tightly in plastic wrap to prevent moisture loss and maintain optimal consistency.
  • Room Temperature Care: Keep cookies in a sealed container away from direct sunlight and heat. Room temperature storage works best for 3-4 days, ensuring maximum flavor and soft texture.
Print
clock clock iconcutlery cutlery iconflag flag iconfolder folder iconinstagram instagram iconpinterest pinterest iconfacebook facebook iconprint print iconsquares squares iconheart heart iconheart solid heart solid icon
Irresistible Brown Sugar Cookies Recipe

Irresistible Brown Sugar Cookies


5 Stars 4 Stars 3 Stars 2 Stars 1 Star

4.5 from 39 reviews

  • Total Time: 20 minutes
  • Yield: 13 1x

Description

Chewy brown sugar cookies offer a delightful twist on classic sweet treats. Warm caramel notes and rich molasses create an irresistible cookie you’ll savor with pure comfort and joy.


Ingredients

Scale
  • 1 ¾ cups (350 g) packed light brown sugar
  • ¾ cup (170 g or 1 ½ sticks) unsalted butter, melted and slightly cooled
  • 2 cups (240 g) all-purpose flour
  • 1 large egg
  • 1 large egg yolk
  • 1 tbsp vanilla extract
  • ½ tsp baking soda
  • ¼ tsp salt
  • ¼ cup (50 g) granulated sugar (for rolling)

Instructions

  1. Butter Fusion: Melt butter and whisk vigorously with brown sugar until achieving a creamy, homogeneous blend that hints at the cookie’s rich potential.
  2. Liquid Integration: Whisk whole egg, extra egg yolk, and vanilla extract into the butter-sugar mixture, creating a smooth, glossy foundation for the dough.
  3. Dry Component Preparation: Sift flour, baking soda, and salt together, ensuring even distribution of leavening agents and creating a light, consistent dry mixture.
  4. Dough Formation: Gently fold dry ingredients into wet mixture, stirring until just combined to maintain a tender, soft dough texture without overworking.
  5. Chill and Develop: Refrigerate dough for 30 minutes, allowing flavors to meld and ingredients to rest, which enhances the cookie’s ultimate chewiness.
  6. Shaping and Coating: Form uniform dough balls using a cookie scoop, optionally rolling in granulated sugar to create a sparkling, crackled exterior with delicate texture.
  7. Baking Precision: Arrange cookies on parchment-lined sheets with ample spacing, then bake in a preheated 350F oven for 9-11 minutes until edges set but centers remain slightly soft.
  8. Cooling Technique: Rest cookies on baking sheet for 5 minutes to stabilize structure, then transfer to a wire rack for complete cooling and optimal texture development.

Notes

  • Control Butter Melting: Melt butter carefully to avoid overheating, which can alter cookie texture and compromise chewiness.
  • Chill Dough Strategically: Refrigerate dough for exactly 30 minutes to improve flavor complexity and prevent excessive spreading during baking.
  • Sugar Rolling Technique: Gently roll cookie dough balls in granulated sugar for a delicate, crisp exterior that contrasts with the soft, chewy interior.
  • Precision Baking Time: Remove cookies from oven when edges are set but centers appear slightly underdone, ensuring a perfectly chewy texture that solidifies during cooling.
  • Prep Time: 10 minutes
  • Cook Time: 10 minutes
  • Category: Desserts, Snacks
  • Method: Baking
  • Cuisine: American

Nutrition

  • Serving Size: 13
  • Calories: 164
  • Sugar: 19 g
  • Sodium: 55 mg
  • Fat: 7 g
  • Saturated Fat: 4 g
  • Unsaturated Fat: 3 g
  • Trans Fat: 0 g
  • Carbohydrates: 24 g
  • Fiber: 0.5 g
  • Protein: 1.5 g
  • Cholesterol: 20 mg
Jenna Hartley

Jenna Hartley

Founder & Recipe Creator

Expertise

  • Recipe development with a focus on single-dish meals.
  • Fusion of traditional and modern Australian cuisines.
  • Food styling and photography for digital platforms.​

Education

Box Hill Institute, Melbourne

  • Degree: Advanced Diploma of Hospitality Management
  • Focus: Specialized in practical food and beverage service, responsible alcohol and hygiene compliance, legal risk management, and hands‑on experience in a simulated restaurant environment.

William Angliss Institute, Melbourne

  • Program: Certificate IV in Patisserie
  • Focus: Specialized in pastry and bakery techniques, cookery and specialty food preparation, recipe planning and costing, commercial kitchen operations, sustainable and inclusive work practices, food safety and hygiene compliance, and workplace health and safety.

Jenna is the heart of Picture Perfect Meals, turning simple ingredients into beautiful, easy‑to‑make dishes. 

Growing up around family meals in Melbourne, she trained at Box Hill Institute and then perfected her pastry skills at William Angliss Institute. She loves mixing classic Australian flavors with fresh ideas to keep cooking fun and stress‑free.

Leave a Reply

Your email address will not be published. Required fields are marked *

Recipe rating 5 Stars 4 Stars 3 Stars 2 Stars 1 Star