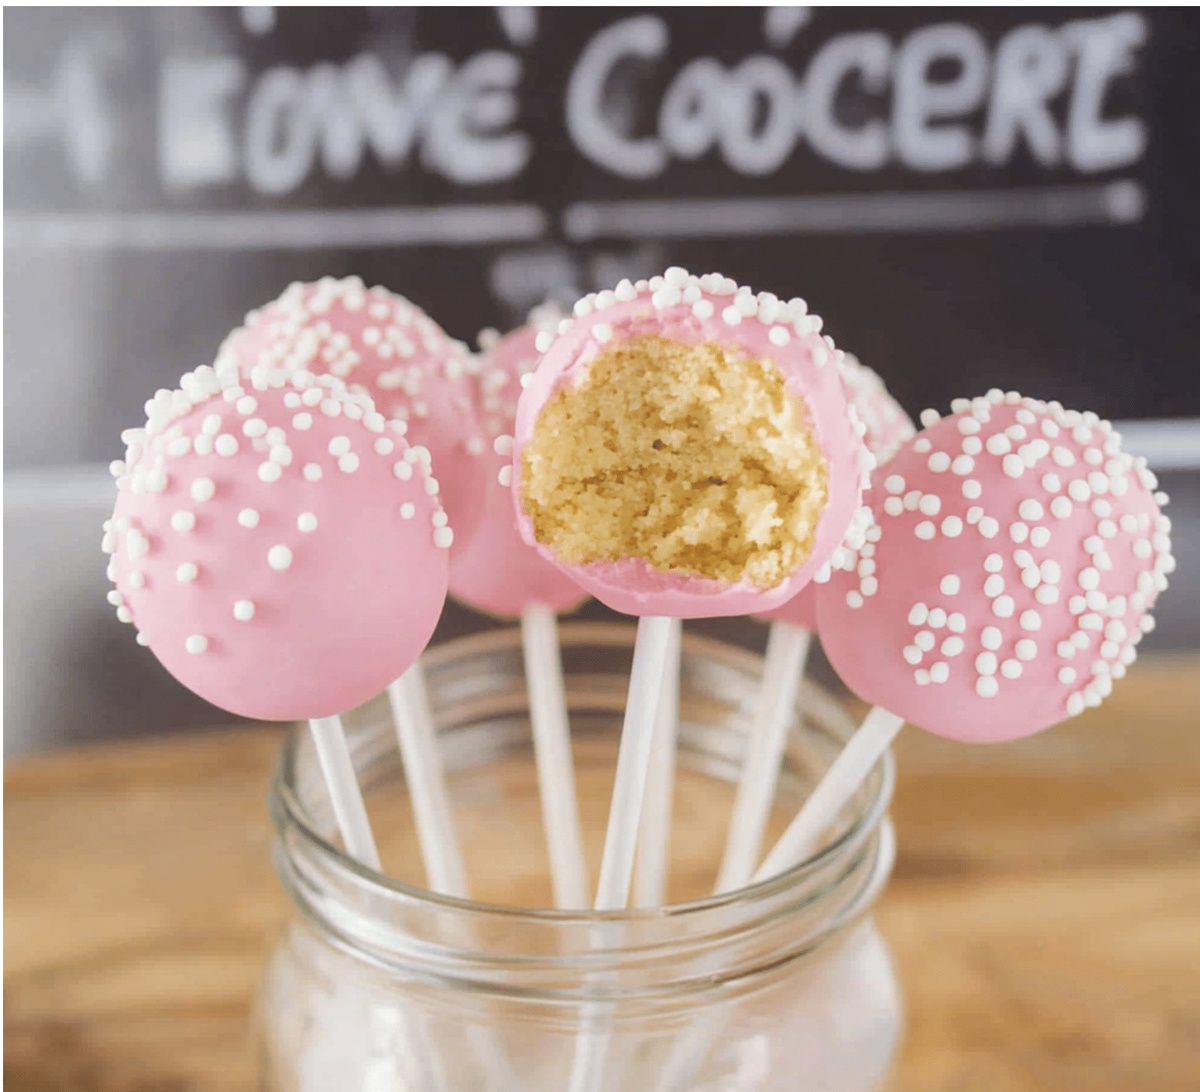
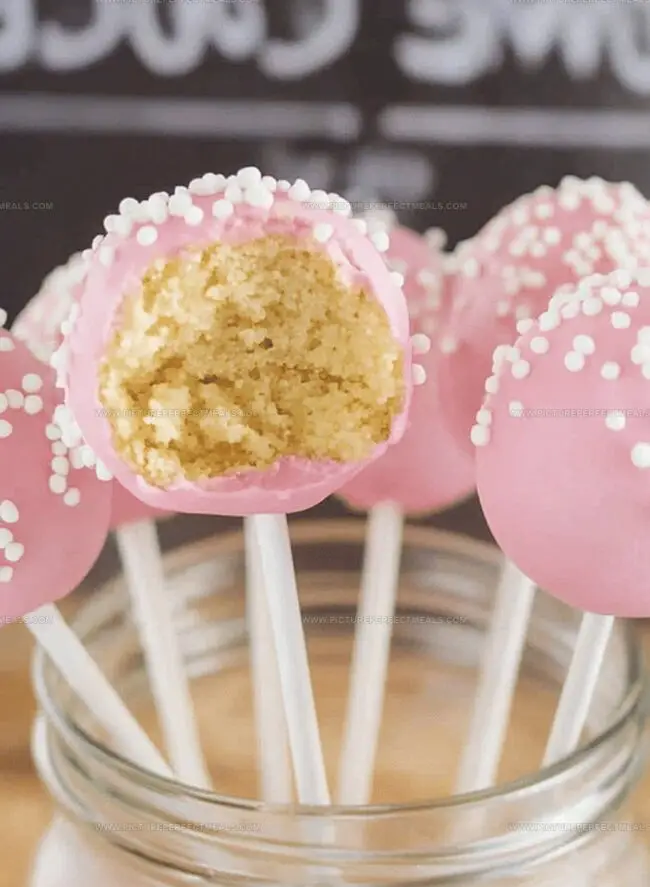
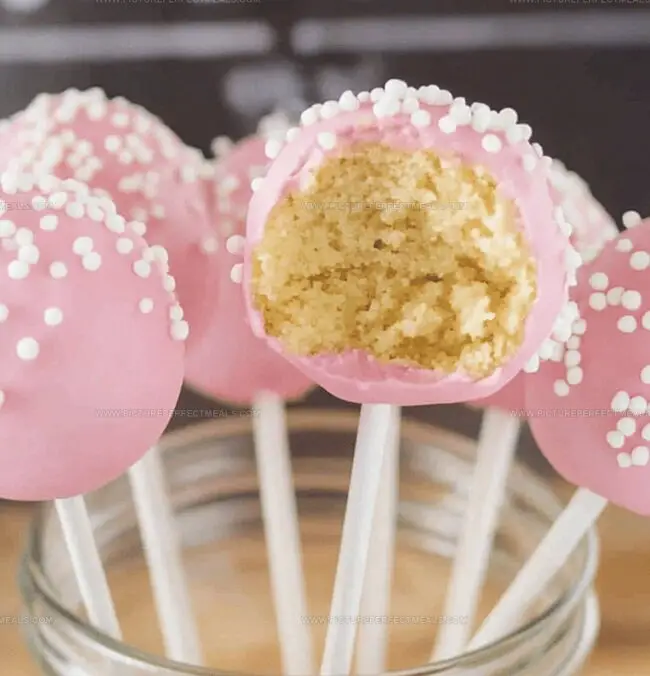
Dreamy Homemade Starbucks Cake Pops Recipe: Sweet Bliss on a Stick
Creamy, sweet, and bursting with flavor, these homemade Starbucks cake pops will transport you to dessert heaven.
The famous Starbucks cake pops have inspired countless bakers to recreate their magical treats.
Every bite promises a delightful blend of moist cake and smooth chocolate coating.
Bakery-style desserts like these offer a playful twist on traditional sweets.
You’ll love how simple ingredients combine to create something truly spectacular.
Each cake pop delivers a perfect balance of texture and taste.
Prepare to wow your friends with this delectable recipe that brings café-style indulgence right to your kitchen.
Quick Recipe Overview
All the Sweet Stuff for Starbucks Cake Pops
For Cake Base:For Binding and Moisture:For Coating and Decoration:What You’ll Need to Recreate That Famous Pop
Steps to Build These Cute Coffee Shop Treats
Grab your favorite cake mix or bake from scratch. Pour the batter into a pan and bake according to the recipe. Let the cake cool completely until it’s no longer warm to the touch.
Break the cake into tiny, delicate crumbs using your fingers or a fork. Transfer these soft crumbs into a roomy mixing bowl, creating a fluffy cake landscape.
Mix in frosting gradually, blending until the crumbs stick together perfectly. You want a consistency that holds its shape when gently pressed – not too dry, not too wet.
Scoop small portions of the mixture and roll them between your palms, creating smooth, round cake balls. Place these little gems on a parchment-lined tray and pop them in the freezer for a quick chill.
Gently melt candy coating in the microwave, stirring frequently to prevent burning. If the coating seems thick, add a touch of oil to create a silky smooth texture.
Dip each cake pop stick’s tip into the melted coating, then carefully insert into the cake balls. Return to the freezer for a quick set.
Submerge each cake ball into the coating, twirling to ensure even coverage. Shake off excess and immediately sprinkle with fun toppings before the coating hardens.
Allow cake pops to set completely, then arrange on a beautiful platter ready to delight everyone who sees them.
Tips for Coating, Dipping & Decorating
Serving Cake Pops at Parties or Just for Fun
Keeping Cake Pops Fresh for Days
Print
Irresistible Starbucks Cake Pops Recipe
- Total Time: 50 minutes
- Yield: 13 1x
Description
Starbucks cake pops deliver delightful miniature treats perfect for sweet cravings. Creamy frosting, moist cake, and playful decorations make these compact desserts a beloved indulgence for coffee shop enthusiasts.
Ingredients
- 1 box vanilla or chocolate cake mix
- ⅔ cup (155 g) vegetable oil (from cake mix box and extra)
- 2 eggs (from cake mix box)
- ½ cup (120 ml) water (from cake mix box)
- ⅓ cup (75 g) frosting
- 2 cups (340 g) candy melts
- Cake pop sticks
- Sprinkles or nonpareils
Instructions
- Cake Crumbling: Pulverize the cake into fine, delicate crumbs using fingertips or a fork, eliminating any substantial fragments.
- Mixture Preparation: Progressively blend frosting into cake crumbs, creating a cohesive, malleable texture that compacts seamlessly when pressed.
- Shaping and Chilling: Mold uniform spherical cake balls resembling golf ball dimensions, then stabilize by refrigerating on a parchment-lined tray for 15 minutes to enhance structural rigidity.
- Coating Preparation: Gently liquify candy coating in a microwave-safe vessel, stirring intermittently to prevent burning and achieve a velvety, smooth consistency.
- Stick Insertion and Dipping: Immerse stick tips into melted coating, then securely anchor into chilled cake balls; subsequently submerge each pop entirely in warm coating, allowing excess to cascade off through gentle tapping.
- Decorative Embellishment: Immediately adorn freshly coated cake pops with sprinkles or selected toppings to guarantee optimal adherence.
- Setting and Finalization: Position cake pops vertically in a specialized stand or foam block, permitting the coating to solidify completely and create a polished, professional presentation.
Notes
- Crumb Precision: Break cake into fine, uniform crumbs using gentle fingertip techniques to avoid large chunks that disrupt smooth texture.
- Moisture Balance: Add frosting incrementally, checking consistency to prevent overly wet or dry mixture that compromises cake pop structure.
- Uniform Sizing: Use consistent hand-rolling method and visual golf ball comparison to create perfectly shaped, symmetrical cake balls.
- Freezing Technique: Chill cake balls exactly 15 minutes to firm texture without freezing completely, ensuring optimal coating adhesion.
- Coating Temperature: Melt candy coating slowly, stirring frequently to prevent burning and maintain silky, smooth dipping consistency.
- Stick Insertion: Dip stick tips in coating before inserting to create stronger attachment and prevent cake ball separation.
- Drip Control: Gently tap excess coating to achieve clean, even exterior without creating messy, thick layers.
- Decoration Timing: Apply sprinkles or toppings immediately after dipping while coating remains wet for maximum adherence.
- Prep Time: 30 minutes
- Cook Time: 20 minutes
- Category: Desserts, Snacks
- Method: Baking
- Cuisine: American
Nutrition
- Serving Size: 13
- Calories: 150
- Sugar: 12 g
- Sodium: 150 mg
- Fat: 7 g
- Saturated Fat: 1 g
- Unsaturated Fat: 6 g
- Trans Fat: 0 g
- Carbohydrates: 20 g
- Fiber: 0 g
- Protein: 2 g
- Cholesterol: 30 mg
Jenna Hartley
Founder & Recipe Creator
Expertise
Education
Box Hill Institute, Melbourne
William Angliss Institute, Melbourne
Jenna is the heart of Picture Perfect Meals, turning simple ingredients into beautiful, easy‑to‑make dishes.
Growing up around family meals in Melbourne, she trained at Box Hill Institute and then perfected her pastry skills at William Angliss Institute. She loves mixing classic Australian flavors with fresh ideas to keep cooking fun and stress‑free.