Juicy Steamed Momos Recipe

Irresistibly Plump Juicy Steamed Momos Recipe for Beginners

Nestled in the heart of Himalayan cuisine, these momo steaming techniques create delectable dumplings that burst with savory momos flavors.

The delicate wrappers hold a treasure of spiced fillings waiting to tantalize your taste buds.

Each bite promises a delightful journey through traditional Nepalese and Tibetan culinary traditions.

Crafted with care, these dumplings showcase the art of careful wrapping and precise steaming.

Aromatic spices mingle with tender meat or vegetables, creating a mouthwatering experience.

The soft, translucent exterior gives way to a rich, flavorful interior that will transport you to the mountain regions.

Prepare to embark on a culinary adventure that celebrates the simplicity and depth of Himalayan comfort food.

Quick Recipe Overview

Prep Time: 30 minutes

Cook Time: 10-12 minutes

Total Time: 42 minutes

Calories: 250 kcal

Servings: 4

Ingredients for Steamed Momos

For Dough Base:
  • All-Purpose Flour: Provides the soft, pillowy wrapper foundation for your momo adventure.
  • Salt: Enhances the dough's natural flavor and balances the overall taste.
For Hydration and Binding:
  • Water: Transforms flour into a supple, stretchy dough that will cradle your delicious filling.
For Resting:
  • Resting Time: Allows gluten to relax, making the dough more pliable and easier to roll out without resistance.

Tools for Making Steamed Momos

  • Mixing Bowl: Large vessel for combining flour and salt, perfect for dough preparation.
  • Measuring Cups: Essential for accurate flour and water measurements.
  • Kneading Surface: Clean countertop or board for working the dough.
  • Rolling Pin: Helps create thin, even dough circles for momos.
  • Steamer: Bamboo or metal steamer for cooking momos to perfection.
  • Kitchen Knife: For precise dough cutting and shaping.
  • Plastic Wrap: Covers dough during resting period to prevent drying.

Step-by-Step Instructions for Steamed Momos

  • Create Dough Knead flour and salt together in a spacious mixing bowl. Slowly incorporate water, working the mixture until it becomes silky and stretchy. Let the dough relax and settle for half an hour.
  • Roll Out Dough Dust your workspace with a light coating of flour. Divide the dough into small, even portions. Use a rolling pin to transform each piece into thin, delicate circles.
  • Prepare Filling Combine your selected ingredients, mixing them thoroughly. Ensure the filling is well-seasoned and balanced in texture.
  • Shape Momos Place a small amount of filling in the center of each dough circle. Fold and pinch the edges, creating beautiful pleated pouches that seal in the delicious contents.
  • Steam To Perfection Set up a steamer with a gentle water base. Arrange the momos carefully, ensuring they don't touch. Cover and steam until the dough becomes translucent and the filling is perfectly cooked.
  • Serve and Enjoy Transfer the steamed momos to a serving plate. Pair with a zesty dipping sauce that complements the delicate flavors of your handcrafted dumplings.

Cooking Tips for Perfect Steamed Momos

  • Dough Texture Magic: Knead the dough until it's silky smooth and springs back when gently pressed, indicating perfect elasticity for tender momos.
  • Steam Perfection Trick: Use a bamboo steamer lined with cabbage or parchment paper to prevent sticking and add a subtle flavor to your dumplings.
  • Freezing Wisdom: Uncooked momos freeze beautifully – arrange them on a tray, freeze separately, then transfer to freezer bags for quick future meals that cook directly from frozen.
  • Gluten-Free Alternative: Replace wheat flour with a mix of rice flour and chickpea flour to create delicious gluten-free momos that maintain a similar soft texture and authentic taste.
  • Filling Flexibility: Experiment with vegetarian options like paneer, mixed vegetables, or tofu for those avoiding meat, ensuring the same delightful dumpling experience with creative, nutritious fillings.

How to Serve Steamed Momos

  • Momo Feast Companion: Pair these delicious dumplings with tangy tomato achar (spicy pickle) for an authentic Nepalese dining experience.
  • Dipping Delight: Create a zesty sauce by mixing soy sauce, chopped green chilies, and a splash of vinegar to enhance the momos' flavor profile.
  • Sidekick Sensation: Serve alongside a light vegetable clear soup or a fresh cucumber salad to balance the richness of the steamed dumplings.
  • Presentation Pro: Arrange momos on a colorful ceramic plate, garnish with fresh cilantro leaves, and add a small bowl of dipping sauce for an Instagram-worthy meal.

Storage and Meal Planning for Steamed Momos

  • Smart Portioning: Prepare extra dough and filling to freeze uncooked momos for quick future meals – simply store in sealed containers or freezer bags for up to 3 months.
  • Refrigeration Strategy: Cooked momos stay fresh in airtight containers for 2-3 days. Reheat by steaming for 3-4 minutes to maintain original texture and flavor.
  • Filling Freshness: Keep raw meat and vegetable fillings separately in sealed containers in the refrigerator, using within 24 hours for optimal taste and safety.
  • Dough Care: Wrap unused dough in plastic wrap and store in the refrigerator for up to 2 days. Allow dough to reach room temperature before rolling and shaping to prevent cracking.
Print
clock clock iconcutlery cutlery iconflag flag iconfolder folder iconinstagram instagram iconpinterest pinterest iconfacebook facebook iconprint print iconsquares squares iconheart heart iconheart solid heart solid icon
Juicy Steamed Momos Recipe

Juicy Steamed Momos Recipe


5 Stars 4 Stars 3 Stars 2 Stars 1 Star

4.6 from 26 reviews

  • Total Time: 42 minutes
  • Yield: 5 1x

Description

Nepali steamed momos highlight delicate dumplings filled with spiced meat or vegetables. Delicious parcels showcase traditional Himalayan culinary craftsmanship that entices you with authentic flavors and comforting textures.


Ingredients

Scale
  • 250 g (½ lb) ground chicken
  • 1 cup cabbage (finely shredded)
  • ½ cup onions (finely chopped)
  • ½ cup carrots (grated)
  • ½ cup mushrooms or tofu (finely chopped, optional)
  • 1 tsp soy sauce
  • 2 cloves garlic (minced)
  • 1-inch ginger (grated)
  • ¼ cup green onions or cilantro (chopped)
  • ½ tsp salt
  • ½ tsp black pepper
  • ½ tsp sesame oil (optional)
  • 2 cups all-purpose flour
  • ¾ cup water (adjust as needed)
  • ½ tsp salt
  • 1 tbsp oil (optional, for softer dough)
  • ½ tsp sesame oil (optional, for extra flavor)

Instructions

  1. Dough Preparation: Blend flour and salt in a mixing bowl, creating a cohesive base for the momos. Gradually incorporate water while kneading until the dough becomes smooth, elastic, and responsive to touch.
  2. Resting Phase: Cover the dough with a damp cloth and let it rest for 30 minutes, allowing gluten to relax and enhance the dough’s pliability.
  3. Filling Creation: Combine minced meat or vegetables with finely chopped onions, garlic, ginger, and aromatic spices, mixing thoroughly to distribute flavors evenly.
  4. Dough Shaping: Roll the rested dough into a long cylindrical shape, then divide into small, uniform portions. Flatten each portion with a rolling pin into thin, circular wrappers.
  5. Momo Assembly: Place a spoonful of prepared filling in the center of each wrapper. Carefully fold and pleat the edges, creating a delicate, sealed parcel that traps the savory filling inside.
  6. Steaming Process: Arrange momos in a steamer lined with cabbage or parchment paper, ensuring they do not touch each other. Steam over boiling water for 10-12 minutes until the dough becomes translucent and fully cooked.
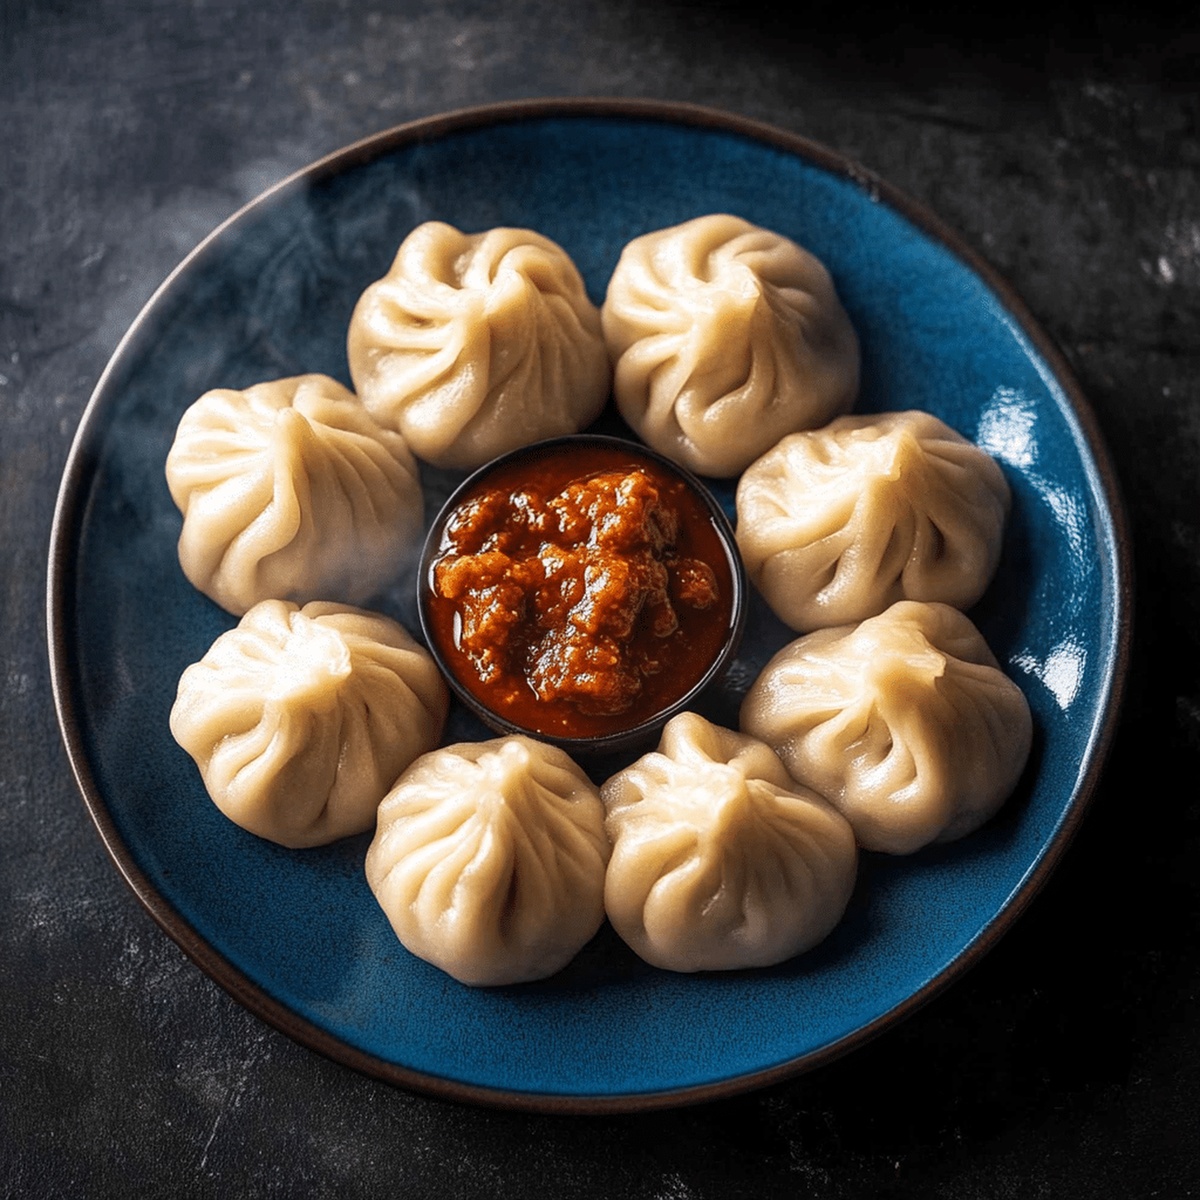
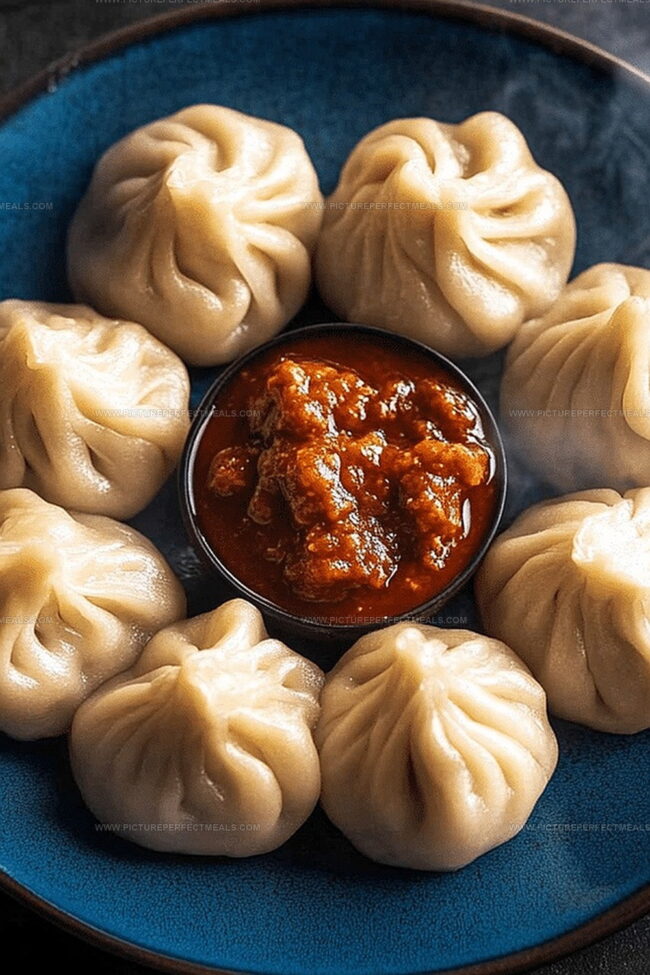
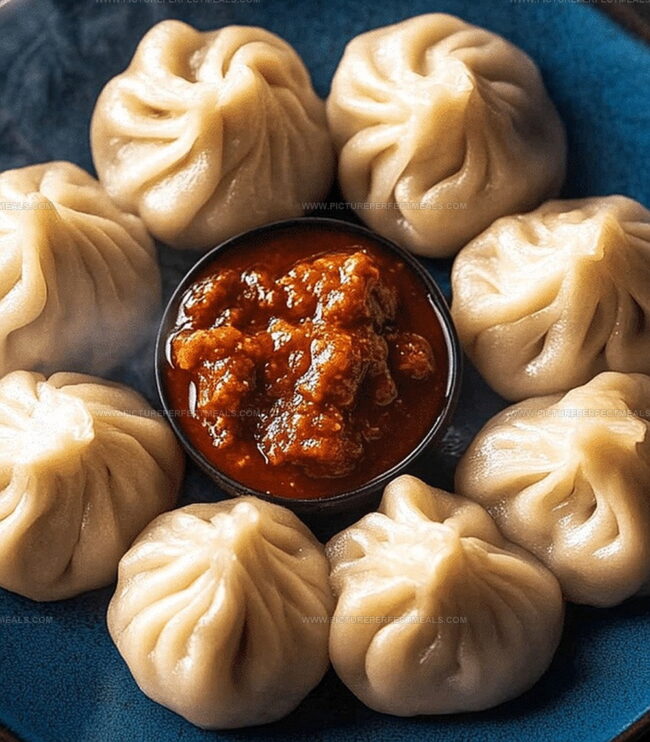
  7. Serving Suggestion: Transfer steamed momos to a serving plate and accompany with a zesty dipping sauce made from chili, garlic, and vinegar for an authentic Himalayan culinary experience.

Notes

  • Perfect Dough Consistency: Knead the dough until it becomes smooth and elastic, with a slight sheen that indicates proper hydration and gluten development.
  • Resting is Crucial: Let the dough rest covered for exactly 30 minutes to allow gluten relaxation, making the dough easier to roll and preventing tough momo wrappers.
  • Wrapper Thickness Matters: Roll out wrappers thin enough to be translucent but strong enough to hold filling without tearing – aim for about 1/8 inch thickness for ideal steaming results.
  • Moisture Control: Dust work surface lightly with flour to prevent sticking, but avoid adding too much which can make wrappers dry and prone to cracking during folding and steaming.
  • Prep Time: 30 minutes
  • Cook Time: 10-12 minutes
  • Category: Snacks, Appetizer
  • Method: Steaming
  • Cuisine: Tibetan

Nutrition

  • Serving Size: 5
  • Calories: 220
  • Sugar: 1 g
  • Sodium: 300 mg
  • Fat: 5 g
  • Saturated Fat: 1 g
  • Unsaturated Fat: 4 g
  • Trans Fat: 0 g
  • Carbohydrates: 32 g
  • Fiber: 2 g
  • Protein: 10 g
  • Cholesterol: 50 mg
Jenna Hartley

Jenna Hartley

Founder & Recipe Creator

Expertise

  • Recipe development with a focus on single-dish meals.
  • Fusion of traditional and modern Australian cuisines.
  • Food styling and photography for digital platforms.​

Education

Box Hill Institute, Melbourne

  • Degree: Advanced Diploma of Hospitality Management
  • Focus: Specialized in practical food and beverage service, responsible alcohol and hygiene compliance, legal risk management, and hands‑on experience in a simulated restaurant environment.

William Angliss Institute, Melbourne

  • Program: Certificate IV in Patisserie
  • Focus: Specialized in pastry and bakery techniques, cookery and specialty food preparation, recipe planning and costing, commercial kitchen operations, sustainable and inclusive work practices, food safety and hygiene compliance, and workplace health and safety.

Jenna is the heart of Picture Perfect Meals, turning simple ingredients into beautiful, easy‑to‑make dishes. 

Growing up around family meals in Melbourne, she trained at Box Hill Institute and then perfected her pastry skills at William Angliss Institute. She loves mixing classic Australian flavors with fresh ideas to keep cooking fun and stress‑free.

Leave a Reply

Your email address will not be published. Required fields are marked *

Recipe rating 5 Stars 4 Stars 3 Stars 2 Stars 1 Star