Luscious Cherry Mash Bars Recipe

Sweet Cherry Mash Bars Recipe: Irresistible Homemade Treats

Sweet treats often surprise us, and these cherry mash bars deliver unexpected delight with their extraordinary flavor combination.

Chocolate lovers recognize this classic candy-inspired dessert that blends creamy textures and rich taste sensations.

Smooth peanut butter forms the base of these decadent bars, creating a rich foundation for the cherry layer.

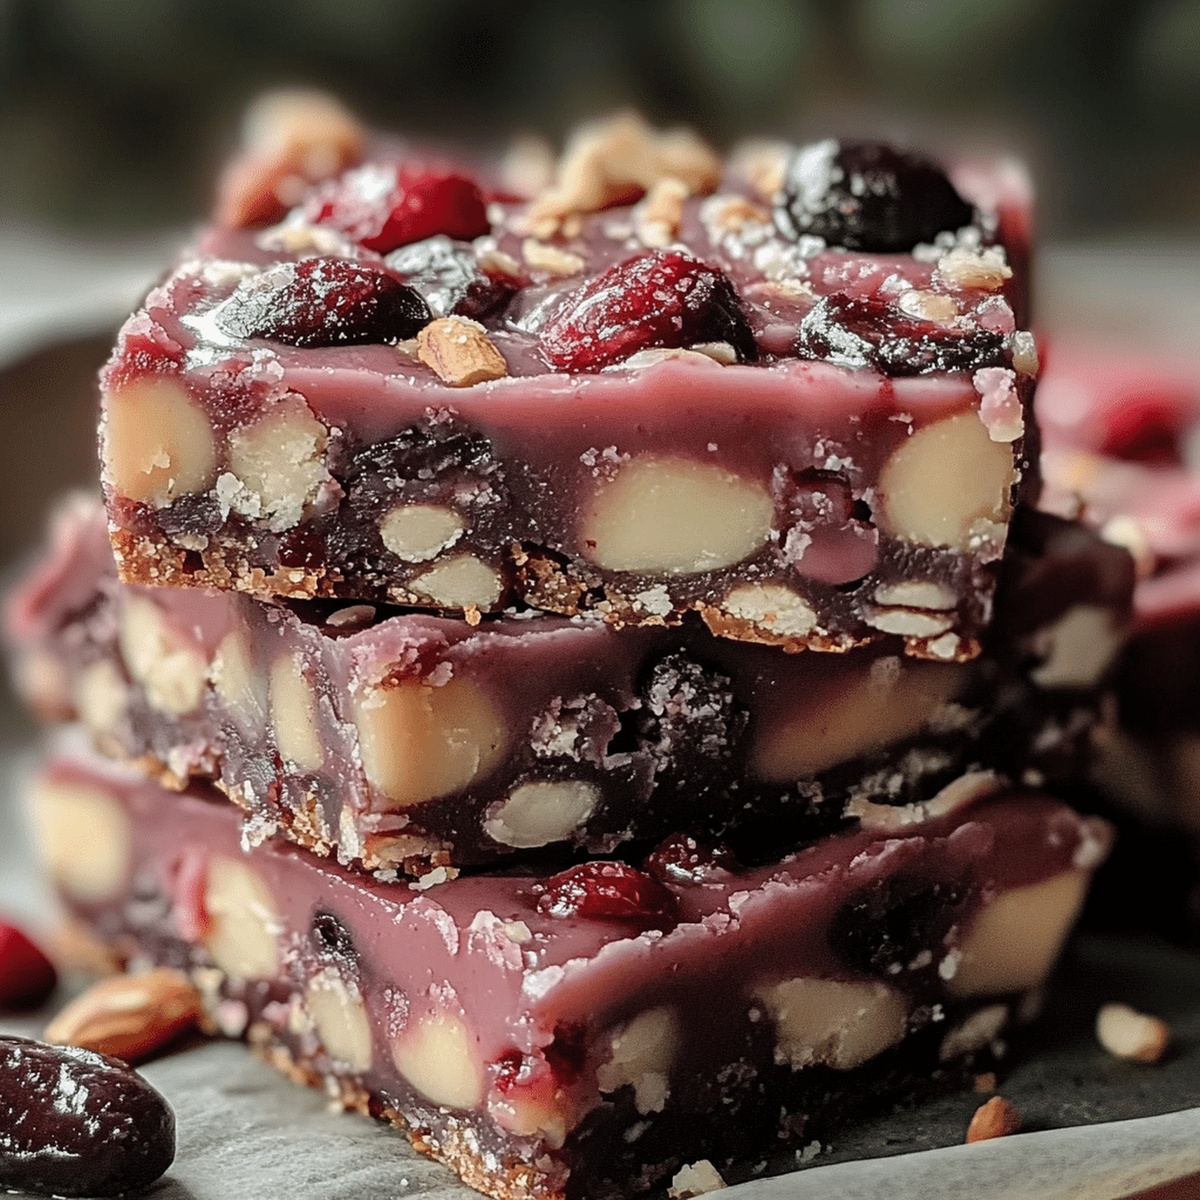
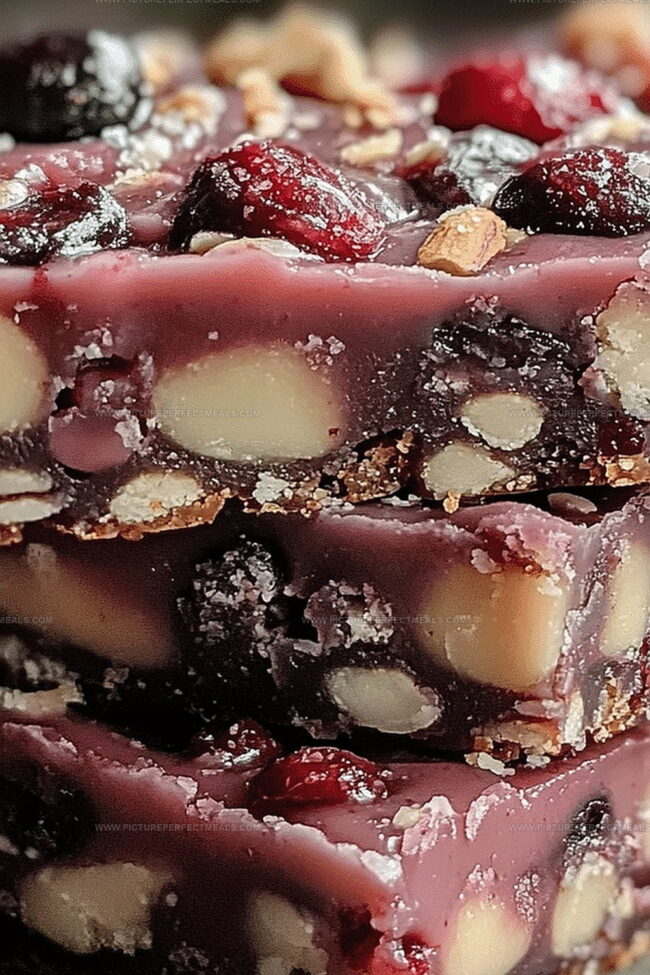
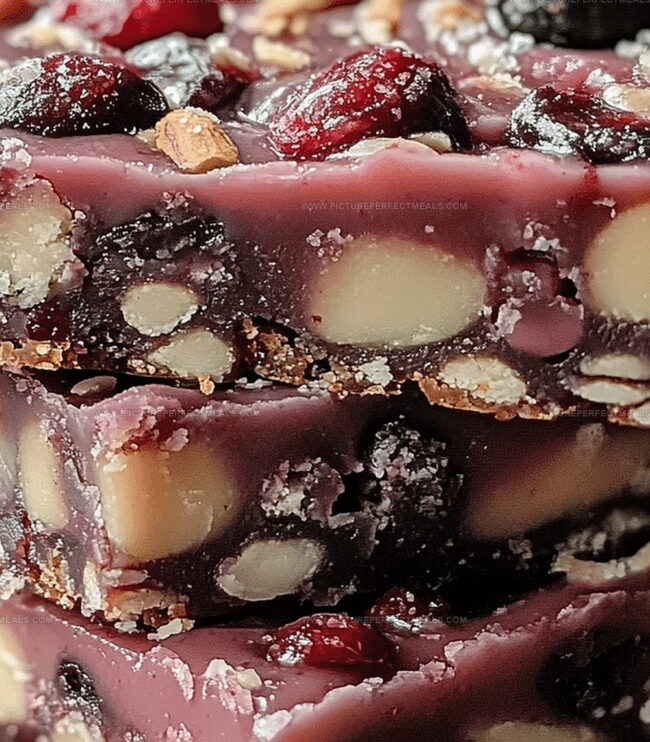
Homemade cherry mash bars offer a nostalgic twist on a beloved candy that melts in your mouth.

Each bite delivers a perfect balance of sweet cherry and nutty undertones.

The recipe transforms simple ingredients into a spectacular dessert that will leave everyone craving more.

Prepare to indulge in a treat that brings pure joy to your taste buds.

Quick Recipe Overview

Prep Time: 20 minutes

Cook Time: 1 hour

Total Time: 1 hour 20 minutes

Calories: 268 kcal

Servings: 12

Cherry Mash Bars Ingredient List

For Base and Binding:
  • Powdered Sugar: Sweetens and helps create a smooth, rollable texture for the cherry mixture.
  • Butter: Provides richness and helps bind the ingredients together with a creamy consistency.
  • Almond Extract: Adds a subtle, nutty depth that complements the cherry flavor beautifully.
For Fruity Punch:
  • Maraschino Cherry Juice: Infuses the mixture with bright, sweet cherry essence and helps with moisture.
  • Maraschino Cherries: Introduces bursts of vibrant cherry pieces and additional sweetness to the recipe.
For Preparation Support:
  • Parchment Paper: Ensures easy removal of frozen cherry balls and prevents sticking during the freezing process.

Cherry Mash Bars Tools You’ll Want

  • Large mixing bowl: Essential for combining ingredients smoothly and evenly.
  • Electric mixer or hand mixer: Perfect for beating sugar and butter to a creamy consistency.
  • Parchment-lined baking sheet: Provides a clean, non-stick surface for freezing cherry balls.
  • Measuring cups and spoons: Helps accurately measure powdered sugar, butter, and cherry juice.
  • Spatula or wooden spoon: Great for folding cherries into the mixture and scraping bowl sides.
  • Sharp knife: Useful for chopping maraschino cherries into small pieces.

How to Put Together Cherry Mash Bars

  • Create Cherry Core

Mix powdered sugar, butter, cherry juice, and almond extract until smooth and creamy. Fold in chopped cherries, ensuring the mixture holds together when rolled.

  • Shape Delightful Bites

Roll the cherry mixture into small round balls. Place them carefully on a parchment-lined tray and pop into the freezer for a chilly nap (at least one hour) until completely solid.

  • Craft Chocolate Shell

Melt chocolate chips with a touch of oil in a microwave, stirring every 30 seconds until silky and glossy. Remove frozen cherry balls from freezer.

  • Dunk and Coat

Carefully dip each frozen cherry ball into melted chocolate, using a fork to lift and let excess chocolate drip away. Place coated treats back on parchment paper.

  • Chill and Set

Return chocolate-covered cherry bites to the freezer for 10-15 minutes until chocolate hardens completely. Store in an airtight container in the refrigerator for up to a week.

Pro Tips for Cherry Mash Bars Success

  • Chill for Success: Freezing the cherry balls helps them maintain shape and makes chocolate coating easier, ensuring a perfect texture every time.
  • Texture Tweak: If the mixture feels too soft, gradually add more powdered sugar to achieve the right consistency for rolling and shaping.
  • Dairy-Free Delight: Swap butter with coconut oil or vegan margarine to create a delicious dairy-free version that everyone can enjoy.
  • Cherry Creativity: Experiment with different extracts like vanilla or coconut to add unique flavor dimensions to the classic cherry mash bars.
  • Make-Ahead Magic: These bars can be prepared in advance and stored in an airtight container in the freezer for up to 2 weeks, making them perfect for quick dessert options.

Serving Ideas for Cherry Mash Bars

  • Flavor Explosion Platter: Arrange these cherry mash bars on a colorful ceramic plate with a dusting of powdered sugar and fresh mint leaves for a stunning dessert presentation that'll wow your guests.
  • Cherry Chiller Companion: Serve these sweet treats alongside a scoop of vanilla bean ice cream or a chilled glass of cherry liqueur to enhance the fruity, rich flavors and create a delightful dessert experience.
  • Picnic Perfect Pairing: Pack these bars in a cute container for outdoor gatherings, matching them with light cream cheese and graham crackers for a delicious portable snack that everyone will adore.
  • Brunch Brilliance: Include these cherry mash bars on a weekend brunch dessert board with other bite-sized sweets, creating a beautiful spread that celebrates the delicate cherry flavor and offers guests multiple tasty options.

Save and Plan with Cherry Mash Bars

  • Chill and Set: Freeze the cherry balls for at least an hour to help them maintain shape and make coating easier.
  • Refrigerator Storage: Keep completed Cherry Mash Bars in an airtight container for up to 5 days, placing wax paper between layers to prevent sticking.
  • Make-Ahead Magic: Prepare the cherry mixture and freeze the balls up to 2 weeks in advance, offering flexible preparation for busy schedules.
  • Room Temperature Tips: Allow bars to sit at room temperature for 5-10 minutes before serving to soften slightly and enhance flavor texture.
Print
clock clock iconcutlery cutlery iconflag flag iconfolder folder iconinstagram instagram iconpinterest pinterest iconfacebook facebook iconprint print iconsquares squares iconheart heart iconheart solid heart solid icon
Luscious Cherry Mash Bars Recipe

Luscious Cherry Mash Bars Recipe


5 Stars 4 Stars 3 Stars 2 Stars 1 Star

4.7 from 29 reviews

  • Total Time: 1 hour 20 minutes
  • Yield: 13 1x

Description

Rich cherry mash bars blend nostalgic Midwestern candy with creamy chocolate layers. Homemade treats showcase classic American dessert flavors in simple, irresistible bites you’ll savor.


Ingredients

Scale
  • 2 cups (250 g/8.8 oz) powdered sugar
  • 2 cups (340 g/12 oz) semi-sweet chocolate chips
  • 1 cup (150 g/5.3 oz) finely chopped roasted peanuts
  • ½ cup (100 g/3.5 oz) finely chopped maraschino cherries
  • ¼ cup (60 g/2.1 oz) unsalted butter, softened
  • ¼ cup (60 ml/2 fl oz) maraschino cherry juice
  • 1 tsp almond extract

Instructions

  1. Creamy Base Preparation: Whip powdered sugar, softened butter, maraschino cherry juice, and almond extract in a large mixing bowl until smooth and uniformly blended, creating a luxurious foundational mixture.
  2. Cherry Integration: Fold chopped maraschino cherries into the creamy base, adjusting consistency with powdered sugar if needed to maintain a compact, moldable texture that holds its shape effortlessly.
  3. Forming and Chilling: Shape the cherry-studded mixture into uniform one-inch spheres, arranging them carefully on a parchment-lined tray. Freeze the tray for at least one hour, allowing the cherry orbs to solidify completely and develop a firm, structurally sound consistency.

Notes

  • Moisture Control: Adjust powdered sugar gradually to prevent dry or crumbly texture, ensuring the mixture binds perfectly without becoming too stiff.
  • Chill Technique: Freezing is crucial for maintaining structural integrity, allowing cherry balls to set firmly and develop concentrated flavor profile.
  • Cherry Distribution: Chop cherries finely and evenly to guarantee consistent taste and prevent large chunks that might disrupt smooth texture.
  • Extract Balance: Use almond extract sparingly; its intense flavor can overpower delicate cherry notes, so measure precisely for optimal taste harmony.
  • Prep Time: 20 minutes
  • Cook Time: 1 hour
  • Category: Desserts, Snacks
  • Method: None
  • Cuisine: American

Nutrition

  • Serving Size: 13
  • Calories: 233
  • Sugar: 22 g
  • Sodium: 33 mg
  • Fat: 12 g
  • Saturated Fat: 4 g
  • Unsaturated Fat: 7 g
  • Trans Fat: 0 g
  • Carbohydrates: 30 g
  • Fiber: 1 g
  • Protein: 3 g
  • Cholesterol: 6 mg
Jenna Hartley

Jenna Hartley

Founder & Recipe Creator

Expertise

  • Recipe development with a focus on single-dish meals.
  • Fusion of traditional and modern Australian cuisines.
  • Food styling and photography for digital platforms.​

Education

Box Hill Institute, Melbourne

  • Degree: Advanced Diploma of Hospitality Management
  • Focus: Specialized in practical food and beverage service, responsible alcohol and hygiene compliance, legal risk management, and hands‑on experience in a simulated restaurant environment.

William Angliss Institute, Melbourne

  • Program: Certificate IV in Patisserie
  • Focus: Specialized in pastry and bakery techniques, cookery and specialty food preparation, recipe planning and costing, commercial kitchen operations, sustainable and inclusive work practices, food safety and hygiene compliance, and workplace health and safety.

Jenna is the heart of Picture Perfect Meals, turning simple ingredients into beautiful, easy‑to‑make dishes. 

Growing up around family meals in Melbourne, she trained at Box Hill Institute and then perfected her pastry skills at William Angliss Institute. She loves mixing classic Australian flavors with fresh ideas to keep cooking fun and stress‑free.

Leave a Reply

Your email address will not be published. Required fields are marked *

Recipe rating 5 Stars 4 Stars 3 Stars 2 Stars 1 Star