Luscious Matildas Chocolate Cake Recipe

Heavenly Matildas Chocolate Cake Recipe: Sweet Bliss in Every Bite

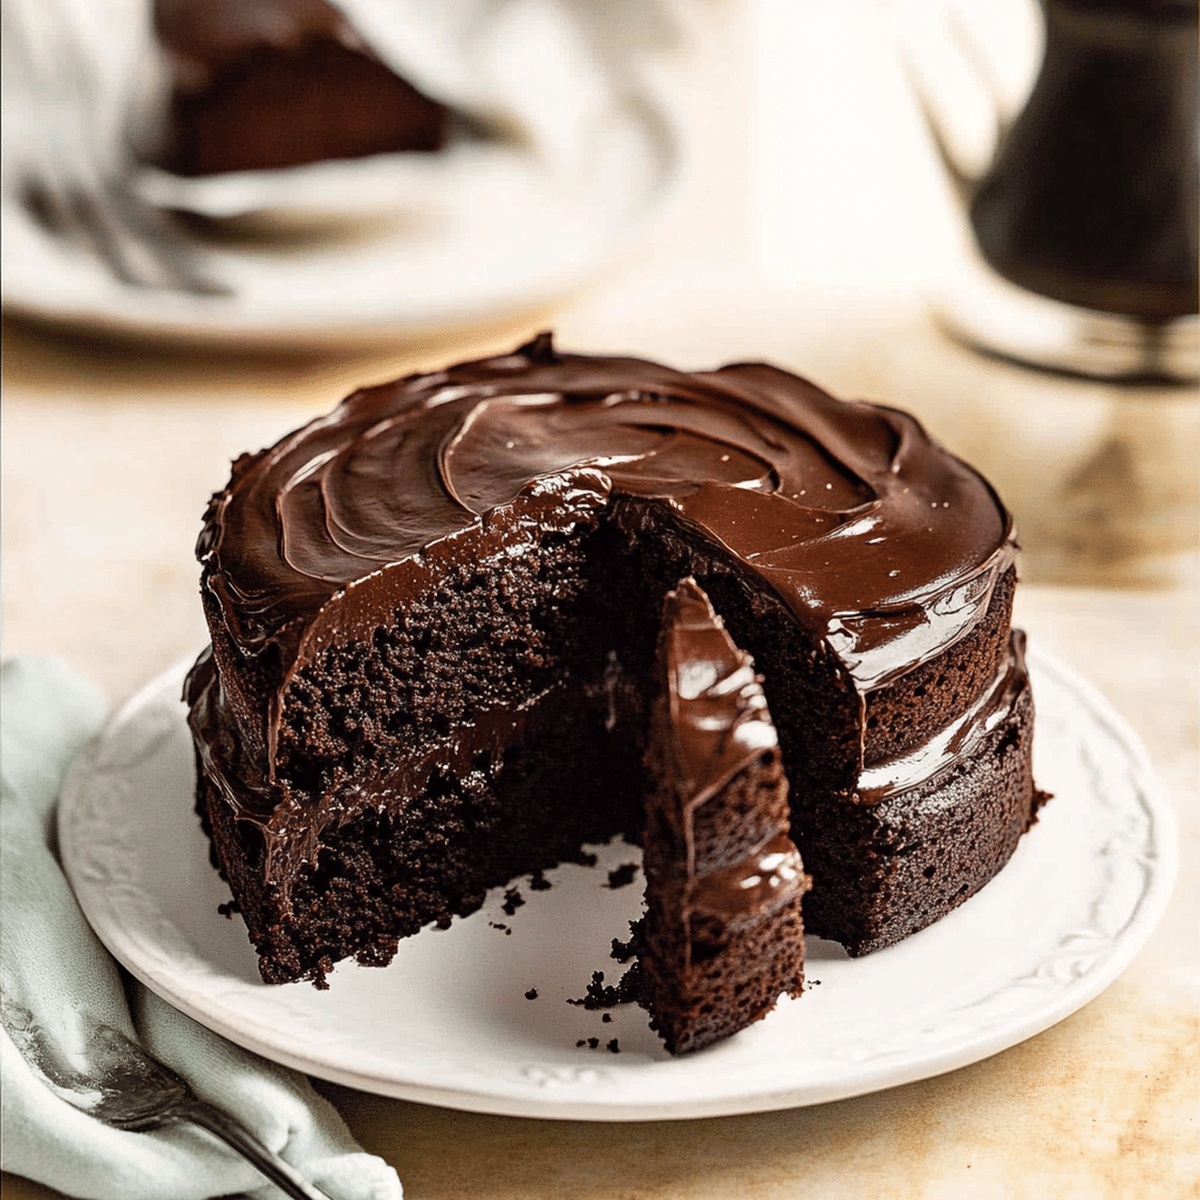
Chocolate lovers can’t resist a slice of decadent matildas chocolate cake that melts in your mouth.

This recipe brings pure joy to every dessert table with its rich, velvety texture.

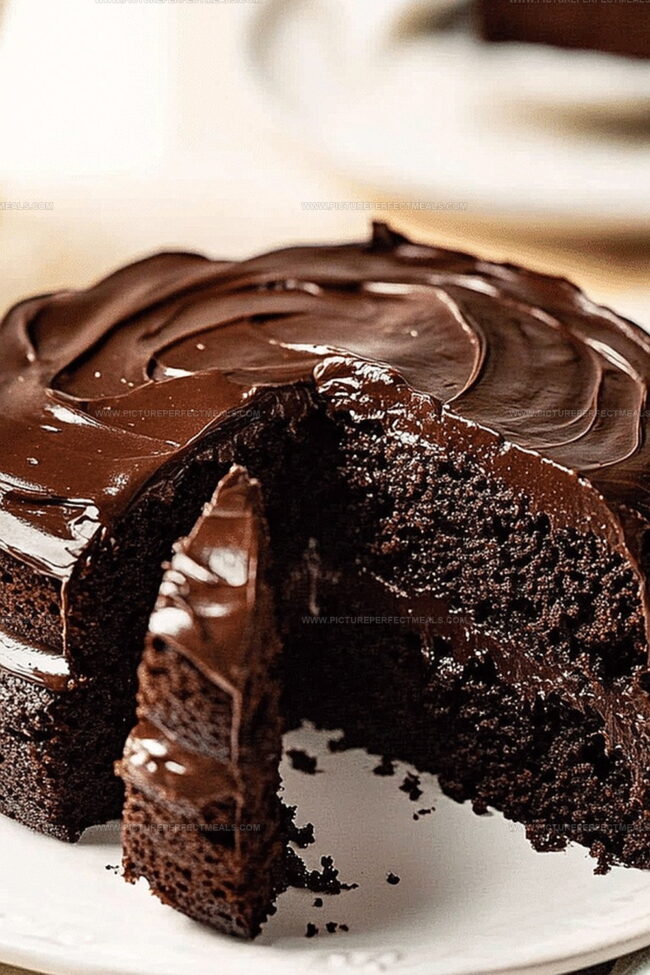
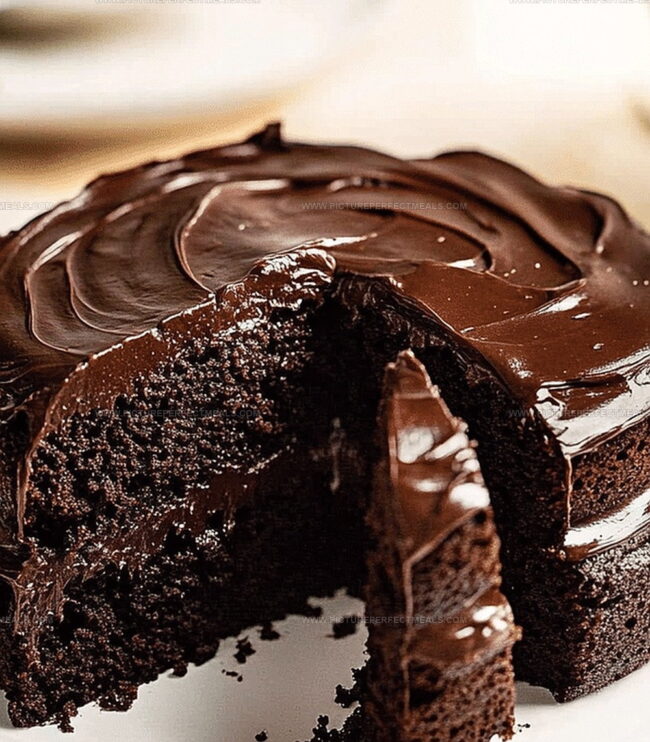
Layers of moist chocolate goodness create an irresistible treat that beckons sweet tooths everywhere.

Each bite promises a delightful explosion of chocolate flavor that will make your taste buds dance.

The simple ingredients come together effortlessly to create a cake that looks impressive and tastes even better.

Chocolate enthusiasts will adore this foolproof dessert that’s perfect for any celebration or casual weekend indulgence.

Prepare to fall in love with the most delectable chocolate cake you’ve ever experienced.

Quick Recipe Overview

Prep Time: 20 minutes

Cook Time: 15 minutes

Total Time: 35 minutes

Calories: 320 kcal

Servings: 12

What You’ll Need for Matilda’s Chocolate Cake

For Base Dry Ingredients:
  • All-Purpose Flour: Creates sturdy cake structure with perfect crumb texture.
  • Cocoa Powder: Delivers rich chocolate depth and intense dark color.
  • Granulated Sugar: Sweetens cake and helps create tender, moist crumb.
  • Baking Powder: Provides essential lift and helps cake rise evenly.
  • Baking Soda: Neutralizes acidic ingredients and supports cake's soft texture.
  • Salt: Enhances overall flavor and balances cake's sweetness.
For Liquid Binding Ingredients:
  • Milk: Adds moisture and contributes to smooth cake consistency.
  • Vegetable Oil: Ensures cake remains incredibly moist and tender.
  • Eggs: Bind ingredients together and provide structural support.
  • Vanilla Extract: Introduces warm, aromatic undertone to chocolate flavor.
For Moisture Boost Ingredient:
  • Boiling Water (or Coffee): Intensifies chocolate flavor and creates exceptionally light cake texture.

Tools for Building a Rich, Moist Cake

  • Large Mixing Bowl: Essential for combining dry and wet ingredients smoothly.
  • Whisk: Perfect for blending ingredients without lumps.
  • Measuring Cups and Spoons: Accurate measurements are key to cake success.
  • 9-inch Cake Pans (2): Standard size for creating even cake layers.
  • Parchment Paper: Ensures easy cake removal and prevents sticking.
  • Electric Mixer (optional): Helps create a smooth, well-mixed batter.
  • Spatula: Great for scraping batter from bowl and folding ingredients.
  • Wire Cooling Rack: Allows cake to cool evenly after baking.

Bake the Famous Matilda Cake Step-by-Step

  • Fire Up the Oven

Crank the oven to a toasty 350°F and prep your cake pans with a quick spray of grease and snug parchment paper liners.

  • Mix Dry Ingredients

Dump all the powdery partners into a big mixing bowl – flour, cocoa, sugar, and their raising friends – and give them a swift whirl with a whisk.

  • Bring Wet Ingredients to the Party

Pour in the liquid crew – milk, oil, eggs, and vanilla – then blend everything until it looks smooth and friendly.

  • Add the Magic Water

Splash in some boiling water (or coffee for extra zing) and stir. Don’t panic if the batter looks super runny – that’s exactly how it should roll.

  • Pour and Bake

Divide the chocolatey mixture between your waiting pans and slide them into the hot oven. Let them transform into cake magic for about 30-35 minutes.

  • Cool and Celebrate

Once a toothpick comes out clean, pull out your cake and let it chill on a rack. When it’s chilled, frost or dust with powdered sugar and get ready to enjoy!

Flavor Tweaks for Chocoholics

  • Room Temperature Magic: Pull out eggs, milk, and other cold ingredients 30-45 minutes before baking to ensure smoother mixing and more even cake texture.
  • Make-Ahead Magic: Wrap unfrosted cake layers tightly in plastic wrap and store at room temperature for 1-2 days or freeze up to 3 weeks for ultimate convenience.
  • Gluten-Free Transformation: Swap all-purpose flour with a 1:1 gluten-free baking blend to make this delicious cake accessible for those with wheat sensitivities.
  • Coffee Flavor Boost: Replace boiling water with strong brewed coffee for a deeper, richer chocolate flavor that enhances the cake's overall depth and complexity.
  • Dairy-Free Adaptation: Use almond, oat, or soy milk instead of dairy milk, and swap regular oil with coconut oil to create a delicious dairy-free version of this classic cake.

How to Plate This Show-Stopping Slice

  • Decadent Dessert Companion: Serve slices of this rich chocolate cake with a generous scoop of vanilla bean ice cream, creating a delightful temperature and flavor contrast.
  • Elegant Frosting Finish: Top the cake with a smooth chocolate ganache or classic buttercream frosting, sprinkled with chocolate shavings or colorful edible flowers for a stunning presentation.
  • Coffee Lover's Dream: Pair each slice with a steaming cup of freshly brewed espresso or a creamy cappuccino to enhance the deep chocolate notes and provide a sophisticated touch to your dessert experience.
  • Fruity Accent Option: Garnish with fresh raspberries or strawberry slices around the cake plate, adding a bright, tangy complement to the rich chocolate flavor and creating a visually appealing dessert presentation.

Save Cake for Later Without Drying Out

  • Smart Refrigeration Strategy: Store the cake covered in the refrigerator for up to 5 days, ensuring it remains moist by wrapping it tightly with plastic wrap or placing it in an airtight container.
  • Freezing Friendly Option: Slice the cake before freezing individual portions in sealed freezer bags, which can maintain quality for 2-3 months when wrapped securely with plastic wrap first.
  • Counter Storage Tip: Keep unfrosted cake at room temperature for 2-3 days in a sealed cake carrier or container with a tight-fitting lid, protecting it from air exposure and potential drying.
  • Make-Ahead Magic: Prepare cake layers in advance, cool completely, then wrap each layer separately in plastic wrap and aluminum foil, refrigerating for up to 2 days before final assembly and serving.
Print
clock clock iconcutlery cutlery iconflag flag iconfolder folder iconinstagram instagram iconpinterest pinterest iconfacebook facebook iconprint print iconsquares squares iconheart heart iconheart solid heart solid icon
Luscious Matildas Chocolate Cake Recipe

Luscious Matildas Chocolate Cake Recipe


5 Stars 4 Stars 3 Stars 2 Stars 1 Star

4.5 from 14 reviews

  • Total Time: 35 minutes
  • Yield: 13 1x

Description

Matilda’s chocolate cake merges rich cocoa depths with Australian baking traditions. Smooth chocolate layers promise delightful sweetness that connects generations of home bakers with pure culinary comfort.


Ingredients

Scale
  • 2 cups (480 ml/16 fl oz) all-purpose flour
  • ¾ cup (180 ml/6 fl oz) unsweetened cocoa powder
  • 2 cups (400 g/14 oz) granulated sugar
  • 1 ½ tsps baking powder
  • 1 ½ tsps baking soda
  • ½ tsp salt
  • 2 large eggs
  • 1 cup (240 ml/8 fl oz) whole milk
  • 1 cup (240 ml/8 fl oz) boiling water
  • ½ cup (120 ml/4 fl oz) vegetable oil
  • ½ cup (120 ml/4 fl oz) melted butter
  • 2 tsps vanilla extract

Instructions

  1. Preheat Preparation: Warm the oven to 350F (175C) and line two 9-inch cake pans with parchment paper, covering every surface to prevent adhesion.
  2. Dry Ingredient Fusion: Whisk together flour, cocoa powder, granulated sugar, baking powder, baking soda, and salt in a large mixing bowl until completely integrated and lump-free.
  3. Liquid Incorporation: Vigorously blend milk, vegetable oil, eggs, and vanilla extract into the dry ingredient mixture, creating a smooth, uniform batter with consistent texture.
  4. Liquid Enhancement: Gently fold in boiling water (or coffee), which will naturally thin the batter, creating a silky consistency crucial for the cake’s delicate crumb.
  5. Pan Distribution and Baking: Evenly pour the batter into prepared pans, smoothing the surface with a spatula to eliminate air bubbles, then place centrally in the preheated oven for consistent heat circulation and optimal baking.

Notes

  • Prevent Cake Sticking: Generously grease pans with butter and dust with cocoa powder for foolproof non-stick results beyond parchment paper.
  • Optimize Batter Consistency: Whisk ingredients at room temperature to create smoother, more uniform batter without lumps or uneven mixing.
  • Control Moisture Balance: Add boiling water or coffee gradually while stirring to maintain delicate cake texture and prevent over-moistening.
  • Enhance Flavor Depth: Consider replacing regular milk with buttermilk or adding espresso powder to intensify chocolate richness and complexity.
  • Prep Time: 20 minutes
  • Cook Time: 15 minutes
  • Category: Desserts
  • Method: Baking
  • Cuisine: Australian

Nutrition

  • Serving Size: 13
  • Calories: 322
  • Sugar: 31 g
  • Sodium: 150 mg
  • Fat: 14 g
  • Saturated Fat: 4 g
  • Unsaturated Fat: 8 g
  • Trans Fat: 0 g
  • Carbohydrates: 47 g
  • Fiber: 2 g
  • Protein: 4 g
  • Cholesterol: 37 mg
Jenna Hartley

Jenna Hartley

Founder & Recipe Creator

Expertise

  • Recipe development with a focus on single-dish meals.
  • Fusion of traditional and modern Australian cuisines.
  • Food styling and photography for digital platforms.​

Education

Box Hill Institute, Melbourne

  • Degree: Advanced Diploma of Hospitality Management
  • Focus: Specialized in practical food and beverage service, responsible alcohol and hygiene compliance, legal risk management, and hands‑on experience in a simulated restaurant environment.

William Angliss Institute, Melbourne

  • Program: Certificate IV in Patisserie
  • Focus: Specialized in pastry and bakery techniques, cookery and specialty food preparation, recipe planning and costing, commercial kitchen operations, sustainable and inclusive work practices, food safety and hygiene compliance, and workplace health and safety.

Jenna is the heart of Picture Perfect Meals, turning simple ingredients into beautiful, easy‑to‑make dishes. 

Growing up around family meals in Melbourne, she trained at Box Hill Institute and then perfected her pastry skills at William Angliss Institute. She loves mixing classic Australian flavors with fresh ideas to keep cooking fun and stress‑free.

Leave a Reply

Your email address will not be published. Required fields are marked *

Recipe rating 5 Stars 4 Stars 3 Stars 2 Stars 1 Star