
Festive Minty Snowball Cookies Recipe for Holiday Magic
Crisp winter days call for delightful minty snowball cookies that melt in your mouth with pure magic.
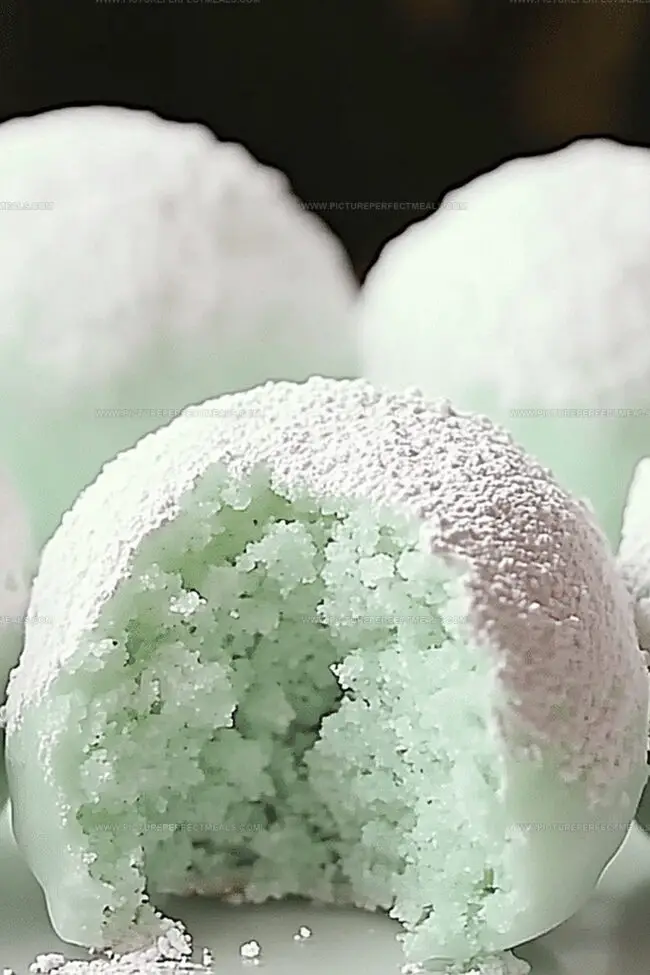
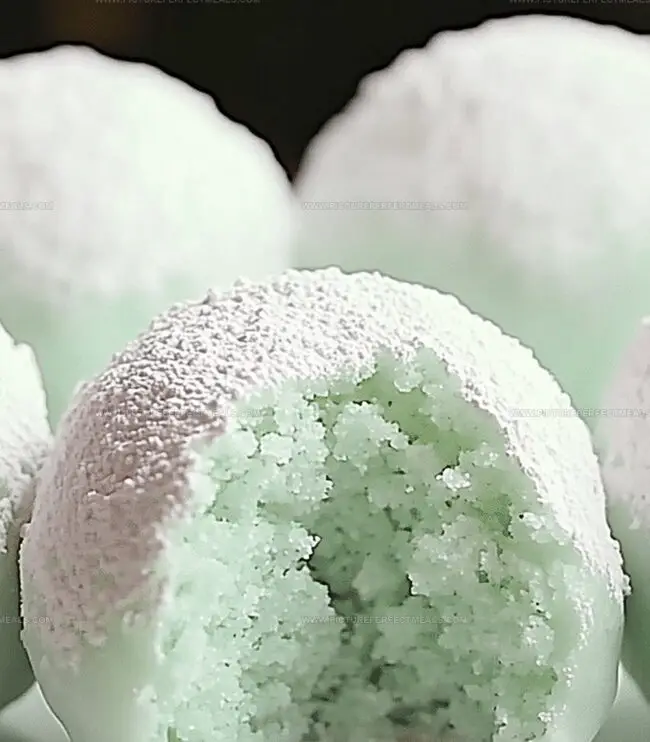
Soft, buttery dough carries a refreshing peppermint whisper through every delicate bite.
Powdery sugar coats each round morsel like a gentle snowfall.
Delicate crumbs dissolve, releasing cool mint sensations across your palate.
These charming little treats bring instant comfort during chilly afternoons.
A single nibble transports you to cozy kitchen memories filled with sweet anticipation.
Bake a batch and watch smiles bloom with each delectable, snow-kissed cookie.
Why Minty Snowball Cookies Are a Seasonal Favorite
Ingredients That Make Mint Snowball Cookies Stand Out
Base Ingredients:Flavor Enhancers:Coating and Decoration:Instructions for Minty Snowball Cookie Dough
Step 1: Prepare Your Baking Space
Warm up your oven to 350F and grab a parchment paper-lined baking sheet.
Step 2: Create Dreamy Cookie Dough
In a spacious mixing bowl, blend:Fold in:Mix until ingredients dance together smoothly.
Step 3: Shape Delightful Cookie Spheres
Gently roll dough into charming one-inch round balls. Place them gracefully on the baking sheet, leaving tiny spaces between each cookie.
Step 4: Bake to Perfection
Slide the cookie sheet into the oven. Bake for 10-12 minutes until cookies look set but not golden brown. Carefully remove and let them rest for 5 minutes.
Step 5: Sugar Coating Magic
While cookies are still warm, lovingly roll them in powdered sugar. For extra festiveness, mix green or red sanding sugar into the powdered sugar. Once cooled, give them another luxurious sugar bath for a thick, snowy coating.
Step 6: Store and Enjoy
Tuck these delectable treats into an airtight container. They’ll stay fresh and delicious for up to a week at room temperature.
Cookie Tips for the Right Minty Texture
Storage Solutions for Mint Snowball Cookies
Hot Drinks That Pair with Minty Snowball Cookies
Minty Snowball Cookie Ideas to Try This Year
Print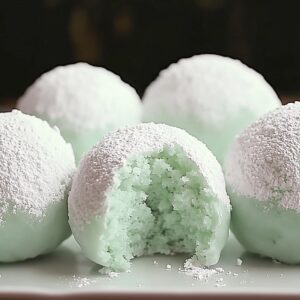
Minty Snowball Cookies Recipe
- Total Time: 27 minutes
- Yield: 24 1x
Description
Cool winter nights sparkle with this Minty Snowball Cookies recipe, delivering sweet peppermint comfort in delicate, powdered sugar-dusted bites. Crumbly, buttery cookies melt in your mouth, promising festive cheer with each delightful crunch.
Ingredients
Main Ingredients:
- 2 cups all-purpose flour
- 1 cup unsalted butter, softened
- ¾ cup mini chocolate chips or finely chopped dark chocolate
Sweeteners and Flavorings:
- ½ cup powdered sugar (plus extra for coating)
- 1 teaspoon vanilla extract
- ½ teaspoon peppermint extract
Additional Ingredients:
- ¼ teaspoon salt
- Green or red sanding sugar (optional, for a festive touch)
Instructions
- Assemble kitchen tools: mixing bowl, parchment-lined baking sheet, measuring utensils, and electric mixer.
- Thoroughly cream butter and powdered sugar in a large mixing bowl until the mixture becomes pale and airy, creating a smooth base for the cookie dough.
- Incorporate vanilla and peppermint extracts, ensuring the aromatic flavors are evenly distributed throughout the mixture.
- Gently fold in flour and salt, mixing until a cohesive dough forms without overmixing, which could make the cookies tough.
- Delicately blend mini chocolate chips into the dough, distributing them evenly for consistent flavor in each bite.
- Preheat the oven to 350F (175C), allowing it to reach full temperature before baking.
- Shape the dough into uniform 1-inch spheres, using gentle pressure to maintain a consistent size and smooth exterior.
- Arrange cookie balls on the prepared baking sheet, spacing them approximately 1 inch apart to prevent merging during baking.
- Bake for 10-12 minutes, watching carefully to ensure cookies remain pale and set without browning.
- Remove cookies from the oven and allow them to rest for 5 minutes, which helps them firm up and become easier to handle.
- While still warm, carefully roll each cookie in powdered sugar, creating a delicate first coating.
- Optional: Mix green or red sanding sugar into the powdered sugar for a festive, colorful finish.
- Once completely cooled, roll the cookies in powdered sugar a second time for a more substantial, snow-like covering.
- Transfer cookies to an airtight container, where they will remain fresh at room temperature for up to one week.
Notes
- Swap butter with coconut oil for a dairy-free version that maintains a rich, creamy texture.
- Use gluten-free flour blend to make these cookies suitable for those with gluten sensitivities.
- Crush candy canes into fine powder and mix with powdered sugar for a more intense mint coating that adds festive crunch.
- Chill the dough for 30 minutes before shaping to prevent spreading and create more uniform, perfectly round cookies.
- Prep Time: 15 minutes
- Cook Time: 12 minutes
- Category: Desserts, Snacks
- Method: Baking
- Cuisine: American
Nutrition
- Serving Size: 24
- Calories: 130
- Sugar: 3 g
- Sodium: 30 mg
- Fat: 9 g
- Saturated Fat: 5 g
- Unsaturated Fat: 4 g
- Trans Fat: 0 g
- Carbohydrates: 14 g
- Fiber: 0.5 g
- Protein: 1 g
- Cholesterol: 20 mg
Daves Miller
Contributing Chef & Culinary Educator
Expertise
Education
Sullivan University, Louisville, Kentucky
White Mountains Community College, Berlin, New Hampshire
Daves is the friendly face guiding you through flavorful, fuss-free recipes at Picture Perfect Meals.
He studied culinary arts at Sullivan University and embraced Baking and Pastry Arts at White Mountains Community College. Daves specializes in comforting meals with vibrant flavors, highlighting fresh, seasonal ingredients.