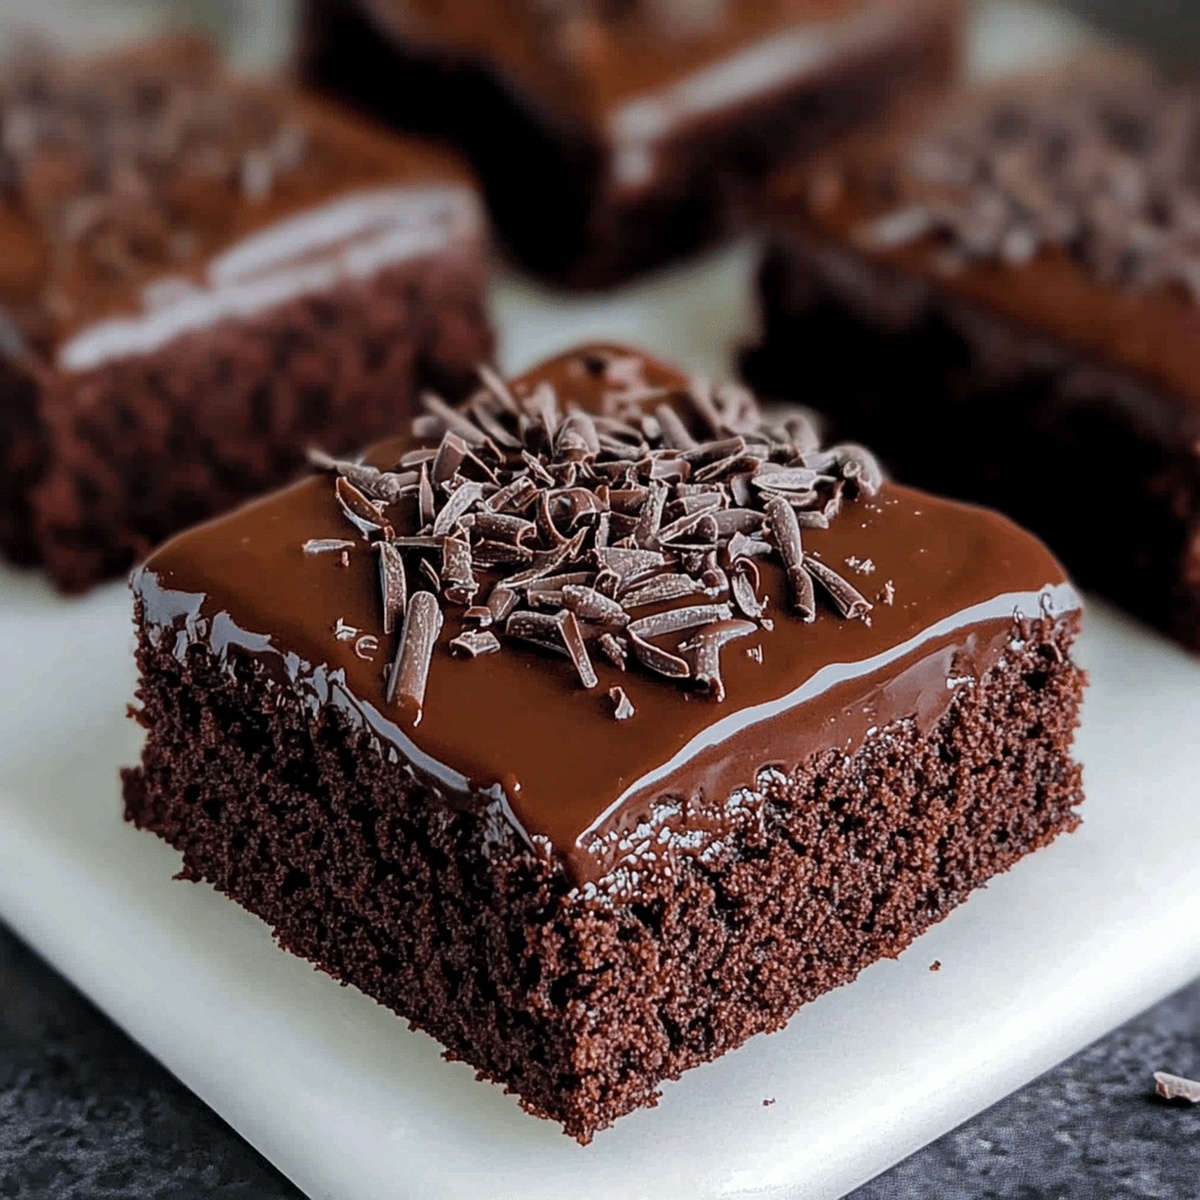
Irresistibly Fudgy Moist Chocolate Traybake Cake Recipe
Chocolate lovers rejoice when this irresistible moist chocolate traybake cake emerges from the oven, filling the kitchen with rich, decadent aromas.
Every baker understands the magic of a simple yet spectacular dessert that delights everyone at the table.
Soft, tender crumbs melt in your mouth with each heavenly bite of this classic treat.
The simple ingredients transform into a seriously delectable cake that takes minimal effort but delivers maximum flavor.
Chocolate enthusiasts will adore how quickly this recipe comes together, creating a crowd-pleasing dessert in under an hour.
Warm slices paired with a cold glass of milk promise pure comfort and joy.
This cake beckons you to slice, serve, and savor every delightful moment.
Quick Recipe Overview
Ingredients in Old School Chocolate Traybake Cake
For Base and Texture:For Moisture and Richness:For Structure and Binding:What You’ll Need to Make Chocolate Traybake Cake
Steps for Old School Chocolate Traybake Cake
Crank your oven to a toasty 350F (175C). Grab a 9×13-inch baking tray and give it a quick spray with cooking oil, then line it with parchment paper for easy cake removal.
Grab a big mixing bowl and whip the butter and sugar together until they’re super light and fluffy – think cloud-like texture that looks almost white and airy.
Drop in the eggs one at a time, mixing thoroughly after each addition. This helps create a smooth, consistent batter that’ll make your cake tender.
Sift the self-rising flour, cocoa powder, and baking powder directly into your wet mixture. Fold gently to keep the batter light and avoid tough cake texture.
Pour in milk and vanilla extract, stirring until everything blends into a silky, chocolatey dream. Make sure no dry spots remain in the batter.
Spread the batter evenly across your prepared tray, creating a smooth surface that promises a perfect cake.
Slide the tray into the preheated oven and bake for 25-30 minutes. Check doneness by inserting a toothpick – it should come out clean with just a few moist crumbs.
Let the cake cool completely before adding your favorite frosting or topping. Enjoy your delicious chocolate creation!
Chocolate Traybake Tips and Tricks
Serving the Chocolate Traybake Cake
Chocolate Traybake Storage Notes
Print
Moist Chocolate Traybake Cake Recipe
- Total Time: 40 minutes
- Yield: 13 1x
Description
Grandma’s old school chocolate traybake cake delivers rich, nostalgic chocolate comfort with simple ingredients. Classic crumb and smooth frosting create a delightful dessert you’ll savor with pure delight.
Ingredients
- 4 large eggs
- 1 cup (2 sticks) unsalted butter, softened
- 1 ½ cups self-rising flour and cocoa powder (combined)
- 1 cup granulated sugar
- ½ cup (120 ml) milk (whole or semi-skimmed)
- 1 tsp vanilla extract
- 2 cups powdered sugar
- ¼ cup unsweetened cocoa powder
- 3 tbsps unsalted butter, melted
- 4 tbsps hot water (adjust for consistency)
- 1 tsp vanilla extract
- Colorful sprinkles (hundreds and thousands)
Instructions
- Preparation: Preheat the oven to 350F (175C) and line a 9×13-inch baking tray with parchment paper, covering all surfaces completely.
- Creaming: Blend butter and sugar in a large mixing bowl until the mixture becomes light, fluffy, and pale in color.
- Egg Integration: Add eggs individually, mixing thoroughly after each addition to create a smooth, uniform batter.
- Dry Ingredient Incorporation: Sift self-rising flour, cocoa powder, and baking powder into the creamy mixture, folding gently to maintain the batter’s delicate consistency.
- Liquid Fusion: Pour in milk and vanilla extract, stirring softly until the batter becomes silky and well-combined.
- Baking Process: Spread the batter evenly across the prepared tray using a spatula, ensuring a level surface, then place in the preheated oven.
- Completion and Cooling: Bake for 25-30 minutes, testing doneness with a toothpick. Once baked, remove from the oven and allow to cool completely at room temperature before decorating.
Notes
- -Measure Precisely: Use exact measurements for flour, cocoa, and sugar to ensure consistent texture and rich chocolate flavor.
- -Blend Smoothly: Cream butter and sugar thoroughly until pale and fluffy, which creates a lighter, more tender cake structure.
- -Room Temperature Ingredients: Allow eggs, butter, and milk to reach room temperature before mixing, helping ingredients combine more evenly and improving overall cake consistency.
- -Avoid Overmixing: Gently fold dry ingredients and mix minimally to prevent developing tough gluten, maintaining a soft and delicate cake crumb.
- Prep Time: 10 minutes
- Cook Time: 30 minutes
- Category: Desserts, Snacks
- Method: Baking
- Cuisine: British
Nutrition
- Serving Size: 13
- Calories: 350
- Sugar: 30 g
- Sodium: 200 mg
- Fat: 16 g
- Saturated Fat: 10 g
- Unsaturated Fat: 6 g
- Trans Fat: 0 g
- Carbohydrates: 50 g
- Fiber: 2 g
- Protein: 4 g
- Cholesterol: 80 mg
Jenna Hartley
Founder & Recipe Creator
Expertise
Education
Box Hill Institute, Melbourne
William Angliss Institute, Melbourne
Jenna is the heart of Picture Perfect Meals, turning simple ingredients into beautiful, easy‑to‑make dishes.
Growing up around family meals in Melbourne, she trained at Box Hill Institute and then perfected her pastry skills at William Angliss Institute. She loves mixing classic Australian flavors with fresh ideas to keep cooking fun and stress‑free.