Gooey Molten Chocolate Lava Brownie Cookies Recipe to Wow
Decadent chocolate lovers seek the ultimate molten chocolate lava brownie cookies that melt hearts and satisfy deep dessert cravings.
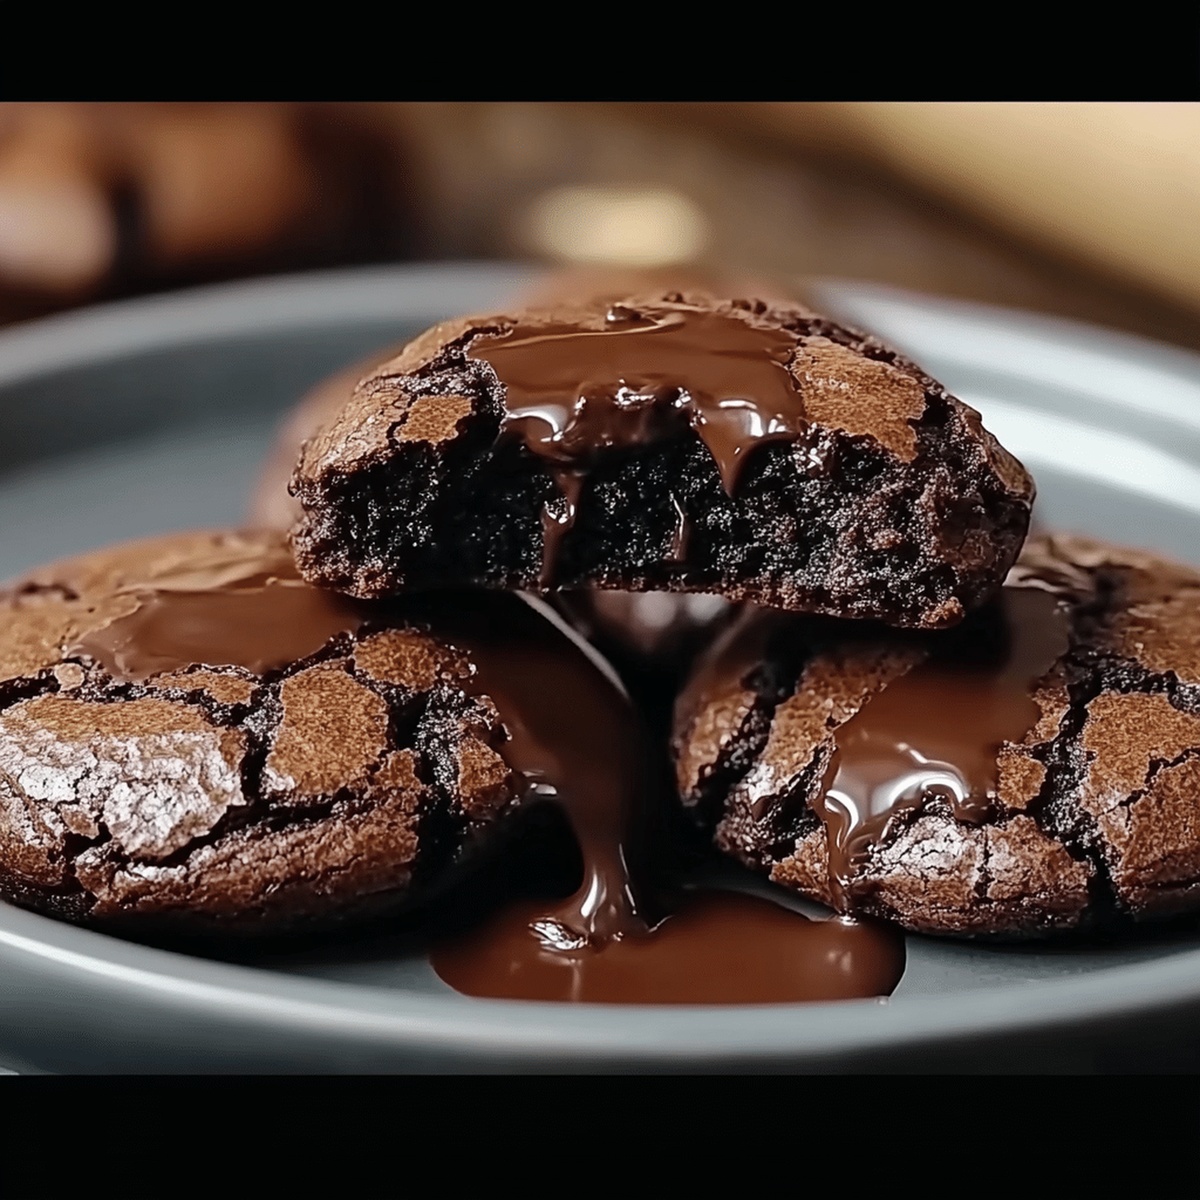
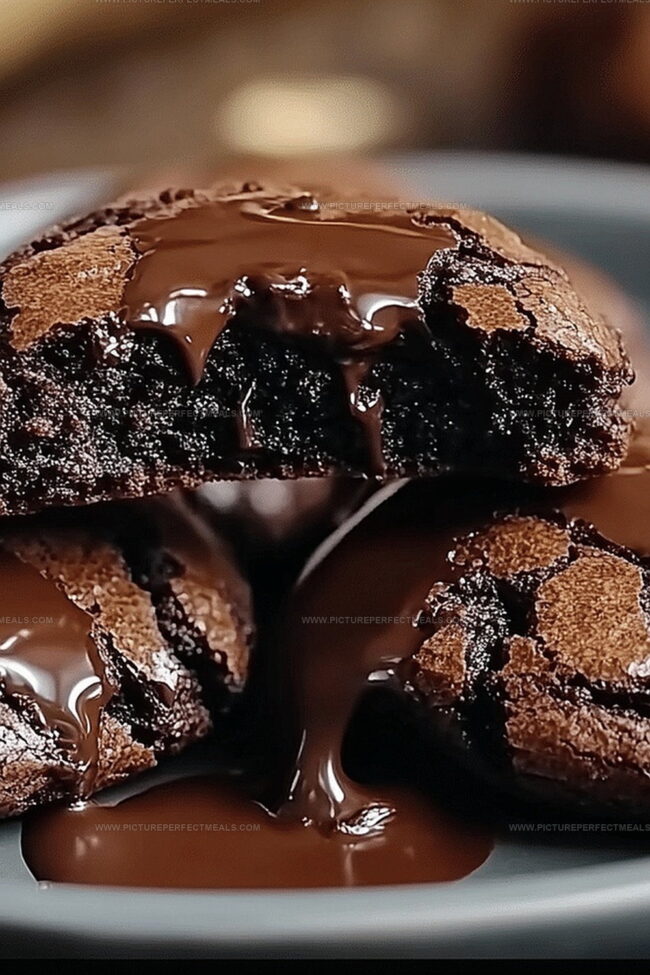
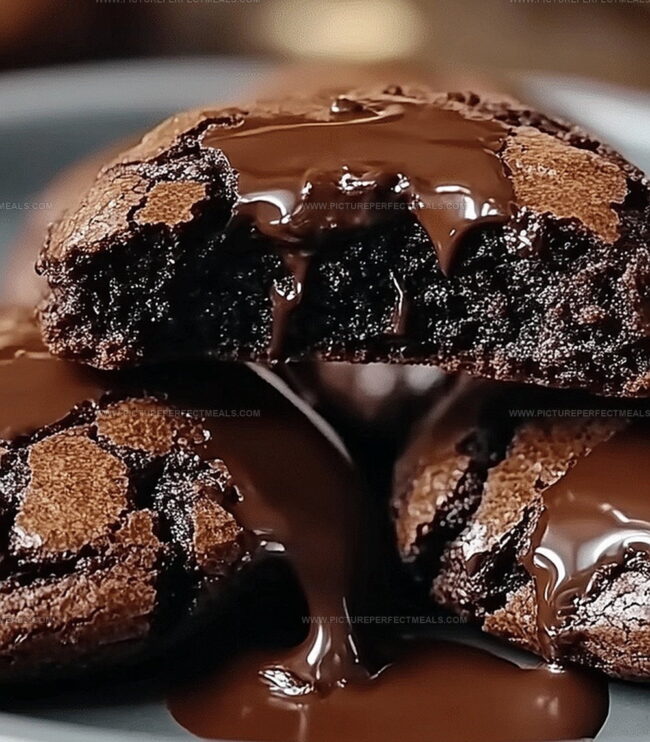
Rich, gooey centers burst through crisp chocolate cookie edges with pure indulgence.
These irresistible treats blend the best of brownies and cookies into one spectacular bite.
Each morsel promises a luxurious chocolate experience that feels both familiar and extraordinary.
Chocolate enthusiasts will adore the delicate balance between crisp exterior and soft, flowing center.
Warm from the oven, these cookies transform an ordinary moment into a sublime dessert celebration.
Prepare to unlock a new level of chocolate bliss that will leave you craving more.
Quick Recipe Overview
Ingredients List for Chocolate Lava Brownie Cookies
For Chocolate Base:For Sweeteners and Binding:For Dry Ingredients and Structure:What You’ll Need for Lava Brownie Cookies
Bake Your Lava Brownie Cookies
Zap chocolate and butter in short bursts, stirring between each microwave session until they become a silky, glossy river of deliciousness. Let the mixture cool down slightly.
Grab a big bowl and blend sugars, eggs, and vanilla until they transform into a creamy, dreamy mixture that looks like liquid sunshine.
Pour the melted chocolate into the sugar mixture, stirring gently. In another bowl, mix flour, cocoa, baking powder, and salt. Fold dry ingredients into wet ingredients until just combined.
Wrap the dough in plastic and park it in the refrigerator for an hour. This helps the flavors mingle and makes the dough easier to handle.
Heat the oven to 350F. Scoop dough into small balls, tuck a few chocolate chips inside each one, and seal them completely. The chips will create a molten center.
Arrange dough balls on baking sheets. Slide into the oven and bake until edges look set and tops are crackly, about 10-12 minutes. Centers should look slightly underdone.
Let cookies rest on the baking sheet for a few minutes. Transfer to a cooling rack. Serve immediately for maximum gooey chocolate goodness.
Notes and Enhancements for Lava Cookies
How to Present Lava Brownie Cookies
Storage Help for Lava Brownie Cookies
Print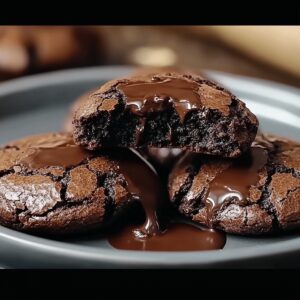
Molten Chocolate Lava Brownie Cookies
- Total Time: 1 hour 27 minutes
- Yield: 13 1x
Description
Irresistible chocolate lava brownie cookies marry rich fudge center with crisp edges, creating a dessert that melts hearts. Chocolate lovers discover pure indulgence in these gooey, intensely flavored treats you’ll crave again and again.
Ingredients
- 1 cup (170 g / 6 oz) semi-sweet chocolate chips
- ½ cup (90 g / 3.2 oz) semi-sweet or dark chocolate chips
- ½ cup (115 g / 4 oz) unsalted butter
- ¾ cup (150 g) granulated sugar
- ½ cup (100 g) brown sugar, packed
- 2 large eggs, room temperature
- 1 tsp vanilla extract
- 1 cup (125 g) all-purpose flour
- ¼ cup (25 g) unsweetened cocoa powder
- ½ tsp baking powder
- ¼ tsp salt
Instructions
- Chocolate Melting: Create a silky chocolate-butter emulsion by microwaving in brief bursts, stirring between intervals until smooth. Allow the mixture to cool slightly.
- Sugar Mixture Preparation: Whip granulated sugar, brown sugar, eggs, and vanilla extract in a large bowl until the mixture becomes light, creamy, and well-incorporated.
- Chocolate Integration: Blend the cooled chocolate mixture into the sugar-egg base, stirring thoroughly until a uniform color is achieved with no visible streaks.
- Dry Ingredient Combination: Sift flour, cocoa powder, baking powder, and salt together, ensuring a lump-free and evenly distributed dry ingredient blend.
- Dough Formation: Gently fold dry ingredients into the wet mixture, mixing minimally to preserve a tender cookie texture. Wrap the dough in plastic film and refrigerate for one hour to enhance flavor development and structural integrity.
- Oven Preparation: Heat the oven to 350F and line baking sheets with parchment paper for optimal cookie release and easy removal.
- Cookie Shaping: Form chilled dough into golf ball-sized rounds, creating a small center depression to nestle additional chocolate chips. Carefully encase the chips within each dough ball, ensuring a smooth exterior.
- Baking Process: Arrange cookies on prepared sheets with adequate spacing. Bake for 10-12 minutes, monitoring for characteristic crackled tops and slightly underdone centers that promise a molten chocolate core.
- Cooling and Serving: Rest cookies on baking sheets for 5 minutes to set, then transfer to a cooling rack. Serve immediately to experience the luxurious, warm, and gooey chocolate center at its peak deliciousness.
Notes
- Prevent Chocolate Seepage: Completely seal chocolate chips inside the dough ball to stop melting outside and maintain a clean, attractive cookie appearance.
- Chill for Success: Refrigerate dough for at least 1 hour to stabilize butter, intensify flavors, and prevent excessive spreading during baking.
- Master Texture Balance: Remove cookies from oven when edges are set but centers appear slightly underbaked, ensuring a soft, molten interior and crisp exterior.
- Adapt for Dietary Needs: Substitute gluten-free flour blend and dairy-free chocolate for accommodating different dietary restrictions without compromising rich chocolate flavor.
- Prep Time: 15 minutes (+1 hour chilling)
- Cook Time: 12 minutes
- Category: Desserts, Snacks
- Method: Baking
- Cuisine: American
Nutrition
- Serving Size: 13
- Calories: 229
- Sugar: 21 g
- Sodium: 64 mg
- Fat: 11 g
- Saturated Fat: 6 g
- Unsaturated Fat: 4.5 g
- Trans Fat: 0 g
- Carbohydrates: 30 g
- Fiber: 1 g
- Protein: 3 g
- Cholesterol: 31 mg
Jenna Hartley
Founder & Recipe Creator
Expertise
Education
Box Hill Institute, Melbourne
William Angliss Institute, Melbourne
Jenna is the heart of Picture Perfect Meals, turning simple ingredients into beautiful, easy‑to‑make dishes.
Growing up around family meals in Melbourne, she trained at Box Hill Institute and then perfected her pastry skills at William Angliss Institute. She loves mixing classic Australian flavors with fresh ideas to keep cooking fun and stress‑free.