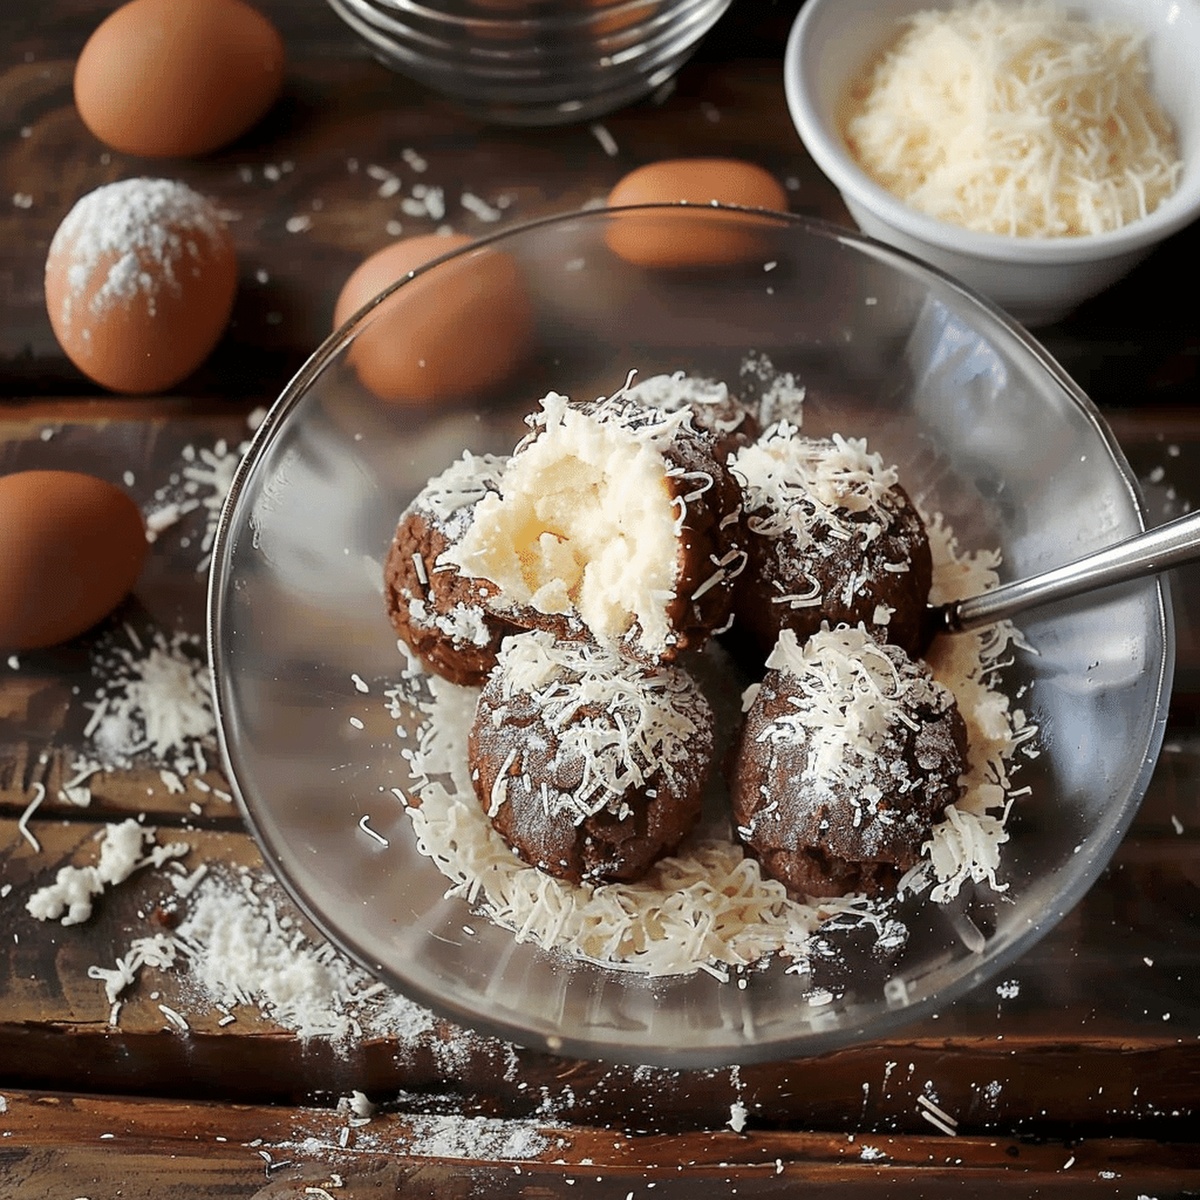
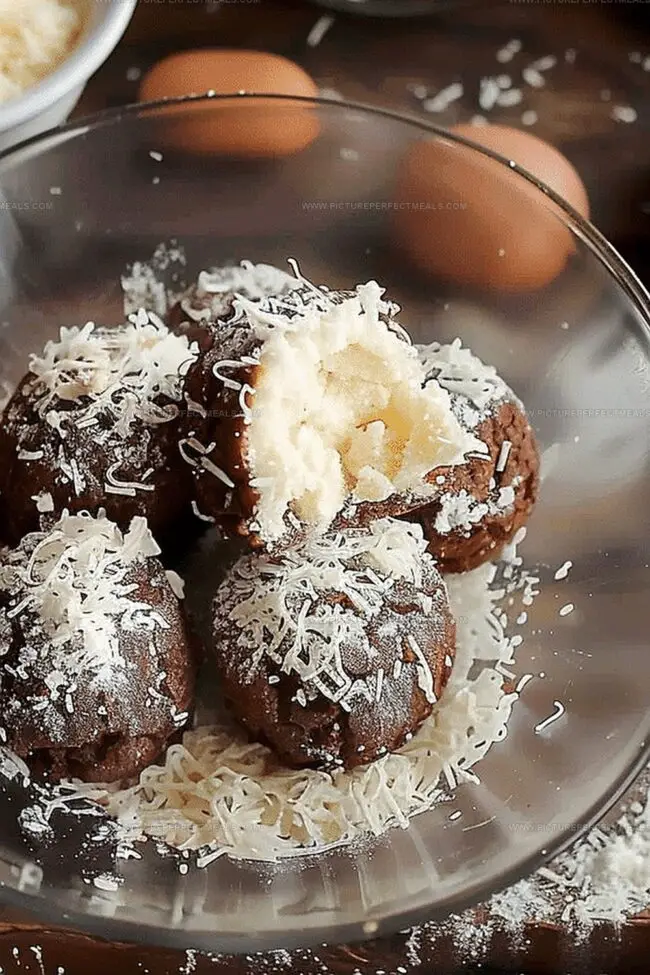
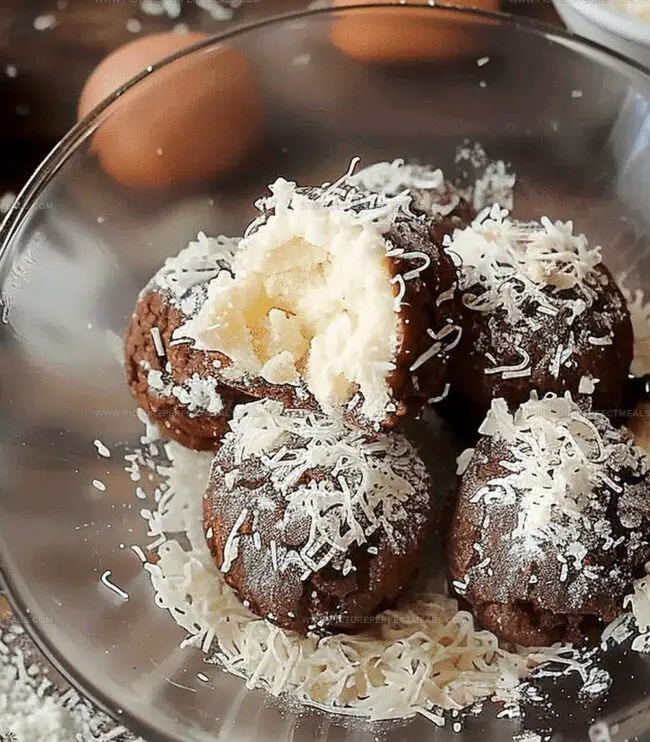
Dreamy No Bake Coconut Cream Balls Recipe for Sweet Lovers
Dreamy coconut cream balls dance between decadence and simplicity.
Sweet textures melt across your tongue with each bite.
Creamy ingredients swirl together without requiring any cooking time.
Minimal effort produces maximum satisfaction in this delightful treat.
Chilled desserts often become crowd-pleasers during warm afternoons.
We blend rich flavors that feel surprisingly light.
Nothing beats these no-fuss, refreshing coconut delights that come together in minutes.
Chill these little spheres of bliss and watch everyone smile.
Why No Bake Coconut Cream Balls Work for Any Occasion
Ingredients That Turn Simple Treats Into Crowd Favorites
Base Ingredients:Coating Ingredients:Preparation Ingredients:How to Mix and Shape the Creamy Coconut Filling
Step 1: Whip the Base
In a spacious mixing bowl, grab an electric mixer and blend softened cream cheese and butter until they transform into a silky, smooth texture. Gradually add powdered sugar, continuing to mix until the mixture becomes thick and luxurious. Fold in shredded coconut, ensuring even distribution throughout the creamy base.
Step 2: Chill and Firm
Wrap the bowl and slide it into the refrigerator for about an hour. This cooling period will help the mixture become more manageable and easier to shape into delightful little treats.
Step 3: Roll Perfect Spheres
Dust your palms with a light sprinkle of powdered sugar to prevent sticking. Scoop out small portions of the coconut mixture and roll them into smooth, uniform balls. Gently place each truffle on a parchment-lined baking sheet. Pop the entire tray into the freezer for an hour to help them set firmly.
Step 4: Chocolate Transformation
Select a microwave-safe bowl and melt chocolate chips. Use 30-second intervals, stirring between each burst until the chocolate becomes completely smooth and glossy.
Step 5: Chocolate Dipping Technique
Using a fork, carefully lower each coconut ball into the melted chocolate. Ensure complete coverage, allowing excess chocolate to drip off. Return the chocolate-coated truffles to the parchment-lined sheet. For an extra touch of elegance, sprinkle some additional coconut or a pinch of sea salt while the chocolate remains wet.
Step 6: Chocolate Setting
Transfer the tray to the refrigerator and let the chocolate set for 10-15 minutes until it hardens completely.
Step 7: Serve and Enjoy
These truffles are delicious when chilled or at room temperature. Store any leftovers in an airtight container in the refrigerator to maintain their perfect texture and flavor.
Tips to Keep These Bites From Being Too Sticky
Storage Tricks That Preserve Texture and Flavor
Pairings That Highlight the Coconut and Cream
Flavor Twists That Add a Fun Surprise
Gluten-Free Coconut Cream Balls: Replace regular powdered sugar with a gluten-free powdered sugar variant, ensuring all ingredients are certified gluten-free for those with celiac disease or gluten sensitivities.
Keto-Friendly Coconut Cream Balls: Swap powdered sugar with a low-carb sweetener like erythritol or monk fruit, use full-fat cream cheese, and opt for dark chocolate with over 70% cocoa content to maintain ketogenic macronutrient ratios.
Vegan Coconut Cream Balls: Substitute cream cheese with coconut cream, use plant-based butter alternative, replace regular chocolate with dairy-free dark chocolate, and use maple syrup or agave as a binding sweetener for a completely plant-based version.
Nut-Free Tropical Coconut Balls: Ensure no cross-contamination with nuts, potentially adding a hint of lime zest or passion fruit powder to enhance the tropical flavor profile while keeping the recipe safe for those with nut allergies.
Print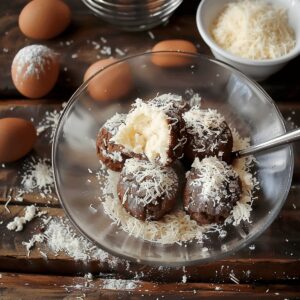
No Bake Coconut Cream Balls Recipe
- Total Time: 15 minutes
- Yield: 24 1x
Description
Silky coconut cream balls deliver tropical bliss with minimal effort and maximum flavor. Smooth chocolate-drizzled spheres melt in your mouth, offering sweet escape to island paradise without turning on a single kitchen appliance.
Ingredients
Main Ingredients:
- 4 cups powdered sugar
- 1 cup shredded coconut
- 8 ounces (226 grams) cream cheese, softened
Coating Ingredients:
- 12 ounces (340 grams) melting chocolate chips
Additional Ingredients:
- 1 tablespoon butter, softened
Instructions
- Craft a velvety base by whipping cream cheese and butter until silky smooth using an electric mixer. Gradually incorporate powdered sugar, blending until the mixture achieves a luxurious, thick consistency.
- Fold shredded coconut throughout the creamy mixture, ensuring even distribution of delicate coconut flakes.
- Seal the bowl and refrigerate for approximately one hour, allowing the mixture to firm and become more manageable for shaping.
- Lightly dust hands with powdered sugar to prevent sticking. Carefully form uniform balls by scooping and rolling the chilled mixture, placing each delicate sphere on a parchment-lined baking sheet.
- Transfer the coconut spheres to the freezer, allowing them to solidify for one hour and maintain their precise shape.
- Prepare the chocolate coating by gently melting chocolate chips in a microwave-safe bowl, stirring at regular intervals to achieve a glossy, smooth texture.
- Carefully submerge each frozen coconut ball into the melted chocolate, using a fork to ensure complete and elegant coverage. Allow excess chocolate to delicately drip away.
- For an elevated touch, sprinkle additional coconut or a pinch of sea salt while the chocolate remains glossy and wet.
- Chill the chocolate-coated balls in the refrigerator for 10-15 minutes until the chocolate sets completely.
- Serve these decadent treats chilled or at ambient temperature. Store remaining coconut cream balls in a sealed container within the refrigerator to maintain their exquisite texture.
Notes
- Soften cream cheese and butter at room temperature for easy mixing and smooth texture, preventing lumpy consistency.
- Use powdered sugar gradually to control sweetness and achieve perfect binding for the coconut mixture.
- Chill mixture before shaping helps maintain ball structure and prevents crumbling during handling.
- Keep hands lightly dusted with powdered sugar to prevent sticky mixture from clinging to fingers.
- Choose high-quality chocolate for dipping to enhance overall flavor and create professional-looking coating.
- Experiment with different chocolate types like dark, milk, or white for varied taste profiles.
- Add crushed nuts or toasted coconut flakes on top for extra crunch and visual appeal.
- Make these gluten-free by ensuring all ingredients are certified gluten-free, perfect for sensitive diets.
- Prep Time: 15 minutes
- Cook Time: 0 minutes
- Category: Snacks, Desserts
- Method: Blending
- Cuisine: American
Nutrition
- Serving Size: 24
- Calories: 154
- Sugar: 15 g
- Sodium: 38 mg
- Fat: 8 g
- Saturated Fat: 5 g
- Unsaturated Fat: 3 g
- Trans Fat: 0 g
- Carbohydrates: 22 g
- Fiber: 1 g
- Protein: 2 g
- Cholesterol: 21 mg
Daves Miller
Contributing Chef & Culinary Educator
Expertise
Education
Sullivan University, Louisville, Kentucky
White Mountains Community College, Berlin, New Hampshire
Daves is the friendly face guiding you through flavorful, fuss-free recipes at Picture Perfect Meals.
He studied culinary arts at Sullivan University and embraced Baking and Pastry Arts at White Mountains Community College. Daves specializes in comforting meals with vibrant flavors, highlighting fresh, seasonal ingredients.