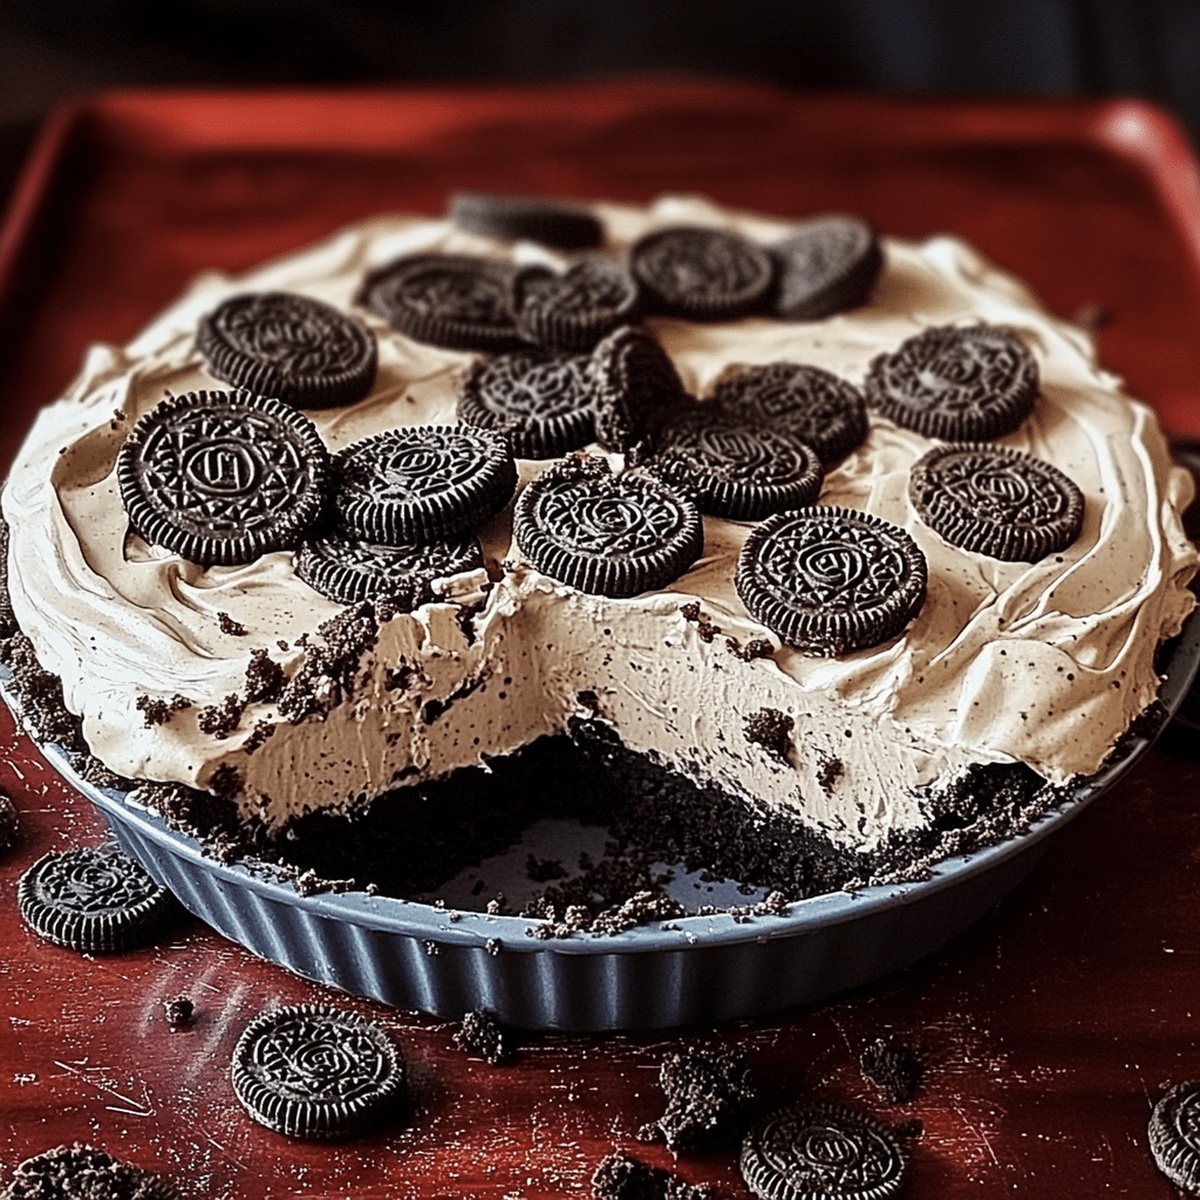
No-Bake Oreo Mud Pie Recipe Effortless Crowd-Pleaser
Whipping up this delectable no-bake oreo mud pie brings pure dessert magic right to your kitchen.
Chocolate cookie crumbs create a rich foundation for an incredibly smooth, creamy treat.
Cool and decadent textures dance together in every single bite.
The simplicity of this recipe makes it perfect for spontaneous sweet moments.
Sweet tooths will absolutely adore the layers of chocolatey goodness waiting to be devoured.
Minimal effort combines with maximum flavor, promising a dessert that looks professionally crafted.
Let’s turn your kitchen into a delightful dessert destination with this irresistible pie.
No-Bake Oreo Mud Pie Rich in Texture and Taste
Everything You Need for No-Bake Oreo Mud Pie
Base Layer:Cream Cheese Layer:Pudding and Topping Layer:Optional Garnish:How to Make No-Bake Oreo Mud Pie Without a Fuss
Step 1: Crush Oreo Cookies
Toss whole Oreo cookies into a food processor or place inside a sealed plastic bag. Crush cookies until they become fine, sandy crumbs. Pour melted butter into crumbs and mix thoroughly until completely combined.
Step 2: Create Crust Foundation
Press the buttery Oreo mixture into a 9-inch pie pan. Use your fingers or a flat surface to create an even, smooth foundation. Slide the crust into the refrigerator to firm up while preparing subsequent layers.
Step 3: Whip Cream Cheese Layer
In a mixing bowl, blend softened cream cheese with powdered sugar. Beat until the mixture becomes silky smooth and free of lumps. Carefully spread the cream cheese mixture over the chilled Oreo crust, ensuring an even coverage.
Step 4: Develop Chocolate Pudding Layer
Combine chocolate pudding mix with cold milk in a separate bowl. Whisk ingredients together until the mixture thickens and becomes glossy. Gently pour the pudding over the cream cheese layer, spreading it evenly across the surface.
Step 5: Top With Whipped Cream
Cover the pudding layer with a thick, luxurious blanket of whipped topping. Use a spatula to create a smooth, elegant finish that reaches all edges of the pie.
Step 6: Chill and Set
Transfer the pie to the refrigerator. Allow it to rest and solidify for a minimum of 4 hours, though overnight chilling produces the best texture and flavor melding.
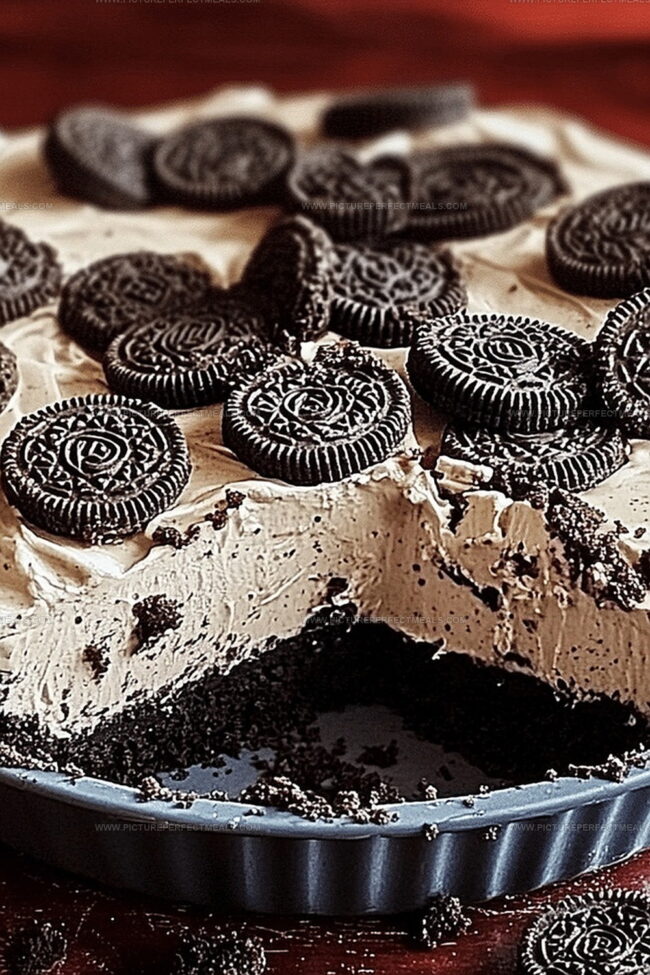
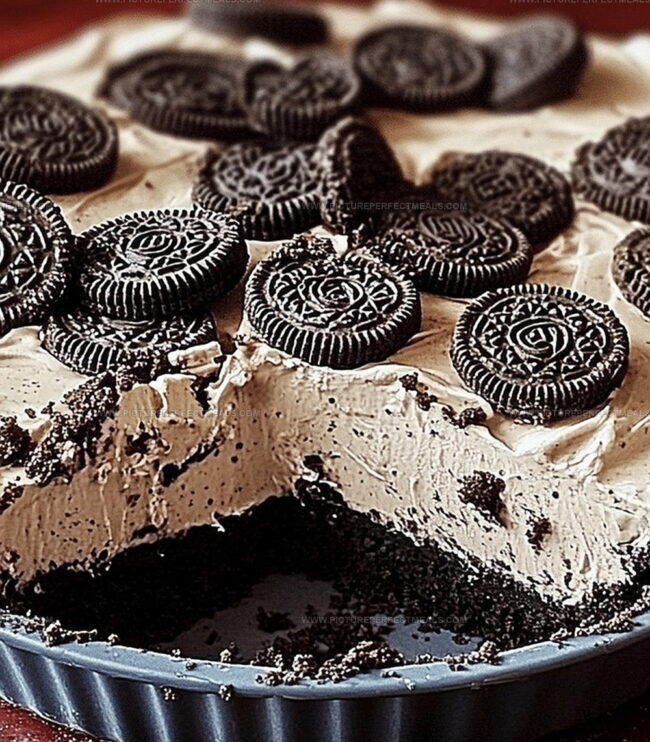
Step 7: Decorate and Serve
Just before serving, sprinkle additional crushed Oreo cookies on top. For extra decadence, drizzle chocolate syrup in artistic swirls. Slice the pie into wedges and serve chilled.
Ingredients:Tricks to Keep Crust Crisp and Filling Smooth
Keep No-Bake Oreo Mud Pie Fresh with These Storage Tips
Pair No-Bake Oreo Mud Pie with Creamy or Crunchy Sides
Try These Creative Changes to No-Bake Oreo Mud Pie
Print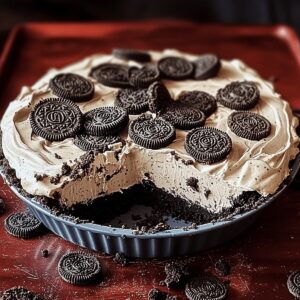
No-Bake Oreo Mud Pie Recipe
- Total Time: 23 hours 20 minutes
- Yield: 8 1x
Description
Indulgent no-bake oreo mud pie delivers a creamy chocolate paradise with minimal effort. Chocolate cookie crust and silky filling blend perfectly, letting eager dessert enthusiasts dive into delicious comfort without turning on an oven.
Ingredients
Main Ingredients:
- 24 Oreo cookies
- 1 package (3.9 ounces / 110 grams) instant chocolate pudding mix
- 2 cups (475 milliliters) cold milk
- 5 tablespoons (75 grams) unsalted butter
Cream and Filling Ingredients:
- ½ cup (120 milliliters) heavy cream
- 1 ½ cups (360 milliliters) whipped cream
- ½ cup (90 grams) crushed Oreos
Finishing Ingredients:
- 2 tablespoons powdered sugar
- 1 teaspoon vanilla extract
- Chocolate sauce (optional)
- Extra crushed Oreos or chocolate shavings for garnish
Instructions
- Create a fine-textured foundation by pulverizing Oreo cookies into delicate crumbs using a food processor or sealed bag, then integrate melted butter to form a cohesive mixture.
- Press the crumb combination firmly into a 9-inch pie dish, ensuring an uniform, compact base that will provide structural integrity for subsequent layers.
- Whip softened cream cheese with powdered sugar until achieving a silky, velvety consistency that spreads effortlessly across the chilled Oreo foundation.
- Prepare chocolate pudding by whisking mix with milk, stirring until the mixture transforms into a luscious, thickened chocolate layer that will rest atop the cream cheese.
- Gently cascade the pudding over the cream cheese, creating a smooth, even surface that complements the underlying textures.
- Crown the dessert with a billowing layer of whipped topping, using a spatula to create elegant, soft peaks that promise a light, airy finish.
- Refrigerate the assembled pie for a minimum of four hours, allowing the layers to harmonize and solidify into a decadent, cool dessert.
- Prior to serving, embellish with additional crushed Oreos or a dramatic chocolate syrup drizzle, transforming the pie into a visually stunning and irresistible treat.
Notes
- Crumble Oreos meticulously for a uniform, fine texture that ensures a compact, stable crust without large cookie chunks.
- Soften cream cheese at room temperature for 30 minutes to achieve a smoother, lump-free mixture that blends effortlessly with powdered sugar.
- Whisk pudding mix thoroughly to prevent lumps and create a silky, consistent chocolate layer that sets perfectly when chilled.
- Modify for dietary restrictions by using gluten-free Oreos, dairy-free cream cheese alternatives, and plant-based whipped topping for a vegan-friendly version.
- Prep Time: 20 minutes
- Cook Time: 23 hours
- Category: Desserts, Snacks
- Method: Blending
- Cuisine: American
Nutrition
- Serving Size: 8
- Calories: 380
- Sugar: 26 g
- Sodium: 200 mg
- Fat: 24 g
- Saturated Fat: 12 g
- Unsaturated Fat: 10 g
- Trans Fat: 0 g
- Carbohydrates: 37 g
- Fiber: 1 g
- Protein: 4 g
- Cholesterol: 50 mg
Daves Miller
Contributing Chef & Culinary Educator
Expertise
Education
Sullivan University, Louisville, Kentucky
White Mountains Community College, Berlin, New Hampshire
Daves is the friendly face guiding you through flavorful, fuss-free recipes at Picture Perfect Meals.
He studied culinary arts at Sullivan University and embraced Baking and Pastry Arts at White Mountains Community College. Daves specializes in comforting meals with vibrant flavors, highlighting fresh, seasonal ingredients.