Fluffy No-Oven Stovetop Bread Recipe: Crispy Magic Simplified
Crafting homemade no-oven stovetop bread feels like uncovering a culinary secret most bakers never explore.
Kitchen experiments can surprise you with unexpected delights.
Modern cooking doesn’t always require traditional equipment or complicated techniques.
This simple method transforms basic ingredients into a warm, fragrant loaf without switching on an oven.
Skillful techniques make bread-making accessible for anyone with a stovetop and a few pantry staples.
Minimal tools and maximum flavor describe this ingenious approach to creating fresh bread.
You’ll want to clear your schedule and start kneading right away.
No-Oven Stovetop Bread That’s Soft and Quick
What to Prep for No-Oven Bread Recipes
Bread Base:Liquid and Activation Ingredients:Additional Preparation Components:How to Make Stovetop Bread Fluffy and Golden
Step 1: Wake Up The Yeast
If using active dry yeast, combine warm water, sugar, and yeast in a small bowl. Wait 5-10 minutes until the mixture becomes bubbly and fragrant.
Step 2: Create The Dough
In a large mixing bowl, combine:Add the yeast mixture (or instant yeast), oil, and warm water. Stir until a soft dough forms.
Knead the dough on a floured surface for 8-10 minutes until it becomes smooth and stretchy.
Step 3: Let The Dough Rest And Rise
Transfer the dough to a lightly oiled bowl. Cover with a damp kitchen towel and place in a warm spot. Allow it to rise for one hour or until it doubles in size.
Step 4: Shape The Bread
Gently press down the risen dough to release air. Shape into a round or oval loaf that comfortably fits your skillet.
Step 5: Cook On The Stovetop
Warm a nonstick skillet or heavy pot over low heat. Lightly grease the cooking surface.
Place the shaped dough into the skillet. Cover with a lid and cook on low heat for 12-15 minutes.
Carefully flip the bread and cook the other side for 10-12 minutes until golden and fully cooked.
Step 6: Finish And Enjoy
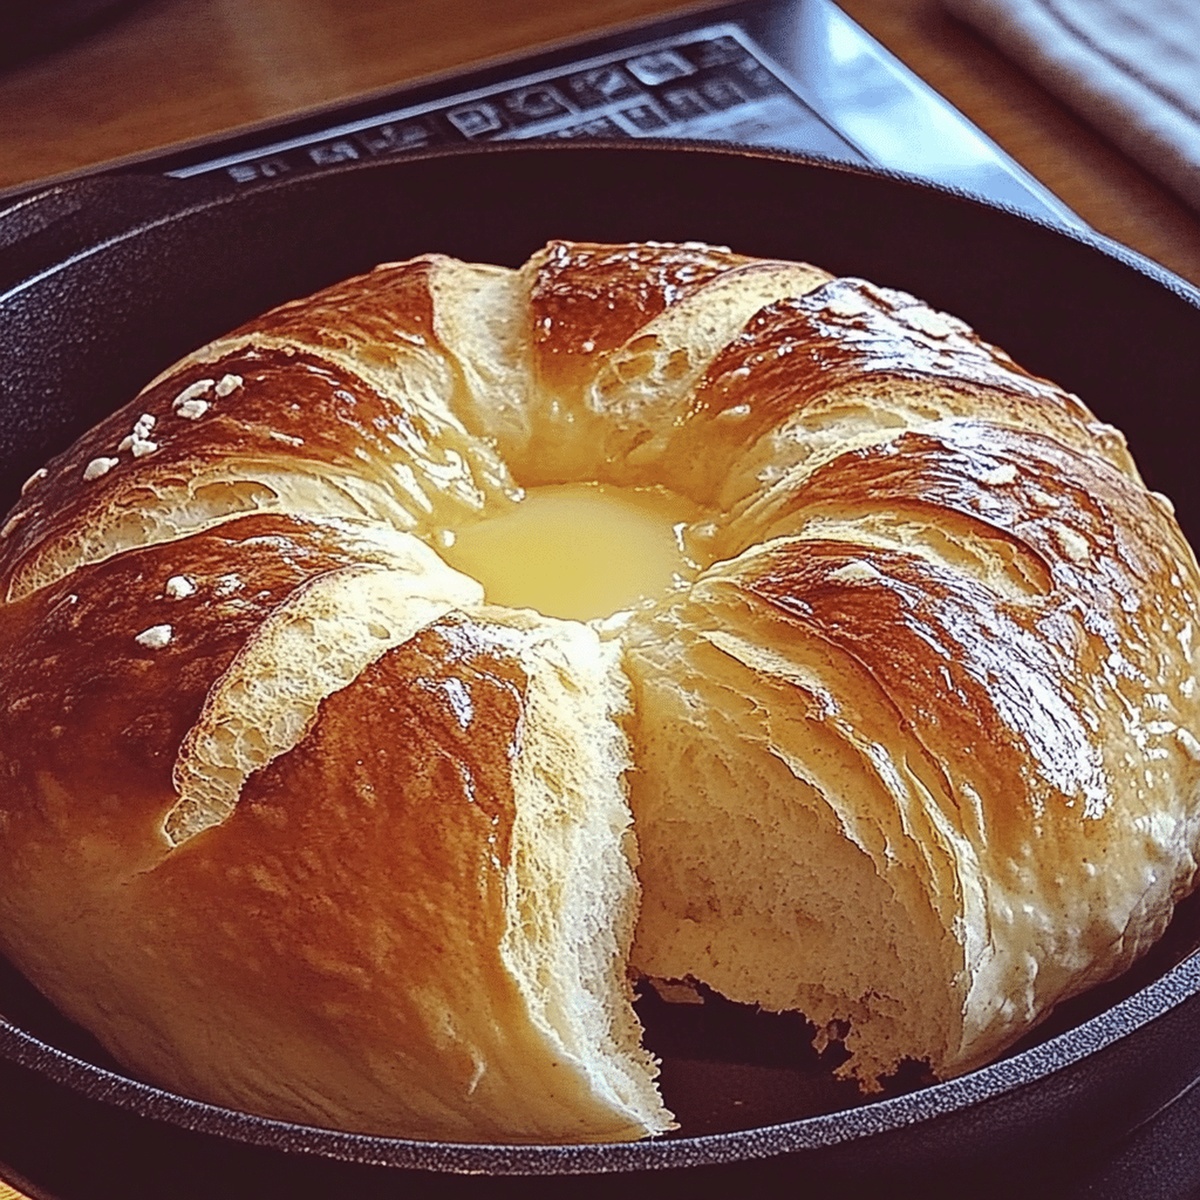
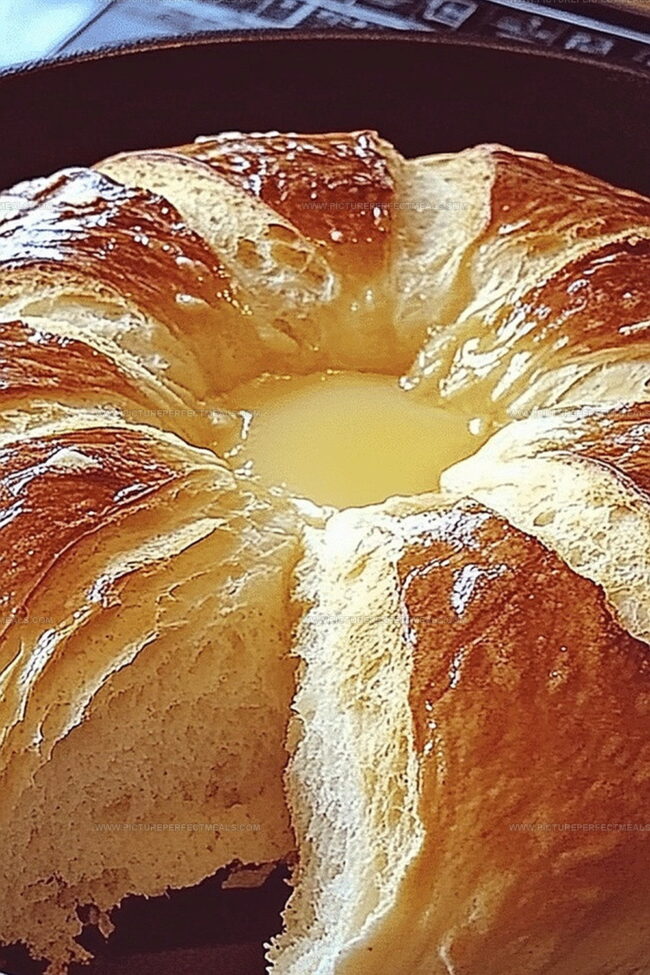
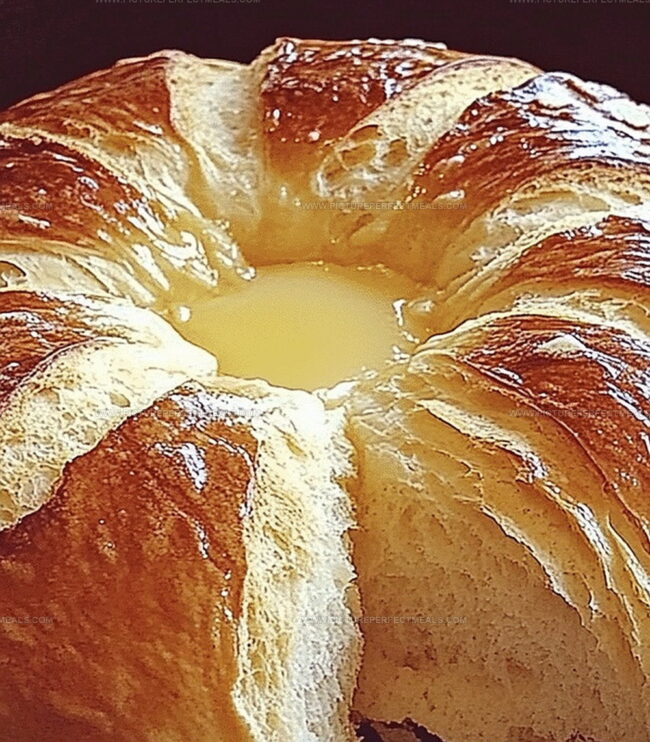
Transfer bread to a wire rack. Let it cool before slicing and serving.
Easy Tips for Bread That’s Cooked on the Stove
How to Keep Stovetop Bread Fresh and Warm
Toppings and Sides for Homemade Bread
Recipe Variations for Stovetop Bread Ideas
Print
No-Oven Stovetop Bread Recipe
- Total Time: 40 minutes
- Yield: 4 1x
Description
Mediterranean flatbread emerges as a perfect quick comfort dish, blending rustic charm with simple ingredients. Crisp edges and warm, pillowy centers invite home cooks to savor this delightful stovetop creation that brings Mediterranean flavors directly to your kitchen.
Ingredients
Main Ingredients:
- 2 ½ cups (591 ml) all-purpose flour
- ¾ cup (177 ml) warm water
- 2 tablespoons (30 ml) vegetable oil or melted butter
Seasoning:
- 1 teaspoon (5 ml) salt
- 2 teaspoons (10 ml) sugar
Leavening Agent:
- 2 teaspoons (10 ml) instant yeast (or active dry yeast)
Instructions
- Initiate yeast activation by dissolving it in warm, slightly sweetened liquid, allowing the mixture to bloom and become frothy for maximum fermentation potential.
- Combine flour and salt in a spacious mixing vessel, creating a pristine base for your artisan loaf. Incorporate the activated yeast elixir, along with silky oil and additional warm liquid, blending until a cohesive dough emerges.
- Transfer the raw dough onto a lightly dusted work surface, massaging and stretching the mixture with rhythmic kneading motions. Develop gluten strands through persistent manipulation until the texture transforms into a smooth, resilient mass.
- Nestle the dough into a generously oiled receptacle, draping a moist cloth over its surface. Position in a tranquil, warm environment, permitting the dough to expand and mature, nearly doubling its original volume.
- Gently deflate the risen dough, redistributing internal gases. Mold the mixture into a compact, symmetrical shape perfectly proportioned for your cooking vessel.
- Prepare a nonstick skillet or heavy-bottomed pot, warming it gradually over minimal heat. Delicately position the shaped dough, securing with a tight-fitting lid to trap essential moisture.
- Cook the first side patiently, allowing gentle heat to transform the exterior into a golden, crisp landscape. After approximately 12-15 minutes, carefully invert the bread to ensure uniform caramelization.
- Complete the cooking process by grilling the alternate side for an additional 10-12 minutes, monitoring the developing color and ensuring thorough internal cooking.
- Extract the finished bread from the cooking surface, transferring to a wire rack. Allow natural cooling to stabilize the internal structure before slicing and serving.
Notes
- Activate yeast precisely by ensuring water temperature is between 100-110°F, which helps yeast bloom without killing it.
- Knead dough thoroughly to develop gluten, creating a stretchy, soft texture that ensures better bread structure.
- Use a heavy-bottomed skillet or cast-iron pan for even heat distribution, preventing burning and promoting uniform cooking.
- Adjust heat carefully during stovetop baking, keeping it consistently low to mimic oven-like conditions and prevent scorching.
- Prep Time: 15 minutes
- Cook Time: 25 minutes
- Category: Breakfast, Snacks
- Method: Frying
- Cuisine: American
Nutrition
- Serving Size: 4
- Calories: 200
- Sugar: 1 g
- Sodium: 190 mg
- Fat: 6 g
- Saturated Fat: 1 g
- Unsaturated Fat: 5 g
- Trans Fat: 0 g
- Carbohydrates: 34 g
- Fiber: 1 g
- Protein: 5 g
- Cholesterol: 0 mg
Daves Miller
Contributing Chef & Culinary Educator
Expertise
Education
Sullivan University, Louisville, Kentucky
White Mountains Community College, Berlin, New Hampshire
Daves is the friendly face guiding you through flavorful, fuss-free recipes at Picture Perfect Meals.
He studied culinary arts at Sullivan University and embraced Baking and Pastry Arts at White Mountains Community College. Daves specializes in comforting meals with vibrant flavors, highlighting fresh, seasonal ingredients.