Old-Fashioned Peanut Butter Cookies Recipe

Old-Fashioned Peanut Butter Cookies Recipe Classic Comfort Bake

My grandma’s secret old-fashioned peanut butter cookies recipe brings back warm memories of childhood afternoons.

Classic baking techniques create the most incredible sweet treats.

Her handwritten recipe card looks weathered and loved after decades of use.

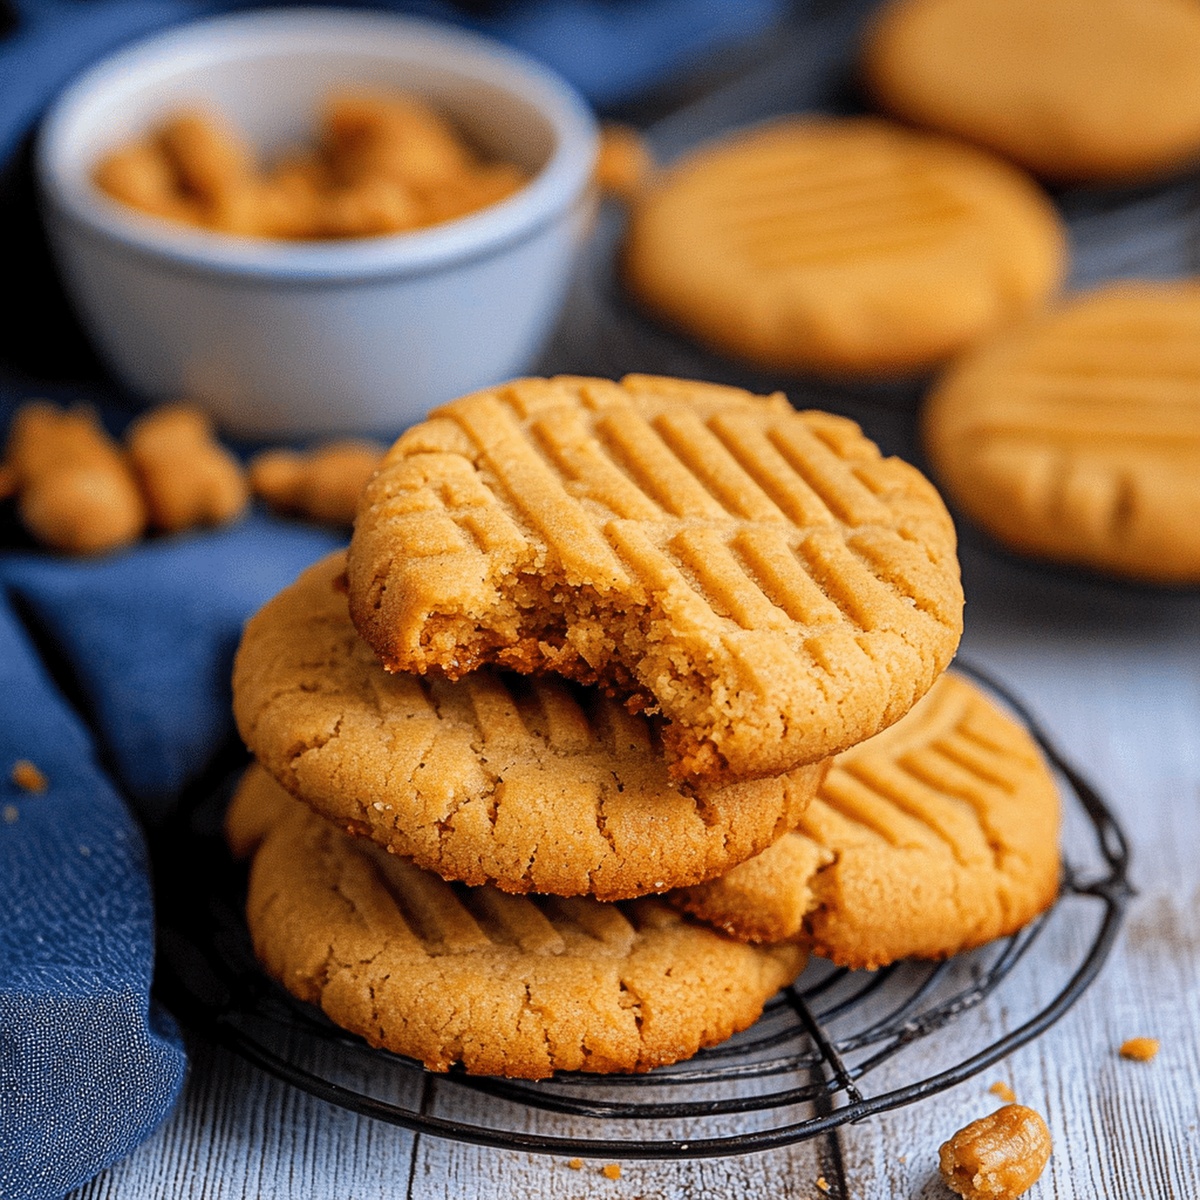
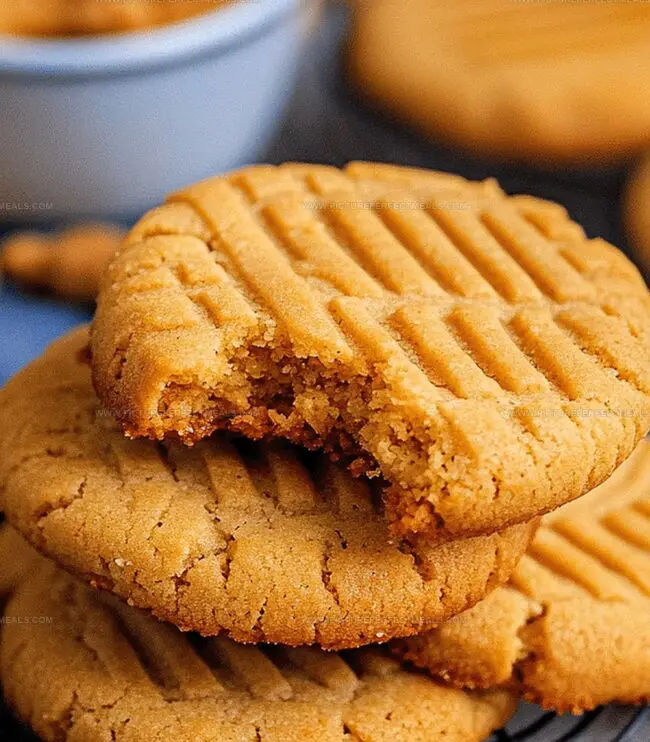
Crisp edges and soft centers define these nostalgic delights that melt in your mouth.

Generations of our family have requested these simple, comforting cookies at every gathering.

Simple ingredients like creamy peanut butter and classic pantry staples make these treats magic.

You’ll want to savor each delectable bite and share this timeless recipe with everyone you know.

Why Old-Fashioned Peanut Butter Cookies Still Win

  • Nostalgic peanut butter cookies that deliver homemade warmth in minutes.
  • Simple ingredients and straightforward steps make these cookies perfect for bakers of all skill levels, from beginners to experienced home cooks.
  • Universally loved cookies that bring generations together, creating sweet memories while enjoying a timeless dessert that pleases both kids and adults.
  • Less than 30 minutes from start to finish, these cookies offer fast satisfaction with minimal prep and quick baking time, ideal for spontaneous baking moments.

Classic Ingredients for Peanut Butter Cookies

Wet Ingredients:
  • Butter, Granulated Sugar, Brown Sugar: Sweet base that creates a rich, caramelized flavor with creamy texture.
  • Peanut Butter: Core flavor component, adds nutty taste and smooth consistency. Natural or creamy styles work best.
  • Egg: Binds ingredients together and provides structure to the cookie.
  • Vanilla Extract: Enhances overall flavor with warm, aromatic notes.
Dry Ingredients:
  • All-Purpose Flour: Provides structure and texture to the cookie. Ensure fresh and properly sifted.
  • Baking Soda, Baking Powder: Leavening agents that help cookies rise and become light.
  • Salt: Balances sweetness and enhances other flavors in the recipe.
Optional Garnish/Finishing:
  • Fork: Used for creating classic crisscross pattern on cookie surface.
  • Parchment Paper: Prevents sticking and ensures even baking.

How to Bake the Best Old-Fashioned Peanut Butter Cookies

Step 1: Warm Up the Oven

Fire up your oven to 350F and line baking sheets with parchment paper. Get your baking space ready for delicious cookie magic.

Step 2: Create Cookie Dough Magic

In a large mixing bowl, blend together:
  • Softened butter
  • Granulated sugar
  • Brown sugar
Whip these ingredients until they become fluffy and light. Next, introduce:
  • Smooth peanut butter
  • Fresh egg
  • Vanilla extract

Mix until everything looks silky and combined.

In a separate bowl, combine:
  • All-purpose flour
  • Baking soda
  • Baking powder
  • Salt

Slowly fold dry ingredients into wet mixture, stirring gently until just mixed.

Step 3: Shape Yummy Cookies

Scoop out small rounds of dough and roll into perfect little balls. Place these tasty spheres on prepared baking sheets, leaving space between each one.

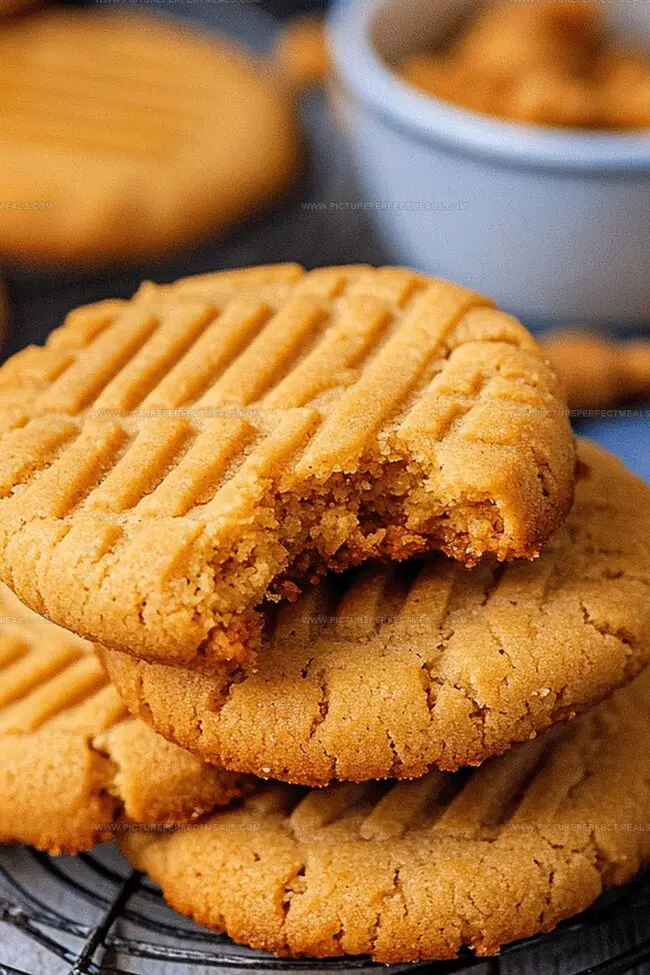
Grab a fork and gently press down on each ball, creating a classic crisscross pattern.

Step 4: Bake to Golden Perfection

Slide cookies into the oven and bake for 10-12 minutes. Watch for golden edges and a slightly firm appearance. Avoid overcooking to keep cookies tender.

Step 5: Cool and Enjoy

Allow cookies to rest on baking sheet for 5 minutes. Transfer to a wire rack and let them cool completely. These classic treats are ready to munch and share!

  • Prevent Sticky Dough: Chill the dough for 30 minutes before shaping to make it easier to handle and prevent excessive spreading during baking.
  • Customize Peanut Butter: Use smooth or crunchy peanut butter based on your texture preference, ensuring the cookie's rich, nutty flavor remains consistent.
  • Achieve Perfect Texture: Avoid overmixing the dough to keep cookies tender and soft, stopping when ingredients are just combined.
  • Store Smartly: Keep cookies in an airtight container at room temperature for up to 5 days, separating layers with parchment paper to maintain freshness.
  • Gluten-Free Option: Substitute all-purpose flour with gluten-free flour blend for a celiac-friendly version, maintaining the classic peanut butter cookie taste.

How to Store Peanut Butter Cookies Properly

  • Store cooled cookies in an airtight container for up to 5 days, separating layers with parchment paper to prevent sticking.
  • Place cookies in a freezer-safe container or ziplock bag, keeping them flat, and freeze for up to 3 months for maximum flavor preservation.
  • Remove frozen cookies and let them sit at room temperature for 15-20 minutes before enjoying their soft, delicious texture.
  • Warm cookies briefly in the microwave for 10-15 seconds or in a preheated oven at 300F for 3-5 minutes to restore their fresh-baked warmth and softness.

What Goes Best with Peanut Butter Cookies

  • A cold glass of whole milk perfectly complements the rich, nutty flavor of these classic peanut butter cookies, creating a nostalgic and comforting taste experience.
  • Serve alongside dark chocolate chunks or a mocha latte to balance the cookie's sweetness and add depth to the nutty profile.
  • A scoop of vanilla ice cream provides a cool, creamy contrast to the warm, crumbly texture of the freshly baked cookies, elevating the dessert to a delightful treat.
  • A light drizzle of salted caramel sauce can intensify the cookie's butterscotch notes and add a sophisticated touch to this classic dessert.

Creative Spins on Old-Fashioned Cookies

  • Gluten-Free Peanut Butter Cookies: Replace wheat flour with almond flour or gluten-free all-purpose flour blend for those with gluten sensitivities.
  • Vegan Peanut Butter Cookies: Substitute butter with coconut oil, use a flax egg instead of regular egg, and select a plant-based peanut butter for a dairy-free version.
  • Low-Sugar Peanut Butter Cookies: Use sugar alternatives like stevia or monk fruit sweetener, and reduce overall sugar content while maintaining cookie texture.
  • Protein-Packed Peanut Butter Cookies: Add a scoop of vanilla protein powder to the dry ingredients and use natural peanut butter with no added sugars for a more nutritious cookie option.
Print
clock clock iconcutlery cutlery iconflag flag iconfolder folder iconinstagram instagram iconpinterest pinterest iconfacebook facebook iconprint print iconsquares squares iconheart heart iconheart solid heart solid icon
Old-Fashioned Peanut Butter Cookies Recipe

Old-Fashioned Peanut Butter Cookies Recipe


5 Stars 4 Stars 3 Stars 2 Stars 1 Star

4.6 from 25 reviews

  • Total Time: 27 minutes
  • Yield: 24 1x

Description

Grandma’s classic Old-Fashioned Peanut Butter Cookies bring nostalgic comfort with each golden, crackly bite. Crisp edges and chewy centers promise pure homemade happiness that connects generations through simple, delightful sweetness.


Ingredients

Scale

Main Ingredients:

  • ½ cup (113 grams) unsalted butter, softened
  • ½ cup (125 grams) creamy peanut butter
  • 1 large egg
  • ½ cup (100 grams) granulated sugar
  • ½ cup (100 grams) brown sugar, packed

Dry Ingredients:

  • 1 ¼ cups (155 grams) all-purpose flour
  • ½ teaspoon baking soda
  • ¼ teaspoon baking powder
  • ¼ teaspoon salt

Flavor Enhancers:

  • 1 teaspoon vanilla extract

Instructions

  1. Warm the cooking chamber to 350F (175C) and arrange parchment paper across baking trays to prevent sticking.
  2. Blend softened butter with both white and brown sugars in a spacious mixing vessel, whipping until the mixture becomes airy and pale.
  3. Incorporate creamy peanut butter, a fresh egg, and fragrant vanilla extract into the sugar mixture, stirring until the texture becomes uniform and silky.
  4. In a separate container, combine flour, baking soda, baking powder, and a pinch of salt, thoroughly whisking to eliminate potential lumps.
  5. Gently fold the dry ingredients into the wet mixture, stirring minimally to maintain a tender cookie consistency.
  6. Measure out consistent dough portions using a small scoop, rolling each into smooth spheres with palms.
  7. Position cookie rounds across prepared trays, maintaining adequate spacing to allow spreading during baking.
  8. Press each dough ball using fork tines, creating distinctive crisscross patterns that enhance visual appeal and texture.
  9. Slide trays into preheated oven, baking for 10-12 minutes until edges transform to a delicate golden hue.
  10. Remove cookies and allow them to rest on baking sheets for five minutes, enabling initial stabilization.
  11. Transfer cookies onto wire cooling racks, permitting complete cooling and texture refinement before serving.

Notes

  • Switch up nut butters for unique flavor profiles by trying almond or cashew butter instead of traditional peanut butter.
  • Reduce sugar content by using a sugar substitute like stevia or monk fruit sweetener to make the cookies more diabetic-friendly.
  • Create gluten-free versions by replacing all-purpose flour with a 1:1 gluten-free baking blend for those with wheat sensitivities.
  • Enhance texture and nutrition by adding chopped nuts, dark chocolate chips, or a sprinkle of sea salt on top before baking for extra crunch and depth of flavor.
  • Prep Time: 12 minutes
  • Cook Time: 15 minutes
  • Category: Desserts, Snacks
  • Method: Baking
  • Cuisine: American

Nutrition

  • Serving Size: 24
  • Calories: 163
  • Sugar: 8 g
  • Sodium: 97 mg
  • Fat: 7 g
  • Saturated Fat: 3 g
  • Unsaturated Fat: 4 g
  • Trans Fat: 0 g
  • Carbohydrates: 22 g
  • Fiber: 1 g
  • Protein: 4 g
  • Cholesterol: 14 mg
Daves Miller

Daves Miller

Contributing Chef & Culinary Educator

Expertise

  • American Southern cuisine with a modern twist.
  • Instruction in culinary fundamentals and advanced techniques.
  • Development of recipes that highlight seasonal and local produce.​
  • Mastery of artisanal bread and pastry techniques, from laminated doughs to decorative sugar artistry.

Education

Sullivan University, Louisville, Kentucky

  • Degree: Associate of Science Degree in Culinary Arts
  • Focus: Specialized in cooking techniques and culinary sciences, hands‑on externships, professional kitchen lab training, and career preparation for restaurants, entrepreneurship, and global culinary opportunities.

White Mountains Community College, Berlin, New Hampshire

  • Program: Baking and Pastry Arts degree
  • Focus: Specialized in comprehensive baking and pastry arts, including bread making, artisan breads, cake decorating and design, chocolates, confections, and decorative centerpieces; product development and baking theory; and career preparation for baker and pastry chef roles in many places.

Daves is the friendly face guiding you through flavorful, fuss-free recipes at Picture Perfect Meals. 

He studied culinary arts at Sullivan University and embraced Baking and Pastry Arts at White Mountains Community College. Daves specializes in comforting meals with vibrant flavors, highlighting fresh, seasonal ingredients.

Leave a Reply

Your email address will not be published. Required fields are marked *

Recipe rating 5 Stars 4 Stars 3 Stars 2 Stars 1 Star