
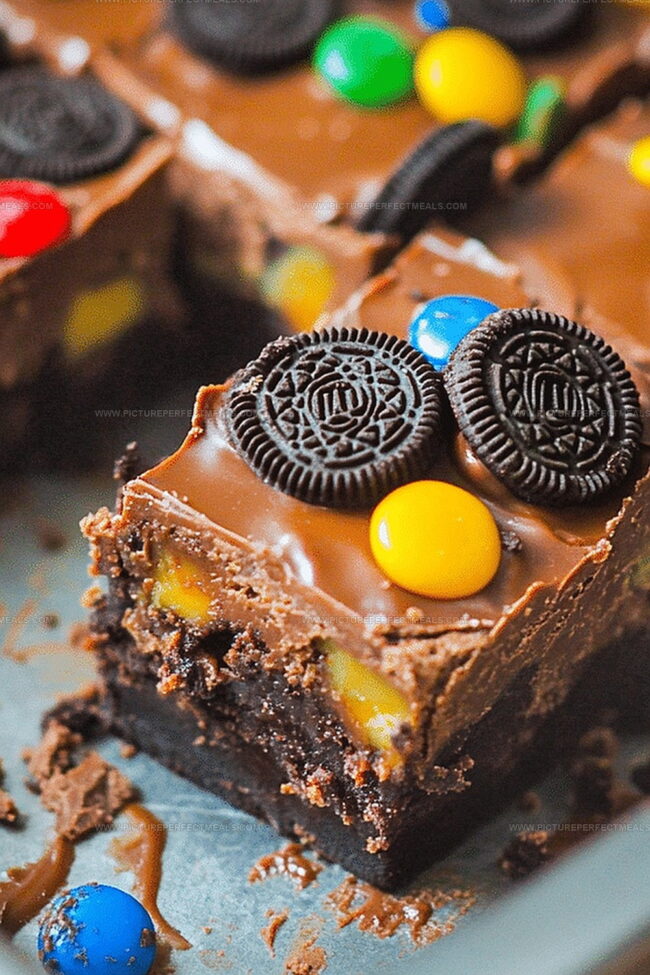
Creamy Peanut Butter Cup Oreo Fudge Recipe: Sweet Treat Magic!
Sweet-toothed adventurers, this peanut butter cup oreo fudge delivers pure dessert bliss that will make your taste buds dance.
Chocolate and creamy peanut butter create an irresistible partnership in every decadent bite.
Rich layers of crushed oreo cookies meld with smooth, velvety fudge for an indulgent treat.
Minimal ingredients and simple steps mean you can whip up this delightful dessert in minutes.
Candy lovers will appreciate the perfect balance of textures and intensely satisfying flavors.
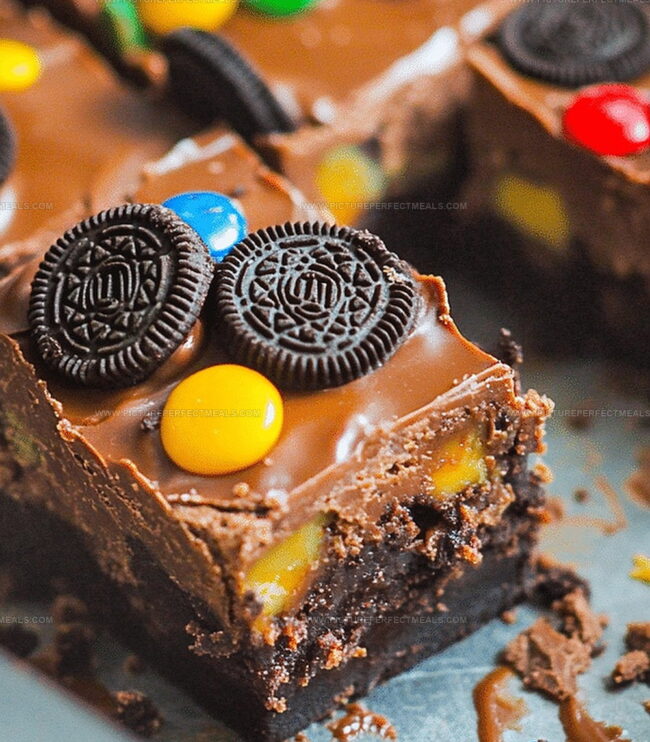
Each piece promises a luxurious combination of crunchy cookies and silky chocolate that melts effortlessly.
A single slice promises to transport you straight to dessert paradise, so grab a pan and let’s create magic.
Oreo Fudge That Combines Everything You Love
Peanut Butter Cup Fudge Ingredient Checklist
Base Ingredients:Binding and Flavor Enhancers:Optional Garnish and Texture:Make Oreo Fudge with Simple Steps
Step 1: Crush Oreo Cookies
Grab a food processor or zip-lock bag and transform Oreo cookies into fine crumbs. Break down the cookies completely, creating a powdery texture that will blend seamlessly into the fudge. Set the crushed cookies aside.
Step 2: Create Creamy Chocolate Base
In a large saucepan over medium heat, combine:Stir the ingredients continuously until they merge into a silky smooth mixture. Pour in vanilla extract and mix thoroughly, creating a rich and glossy foundation for your fudge.
Step 3: Incorporate Powdered Sweetness
Add powdered sugar to the melted mixture, stirring until the ingredients are fully integrated. The sugar will enhance the sweetness and help the fudge achieve a perfect consistency.
Step 4: Fold in Oreo Crumbs
Gently introduce the crushed Oreo crumbs into the peanut butter mixture. Stir carefully to ensure an even distribution of cookie pieces throughout the fudge.
Step 5: Prepare and Chill
Line an 8×8-inch baking dish with parchment paper. Pour the fudge mixture into the dish, using a spatula to spread it evenly. Transfer the dish to the refrigerator and let it set for at least 2 hours until firm.
Step 6: Slice and Indulge
Remove the chilled fudge from the refrigerator. Cut into square pieces and serve. Enjoy the rich, creamy texture and irresistible combination of chocolate, peanut butter, and Oreo cookies.
Peanut Butter Fudge Tips to Follow
Keep Oreo Fudge Tasty After the First Day
Snacks to Serve with Peanut Butter Fudge
Oreo Fudge Flavor Combinations You’ll Enjoy
Print
Peanut Butter Cup Oreo Fudge Recipe
- Total Time: 3 hours 10 minutes
- Yield: 36 1x
Description
Indulgent Peanut Butter Cup Oreo Fudge delivers chocolate and peanut butter bliss in one irresistible treat. Sweet layers of creamy fudge and crushed Oreos promise a quick, delightful dessert you cannot resist.
Ingredients
Main Chocolate Ingredients:
- 3 cups (525 g) semi-sweet or milk chocolate chips
- 1 (14 ounces / 396 g) can sweetened condensed milk
Flavor Additions:
- 1 cup (100 g) chopped Oreo cookies (about 8–10 cookies)
- 1 cup (100 g) chopped mini peanut butter cups
Flavor Enhancers:
- 1 teaspoon vanilla extract
- Extra Oreo cookies and peanut butter cups for garnish (optional)
Instructions
- Pulverize the Oreo cookies into fine, uniform crumbs using a food processor or by placing them in a sealed plastic bag and crushing with a rolling pin.
- Prepare a double boiler or use a large saucepan on medium-low heat to gently melt peanut butter, sweetened condensed milk, and butter together, stirring consistently until the mixture transforms into a silky, homogeneous liquid.
- Enhance the melted mixture with vanilla extract, stirring thoroughly to integrate the flavor profile completely.
- Gradually incorporate powdered sugar into the warm liquid, whisking until the consistency becomes thick and smooth, creating a rich fudge base.
- Fold the prepared Oreo crumbs into the peanut butter mixture, ensuring even distribution throughout the mixture without overmixing.
- Select an 8-inch square baking pan and line it meticulously with parchment paper, allowing slight overhang for easier removal later.
- Transfer the combined fudge mixture into the prepared pan, using a rubber spatula to spread it evenly and create a uniform surface.
- Refrigerate the fudge for approximately 2-3 hours, or until it becomes completely firm and set, allowing the flavors to meld and the texture to solidify.
- Once chilled, lift the fudge from the pan using the parchment paper edges and slice into precise, bite-sized squares for serving.
Notes
- Crush Oreos finely for a smooth, even texture that blends perfectly into the fudge without large chunks.
- Use a food processor for more consistent crumbs, but a rolling pin works well if you prefer a more rustic approach.
- Stir the peanut butter mixture constantly to prevent burning and ensure a silky, uniform consistency.
- Refrigerate the fudge for at least 2 hours, but letting it set overnight intensifies the flavors and creates a firmer texture.
- For a gluten-free version, swap regular Oreos with gluten-free chocolate sandwich cookies.
- Add a sprinkle of sea salt on top before chilling to enhance the sweet and rich flavor profile.
- Store in an airtight container in the refrigerator for up to a week to maintain freshness and prevent melting.
- Prep Time: 10 minutes
- Cook Time: 2-3 hours
- Category: Desserts, Snacks
- Method: Blending
- Cuisine: American
Nutrition
- Serving Size: 36
- Calories: 153
- Sugar: 18 g
- Sodium: 60 mg
- Fat: 8 g
- Saturated Fat: 4 g
- Unsaturated Fat: 4 g
- Trans Fat: 0 g
- Carbohydrates: 20 g
- Fiber: 1 g
- Protein: 2 g
- Cholesterol: 3 mg
Daves Miller
Contributing Chef & Culinary Educator
Expertise
Education
Sullivan University, Louisville, Kentucky
White Mountains Community College, Berlin, New Hampshire
Daves is the friendly face guiding you through flavorful, fuss-free recipes at Picture Perfect Meals.
He studied culinary arts at Sullivan University and embraced Baking and Pastry Arts at White Mountains Community College. Daves specializes in comforting meals with vibrant flavors, highlighting fresh, seasonal ingredients.