
Festive & Fun Peppermint Bark Recipe for Holiday Magic
Cool winter nights call for magical peppermint bark that sparkles with festive charm.
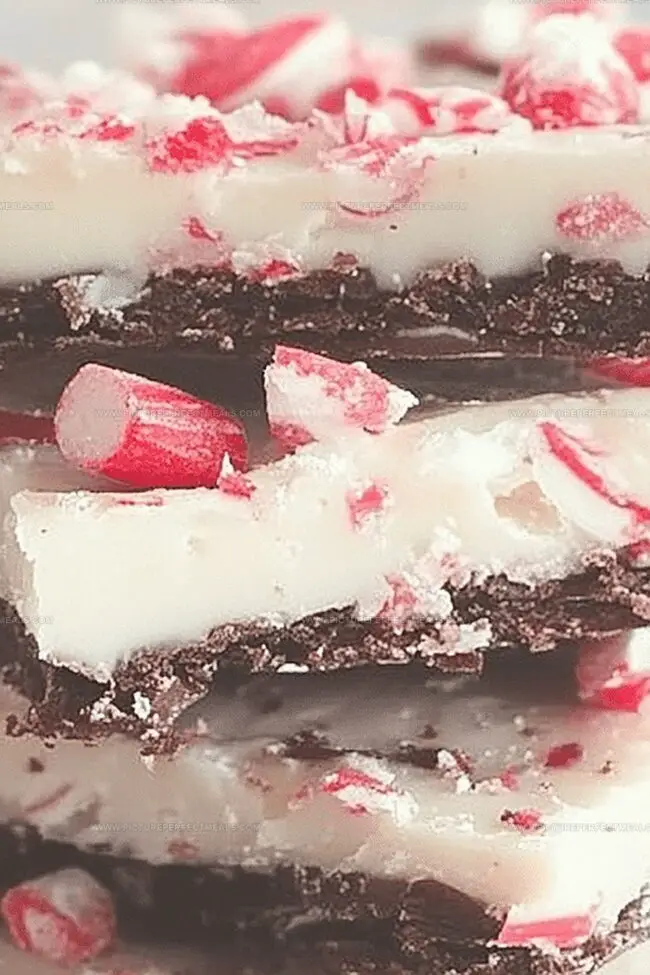
Sweet chocolate layers melt together effortlessly in this simple treat.
My grandmother shared her secret technique decades ago, turning a basic recipe into something extraordinary.
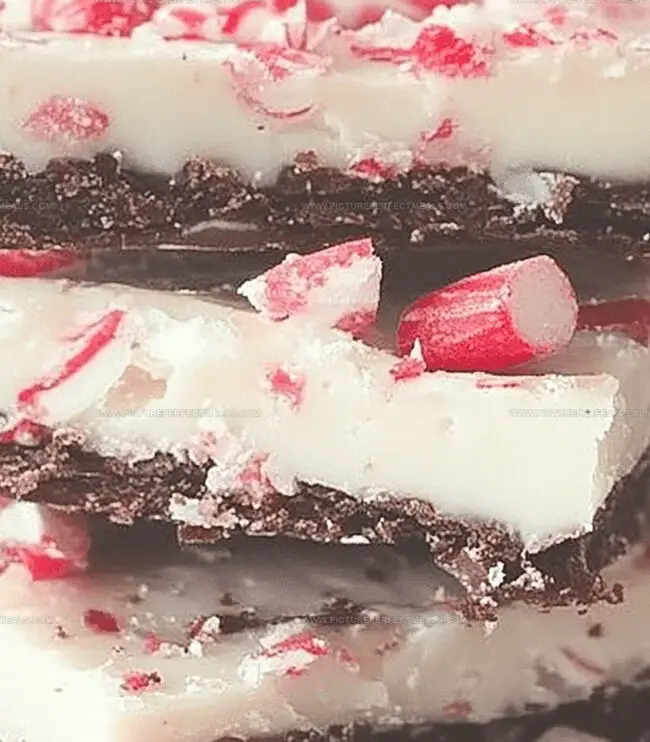
Crisp peppermint pieces crunch against smooth chocolate surfaces, creating delightful sensations.
Minimal ingredients combine quickly, making this dessert perfect for busy home cooks.
Everyone will adore these elegant, homemade candies that look professionally crafted.
Whip up this delectable confection and watch smiles spread across happy faces.
Peppermint Bark That Brings the Holiday Spirit
Must-Have Ingredients for Homemade Peppermint Bark
Chocolate Base:White Chocolate Layer:Decoration and Crunch:Preparation Tools:Make Your Own Peppermint Bark with Layers
Step 1: Prepare Baking Surface
Cover a baking sheet with parchment paper, ensuring complete surface coverage. Smooth out any wrinkles to create a flat workspace.
Step 2: Craft Dark Chocolate Layer
Melt dark chocolate using these methods:Stir chocolate until perfectly smooth and glossy. Optional: Add peppermint extract for extra flavor. Spread chocolate evenly across prepared surface. Chill in refrigerator for 20 minutes until completely set.
Step 3: Create White Chocolate Topping
Melt white chocolate following same technique as dark chocolate:Add remaining peppermint extract if desired. Chocolate should look silky and luxurious.
Step 4: Layer and Decorate
Pour white chocolate over dark chocolate layer. Use spatula to spread evenly. Sprinkle crushed peppermint candies across surface. Gently press candies to ensure they stick.
Step 5: Chill and Solidify
Place bark in refrigerator for minimum 30 minutes. Chocolate should become completely firm and crisp.
Step 6: Break Into Pieces
Remove bark from refrigerator. Break into rustic, uneven chunks using hands or knife. Irregular shapes create beautiful, homemade appearance.
Step 7: Store and Enjoy
Transfer bark pieces to airtight container. Keep at room temperature or refrigerate. Bark remains fresh for two weeks. Perfect for holiday gifts or personal indulgence.
Tips That Keep Peppermint Bark Crisp and Clean
Store Peppermint Bark Without Losing Crunch
Treats to Pair with Peppermint Bark
Bark Flavor Variants to Try Beyond Peppermint
Print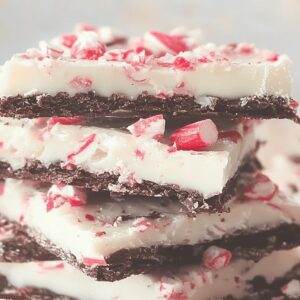
Peppermint Bark Recipe
- Total Time: 1 hour 5 minutes
- Yield: 16 1x
Description
Homemade peppermint bark delights winter celebrations with its festive chocolate layers and crisp candy cane crunch. Chocolate lovers relish this simple yet elegant dessert that brings holiday cheer directly to sweet-craving souls.
Ingredients
Main Ingredients:
- 200 g (7 ounces) dark or semi-sweet chocolate, chopped
- 200 g (7 ounces) white chocolate, chopped
Flavor Enhancers:
- 1 teaspoon peppermint extract (optional)
Garnish:
- ½ cup (75 g) crushed peppermint candies or candy canes
Instructions
- Prepare a baking sheet with parchment paper or silicone mat, ensuring complete coverage of the surface to prevent sticking and facilitate easy removal.
- Carefully melt dark chocolate using a double boiler or microwave, stirring frequently to maintain a smooth, glossy consistency and prevent scorching.
- Infuse the melted dark chocolate with a hint of peppermint extract, gently incorporating the flavor throughout the chocolate.
- Spread the dark chocolate evenly across the prepared baking sheet, creating a uniform layer that will serve as the foundation of the bark.
- Refrigerate the dark chocolate layer for approximately 20 minutes, allowing it to set firmly and create a stable base for the white chocolate topping.
- Repeat the melting process with white chocolate, using gentle heat and continuous stirring to achieve a silky texture.
- Add the remaining peppermint extract to the white chocolate, blending thoroughly to distribute the flavor evenly.
- Carefully pour the melted white chocolate over the chilled dark chocolate layer, ensuring complete and even coverage.
- Immediately sprinkle crushed peppermint candies across the surface, pressing them lightly to ensure they adhere to the chocolate.
- Return the bark to the refrigerator, allowing it to chill and completely solidify for at least 30 minutes.
- Once fully set, gently break the bark into irregular, rustic pieces using your hands or a sharp knife.
- Transfer the peppermint bark to an airtight container, storing at room temperature or in the refrigerator to maintain freshness for up to two weeks.
Notes
- Select high-quality chocolate for richer, more intense flavor profiles that elevate the bark’s taste.
- Crush peppermint candies finely to ensure even distribution and prevent large, sharp chunks that might disrupt the smooth texture.
- Control chocolate melting temperature carefully to prevent seizing or developing a grainy consistency, which can ruin the bark’s silky finish.
- Experiment with different chocolate percentages like 60% or 70% dark chocolate to customize bitterness and sweetness levels according to personal preference.
- Prep Time: 15 minutes
- Cook Time: 50 minutes
- Category: Desserts, Snacks
- Method: Baking
- Cuisine: American
Nutrition
- Serving Size: 16
- Calories: 170
- Sugar: 15 g
- Sodium: 10 mg
- Fat: 9 g
- Saturated Fat: 5 g
- Unsaturated Fat: 4 g
- Trans Fat: 0 g
- Carbohydrates: 22 g
- Fiber: 0 g
- Protein: 2 g
- Cholesterol: 5 mg
Daves Miller
Contributing Chef & Culinary Educator
Expertise
Education
Sullivan University, Louisville, Kentucky
White Mountains Community College, Berlin, New Hampshire
Daves is the friendly face guiding you through flavorful, fuss-free recipes at Picture Perfect Meals.
He studied culinary arts at Sullivan University and embraced Baking and Pastry Arts at White Mountains Community College. Daves specializes in comforting meals with vibrant flavors, highlighting fresh, seasonal ingredients.