Fluffy Polar Bear Cookies Recipe: Fun Winter Treats
Sweet memories of arctic adventures shine through these whimsical polar bear cookies that capture delightful winter charm.
Soft white frosting creates adorable furry textures that children absolutely adore.
Playful baking becomes an exciting creative project perfect for weekend afternoons.
Sugar-coated polar bear shapes emerge from simple ingredients and clever decorating techniques.
Crafting these adorable treats means connecting with loved ones through delicious shared experiences.
Little hands help transform basic sugar cookies into cute arctic animal masterpieces.
Each bite brings a smile that celebrates imagination and culinary fun.
Let’s make magic happen in the kitchen with these irresistible polar bear cookies!
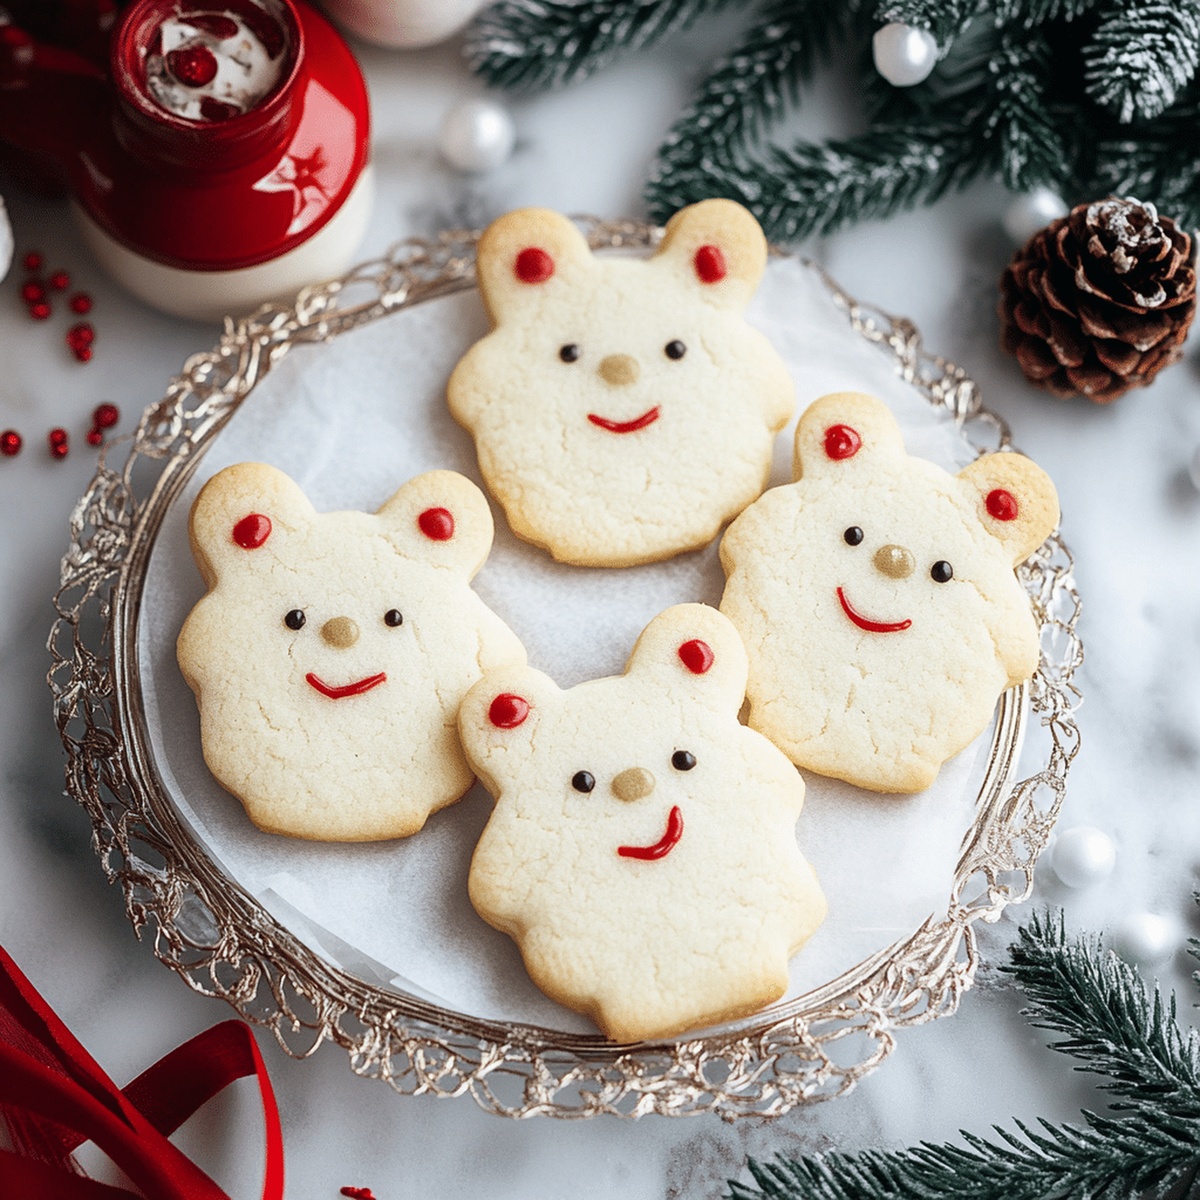
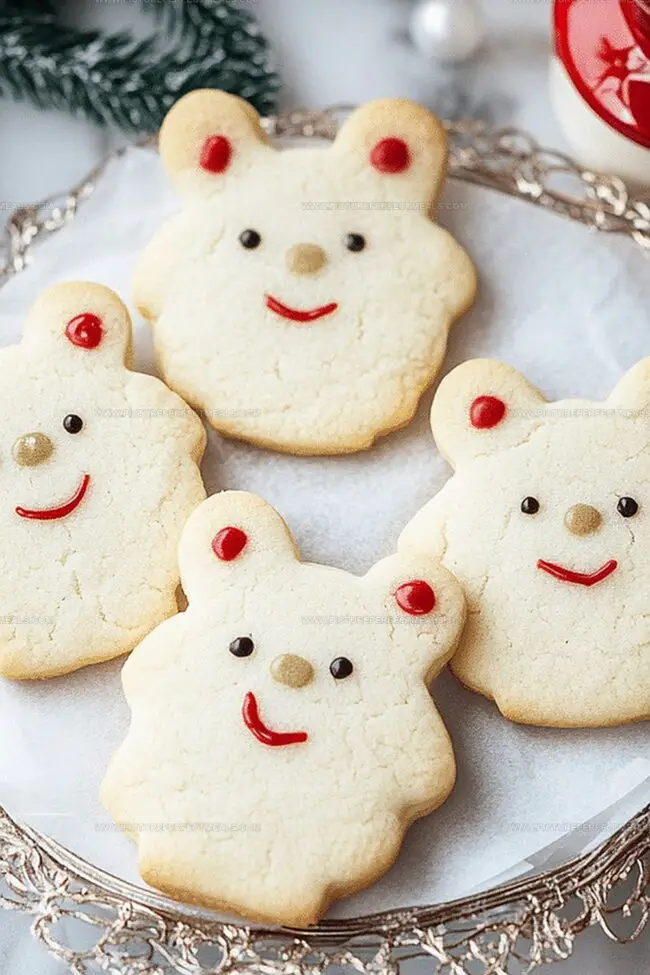
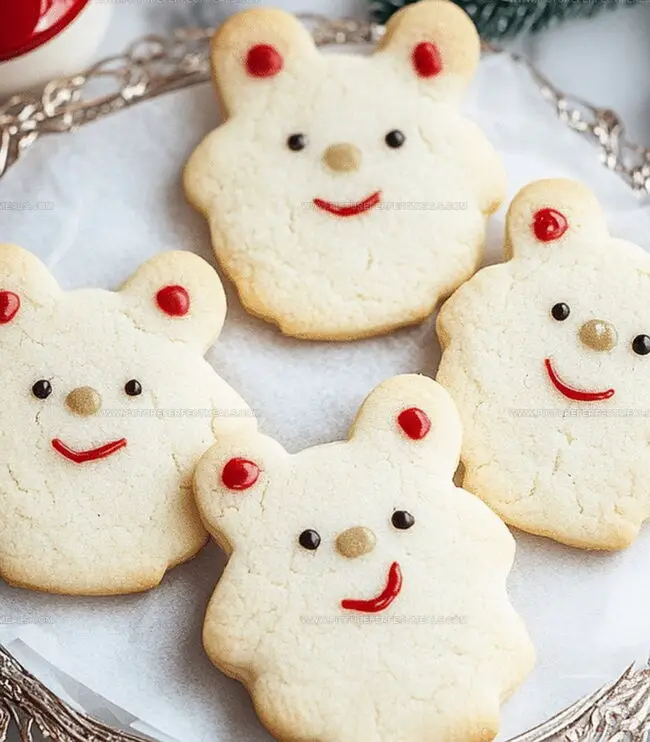
Polar Bear Cookies That Look Adorable and Taste Even Better
Ingredients to Make Polar Bear Cookies at Home
Basic Ingredients:Coating and Decoration Ingredients:Optional Decoration Ingredients:Step-by-Step for Frosted Polar Bear Cookie Fun
Step 1: Craft the Delectable Dough
Warm up your oven to 350F (175C) and cover a baking sheet with parchment paper. In a spacious mixing bowl, whip butter and sugar until they transform into a cloud-like mixture. Splash in the egg and vanilla extract, blending until silky smooth. Grab another bowl and whisk together:Gradually merge the dry ingredients into the wet mixture, stirring until perfectly combined.
Step 2: Sculpt and Bake Adorable Rounds
Scoop out tablespoon-sized dough portions and roll them into smooth spheres. Arrange the balls on the prepared baking sheet, leaving about 2 inches between each cookie. Gently press down on each ball with your palm. Slide the sheet into the oven and bake for 10-12 minutes until the edges hint at a golden glow. Transfer the cookies to a wire rack and let them cool completely.
Step 3: Melt the Polar Bear Coating
Transform white chocolate chips or candy melts in a microwave-safe bowl. Zap in 20-second bursts, stirring after each interval, until the chocolate becomes a smooth, glossy liquid.
Step 4: Transform Cookies into Cuddly Bears
Dunk each cookie into the melted white chocolate, ensuring a complete, luxurious coating. Rest the cookies on a parchment-lined surface. While the chocolate remains wet, attach:Add optional decorative touches like sprinkles or icing to create scarves or snowflakes.
Step 5: Set the Magical Decorations
Allow the cookies to rest at room temperature until the white chocolate hardens completely. For a speedier setting, pop the cookies in the refrigerator for 10-15 minutes.
Tips to Decorate Polar Bear Cookies Easily
How to Keep These Cute Cookies Fresh
Perfect Pairings for Polar Bear Treats
Ideas for More Animal-Themed Cookie Bakes
Polar Bear Cookie Variations: Print
Polar Bear Cookies Recipe
- Total Time: 40 minutes
- Yield: 24 1x
Description
Polar bear cookies bring winter whimsy to holiday dessert tables with adorable marshmallow and chocolate chip details. Crisp sugar cookie bases adorned with fluffy marshmallow frosting create delightful polar bear faces you’ll want to nibble and share.
Ingredients
Main Ingredients:
- 1 ½ cups all-purpose flour
- ½ cup (1 stick) unsalted butter, softened
- ¾ cup granulated sugar
Eggs and Flavor Enhancers:
- 1 large egg
- 1 teaspoon vanilla extract
- ½ teaspoon baking powder
- ¼ teaspoon salt
Decoration Ingredients:
- 2 cups white chocolate chips or candy melts
- Mini marshmallows
- Candy eyes
- Mini chocolate chips or black edible pearls
- Optional: Red or blue sprinkles
Instructions
- Craft the foundational cookie mixture by thoroughly blending softened butter and sugar until achieving a velvety, aerated texture. Incorporate the egg and vanilla extract, stirring until the mixture appears uniform and silky.
- Sift together flour, baking powder, and salt in a separate vessel. Gradually fold the dry components into the wet ingredients, gently mixing until a cohesive dough forms.
- Preheat the oven to 350F (175C) and line a baking sheet with parchment paper. Portion the dough into tablespoon-sized spheres, rolling each between your palms to create smooth, uniform balls.
- Arrange the dough balls on the prepared sheet, spacing them approximately two inches apart. Gently press down on each sphere with your palm to create a slight flattening effect.
- Transfer the baking sheet to the preheated oven and bake for 10-12 minutes, watching for delicate golden edges as an indication of doneness. Remove and allow cookies to cool completely on a wire rack.
- Melt white chocolate chips using short microwave intervals, stirring between each heating cycle to ensure a smooth, glossy consistency.
- Immerse each cooled cookie into the melted white chocolate, ensuring total coverage. Carefully place on parchment paper to set.
- While the chocolate coating remains wet, strategically position two mini marshmallows at the cookie’s upper edge to simulate bear ears. Affix candy eyes and a mini chocolate chip or pearl to represent the nose.
- Optional embellishments like sprinkles or decorative icing can be added to enhance the polar bear’s character.
- Allow the cookies to rest at room temperature until the white chocolate coating hardens completely. For expedited setting, briefly refrigerate for 10-15 minutes.
Notes
- Plan ahead by softening butter at room temperature for smooth, even mixing without lumps.
- Use gel food coloring for vibrant white chocolate coating without changing consistency.
- Ensure white chocolate melts gently to prevent seizing or burning by stirring frequently during microwave intervals.
- Chill cookies quickly in refrigerator for faster decorating and firmer chocolate set, perfect for impatient bakers or last-minute party prep.
- Prep Time: 20 minutes
- Cook Time: 20 minutes
- Category: Desserts, Snacks
- Method: Baking
- Cuisine: American
Nutrition
- Serving Size: 24
- Calories: 160
- Sugar: 9 g
- Sodium: 50 mg
- Fat: 7 g
- Saturated Fat: 4 g
- Unsaturated Fat: 2 g
- Trans Fat: 0 g
- Carbohydrates: 23 g
- Fiber: 1 g
- Protein: 2 g
- Cholesterol: 20 mg
Daves Miller
Contributing Chef & Culinary Educator
Expertise
Education
Sullivan University, Louisville, Kentucky
White Mountains Community College, Berlin, New Hampshire
Daves is the friendly face guiding you through flavorful, fuss-free recipes at Picture Perfect Meals.
He studied culinary arts at Sullivan University and embraced Baking and Pastry Arts at White Mountains Community College. Daves specializes in comforting meals with vibrant flavors, highlighting fresh, seasonal ingredients.