Protein-Packed Cookies Recipe

Whip Up Hearty Protein-Packed Cookies Recipe Today!

Baking delightful chocolate chip protein cookies delivers a wholesome twist to classic treats.

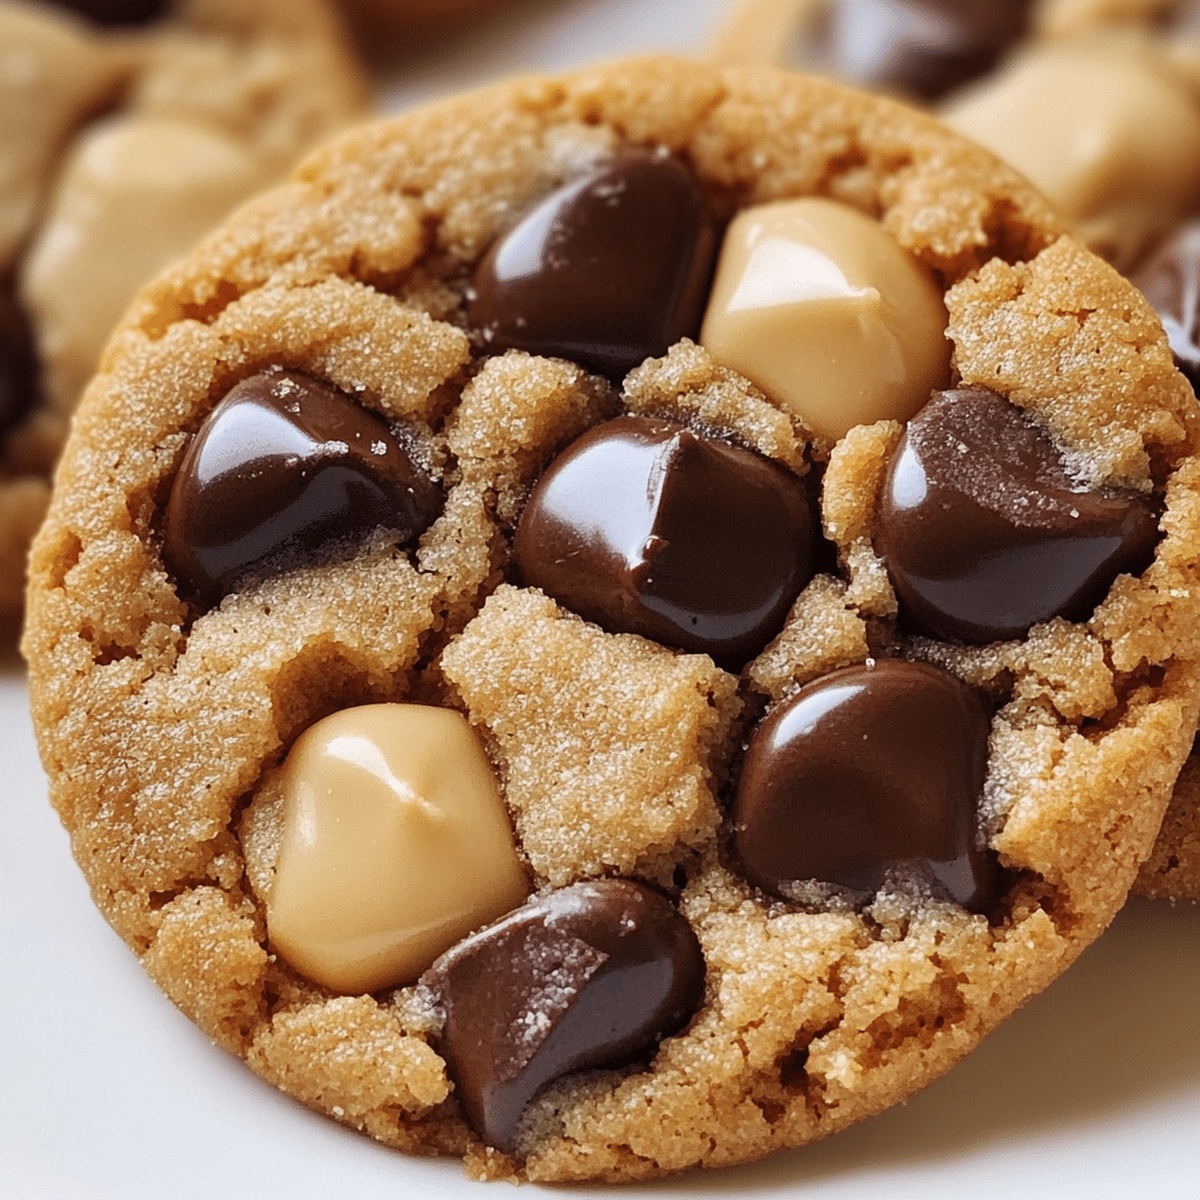
These protein-packed cookies combine irresistible flavor with nutritional benefits that make snacking guilt-free.

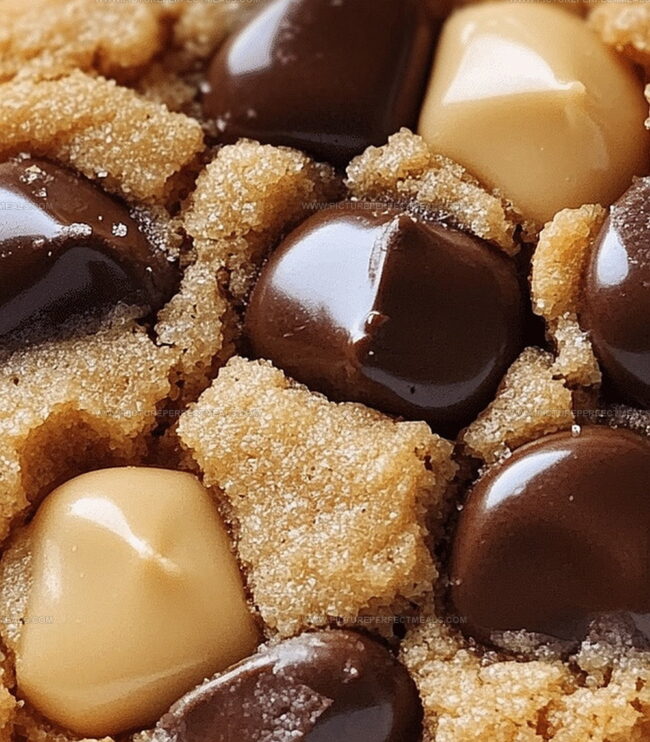
Chocolate chips nestled within soft, chewy dough create a perfect balance of sweetness and nutrition.

Each cookie packs a powerful protein punch that satisfies hunger and supports muscle recovery.

Athletes, fitness enthusiasts, and anyone seeking a healthier dessert alternative will love this recipe.

The simple ingredients and straightforward preparation make these cookies a game-changer for health-conscious bakers.

You’ll want to whip up a batch and experience the delicious blend of indulgence and wellness.

Fuel Up: What’s in These Protein Cookies

For Dry Base:
  • Oats: Hearty whole grain providing sturdy texture and nutritional boost, choose rolled or quick oats for smooth consistency.
  • Oat Flour: Gluten-free alternative adding softness and helping bind ingredients, look for fine-milled variety.
  • Protein Powder: Muscle-building ingredient enhancing protein content, select neutral-flavored whey or plant-based options.
  • Baking Soda: Crucial leavening agent ensuring cookies rise and become light, use fresh container for best results.
  • Salt: Flavor enhancer balancing sweetness and bringing out ingredient depths.
For Wet Binding:
  • Peanut Butter: Creamy base adding richness and protein, opt for natural unsweetened version.
  • Honey: Natural sweetener providing moisture and golden color, choose raw local honey for deeper flavor.
  • Applesauce: Moisture booster reducing fat while maintaining softness, pick unsweetened variety.
  • Egg: Protein-rich binding agent helping structure cookies, use room temperature for better mixing.
  • Vanilla Extract: Aromatic flavor deepener, select pure extract over artificial versions.
For Optional Add-Ins:
  • Chocolate Chips: Sweet bursts of indulgence, choose dark or milk chocolate based on preference.
  • Nuts: Crunchy texture enhancers adding healthy fats, chop roughly for even distribution.
  • Mixing Bowls: Medium and large sizes for dry and wet ingredients.
  • Whisk: Essential for blending dry ingredients smoothly.
  • Measuring Cups and Spoons: Precise measurements for ingredients.
  • Baking Sheet: For baking and cooling cookies.
  • Parchment Paper or Silicone Baking Mat: Prevents sticking and easy cleanup.
  • Spoon or Scoop: For portioning cookie dough evenly.
  • Wire Rack: Helps cookies cool and crisp up after baking.

How to Bake These Power Cookies

  • Fire Up the Oven

Crank the oven to a toasty 350F. Grab a baking sheet and line it with parchment paper for smooth cookie magic.

  • Create the Dry Base

Whisk together your dry ingredients in a bowl, blending them into a powdery harmony that’ll give your cookies incredible texture.

  • Blend the Wet Wonders

In another bowl, mix the creamy and liquid ingredients until they dance together smoothly, creating a rich foundation for your protein-packed treats.

  • Craft the Cookie Dough

Pour the dry mixture into the wet ingredients, stirring until a thick, irresistible dough forms. Toss in chocolate chips or nuts for extra excitement if you’re feeling adventurous.

  • Shape and Prepare

Roll the dough into small balls, gently pressing them flat on the baking sheet. Space them out to give each cookie room to become its best self.

  • Bake to Perfection

Slide the tray into the oven and let the cookies transform for 8-10 minutes. They’ll look slightly soft but will firm up as they cool, promising a tender bite.

  • Cool and Enjoy

Allow the cookies to rest on the baking sheet for a few minutes, then transfer to a wire rack. Store in a sealed container and savor for days of delicious protein-powered snacking.

  • Protein-Packed Perfection: Tips for Irresistible Cookies
  • No-Fail Mixing Technique: Ensure ingredients are at room temperature for smoother blending and better cookie texture. Mix wet and dry ingredients separately before combining to prevent clumping and create a more uniform dough.
  • Protein Powder Magic: Experiment with different flavors like vanilla, chocolate, or even peanut butter protein powder to add extra depth and personalize your cookie taste. Choose a high-quality protein powder that dissolves easily for the best results.
  • Gluten-Free Hack: Swap regular oats with certified gluten-free oats to make the recipe suitable for those with gluten sensitivities. Ground almonds or coconut flour can also work as alternative base ingredients.
  • Healthier Sweet Swap: Replace honey with maple syrup or stevia for lower-sugar options. For vegan versions, use a flax egg or mashed banana instead of a regular egg to bind the ingredients together.
  • Mix-In Madness: Get creative with add-ins like chia seeds, dried fruits, coconut flakes, or different types of chocolate chips to keep the recipe exciting and add extra nutritional value.

Ways to Serve Protein Cookies On-the-Go

  • Protein-Packed Breakfast Companion: Pair these cookies with Greek yogurt and fresh berries for a protein-rich morning meal that will keep you energized.
  • Post-Workout Protein Boost: Enjoy these cookies immediately after exercise as a delicious recovery snack that replenishes muscle-building nutrients and satisfies sweet cravings.
  • Afternoon Energy Pick-Me-Up: Crumble the cookies over a smoothie or eat them with a cup of coffee during a mid-day energy slump for a quick, nutritious treat.
  • Healthy Dessert Alternative: Serve these cookies as a guilt-free dessert option topped with a small scoop of low-fat frozen yogurt or alongside a fresh fruit salad.

Storing Protein Cookies for Max Freshness

  • Smart Fridge Storage: Keep cookies in an airtight glass container with a tight-sealed lid to maintain freshness and prevent moisture absorption. Stack cookies between parchment paper layers to prevent sticking.
  • Freezing Friendly: Wrap individual cookies in plastic wrap, then place in a freezer-safe container. Freeze up to 3 months for quick grab-and-go protein snacks. Thaw at room temperature for 15-20 minutes before enjoying.
  • Batch Preparation Magic: Make double the recipe and separate cookies into portioned freezer bags. Label with preparation date and contents for easy tracking. Perfect for meal prepping and quick breakfast or post-workout fuel.
  • Moisture Management: Add a small piece of bread in the storage container to help maintain soft cookie texture. Replace bread slice every 2-3 days to prevent staleness and keep cookies deliciously chewy.

Quick Recipe Overview

Prep Time: 10 minutes

Cook Time: 10 minutes

Total Time: 20 minutes

Calories: 180 kcal

Servings: 12

Print
clock clock iconcutlery cutlery iconflag flag iconfolder folder iconinstagram instagram iconpinterest pinterest iconfacebook facebook iconprint print iconsquares squares iconheart heart iconheart solid heart solid icon
Protein-Packed Cookies Recipe

Protein-Packed Cookies Recipe


5 Stars 4 Stars 3 Stars 2 Stars 1 Star

4.6 from 11 reviews

  • Total Time: 20 minutes
  • Yield: 13 1x

Description

Protein cookies from grandma’s secret recipe blend wholesome ingredients with nostalgic comfort. Crisp edges and chewy centers make these treats a delightful protein-packed snack you’ll crave again and again.


Ingredients

Scale
  • 1 large egg
  • 1 scoop (28 g) protein powder (vanilla or chocolate)
  • ½ cup (120 ml) creamy peanut butter (or almond butter)
  • 1 cup (90 g) rolled oats (blended into oat flour or left whole)
  • ¼ cup (60 ml) honey or maple syrup (adjust for sweetness)
  • ¼ cup (60 ml) unsweetened applesauce (or mashed banana)
  • 1 tsp vanilla extract
  • ¼ tsp baking soda
  • ¼ tsp salt
  • ¼ cup (40 g) mini chocolate chips (optional)
  • ¼ cup (30 g) chopped nuts or seeds (optional)

Instructions

  1. Preheat Setup: Configure oven to 350F (175C) and line baking sheet with parchment paper or silicone mat to prevent adhesion.
  2. Dry Ingredient Fusion: Whisk oats, protein powder, baking soda, and salt in medium bowl, ensuring uniform distribution of dry components.
  3. Wet Ingredient Harmonization: Vigorously blend peanut butter, honey, applesauce, egg, and vanilla extract in large bowl until completely integrated.
  4. Dough Transformation: Gradually merge dry ingredients into wet mixture, stirring until consistent texture emerges. Incorporate chocolate chips or chopped nuts for enhanced flavor complexity.
  5. Cookie Formation: Shape dough into 1 1/2-inch spheres, gently flatten using fingertips or spoon back. Position cookies on prepared sheet with adequate spacing for optimal heat circulation.
  6. Baking Precision: Roast cookies for 8-10 minutes until edges turn delicate golden. Cookies will appear slightly underdone but will firm during cooling phase.
  7. Cooling Protocol: Rest cookies on baking sheet for 5 minutes to stabilize structure, then transfer to wire rack for complete cooling. Store in airtight container to maintain freshness for up to 5 days.

Notes

  • Optimize Protein Powder Selection: Choose a high-quality, finely-ground protein powder that blends smoothly to prevent graininess and ensure consistent texture in cookies.
  • Master Moisture Balance: Adjust applesauce or peanut butter quantities if dough seems too dry or wet, maintaining a cohesive mixture that holds shape during baking.
  • Control Baking Precision: Remove cookies slightly before they look fully done to prevent overcooking, as they’ll continue firming up during the cooling process.
  • Customize Dietary Needs: Swap ingredients like using gluten-free oats for celiac diets, plant-based protein powder for vegan versions, or alternative nut butters for different flavor profiles.
  • Prep Time: 10 minutes
  • Cook Time: 10 minutes
  • Category: Snacks, Breakfast, Desserts
  • Method: Baking
  • Cuisine: American

Nutrition

  • Serving Size: 13
  • Calories: 180
  • Sugar: 9 g
  • Sodium: 50 mg
  • Fat: 8 g
  • Saturated Fat: 2 g
  • Unsaturated Fat: 6 g
  • Trans Fat: 0 g
  • Carbohydrates: 20 g
  • Fiber: 3 g
  • Protein: 7 g
  • Cholesterol: 30 mg
Jenna Hartley

Jenna Hartley

Founder & Recipe Creator

Expertise

  • Recipe development with a focus on single-dish meals.
  • Fusion of traditional and modern Australian cuisines.
  • Food styling and photography for digital platforms.​

Education

Box Hill Institute, Melbourne

  • Degree: Advanced Diploma of Hospitality Management
  • Focus: Specialized in practical food and beverage service, responsible alcohol and hygiene compliance, legal risk management, and hands‑on experience in a simulated restaurant environment.

William Angliss Institute, Melbourne

  • Program: Certificate IV in Patisserie
  • Focus: Specialized in pastry and bakery techniques, cookery and specialty food preparation, recipe planning and costing, commercial kitchen operations, sustainable and inclusive work practices, food safety and hygiene compliance, and workplace health and safety.

Jenna is the heart of Picture Perfect Meals, turning simple ingredients into beautiful, easy‑to‑make dishes. 

Growing up around family meals in Melbourne, she trained at Box Hill Institute and then perfected her pastry skills at William Angliss Institute. She loves mixing classic Australian flavors with fresh ideas to keep cooking fun and stress‑free.

Leave a Reply

Your email address will not be published. Required fields are marked *

Recipe rating 5 Stars 4 Stars 3 Stars 2 Stars 1 Star