
Ruth’s Grandma’s Pie Crust Recipe for Dreamy Desserts
My grandma’s treasured pie crust recipe has secrets that make baking magic happen in kitchens everywhere.
Culinary traditions pass through generations like whispered stories shared around warm ovens.
Her carefully guarded method creates flaky, tender crusts that melt in your mouth with surprising delicacy.
Generations of bakers have celebrated this simple yet extraordinary technique that turns basic ingredients into something spectacular.
Precise measurements and unexpected techniques make this recipe stand out from typical pastry instructions.
Crisp edges and buttery layers promise a dessert that will leave everyone asking for second helpings.
You’ll want to try this foolproof approach that guarantees pie perfection every single time.
Why Ruth’s Grandma’s Pie Crust Still Stands the Test of Time
Ingredients That Make This Pie Crust Shine
Dry Ingredients:Fat Ingredient:Liquid Ingredient:Step-by-Step Guide to a Buttery, Flaky Crust
Step 1: Whisk Dry Foundation
In a spacious mixing bowl, combine flour, salt, and optional sugar. Use a whisk to ensure even distribution and break up any potential lumps.
Step 2: Incorporate Cold Butter
Slice cold butter into small cubes. Use a pastry blender or fingertips to blend butter into flour mixture. Continue working until texture resembles coarse breadcrumbs with tiny butter pockets visible.
Step 3: Bind Dough Gently
Drizzle ice water slowly into the mixture. Stir carefully using a fork or hands until dough begins to form. Stop mixing once dough holds together without becoming sticky or wet.
Step 4: Prepare Dough For Resting
Split dough into two equal portions. Shape each section into a flat circular disk. Wrap tightly with plastic film. Refrigerate for minimum one hour or up to two days to enhance flavor and texture.
Step 5: Roll Out Delicate Crust
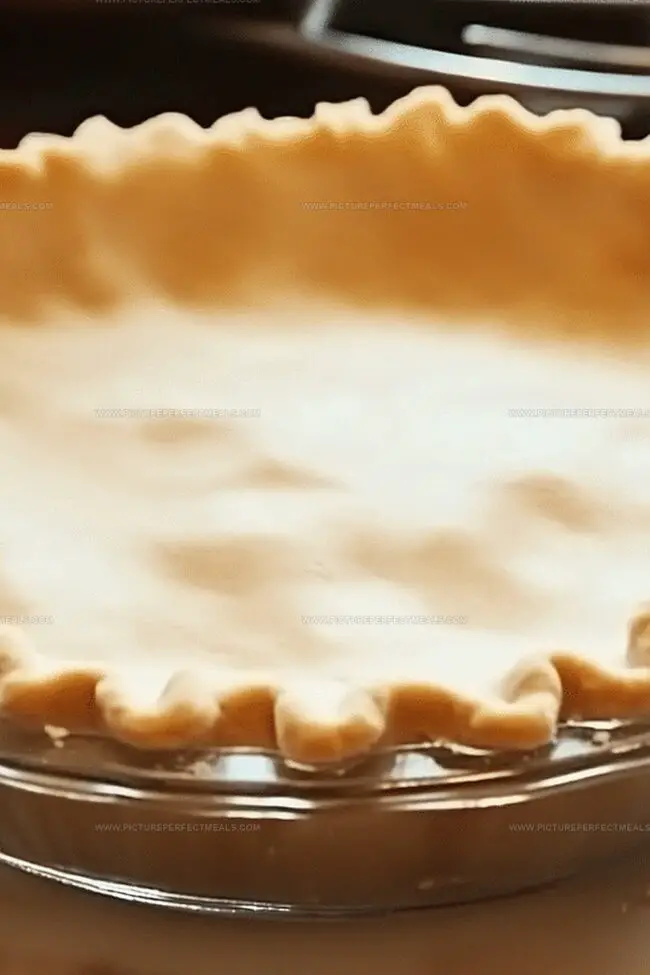
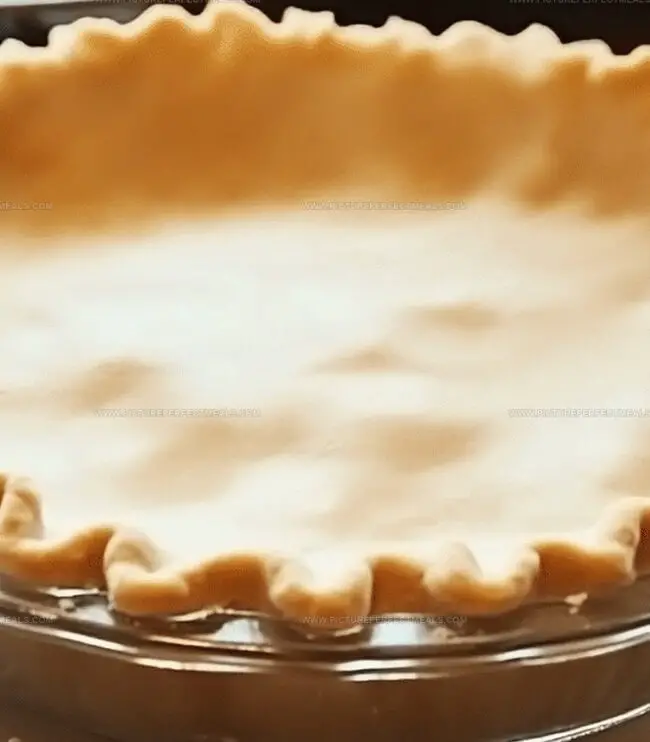
Sprinkle work surface with light flour dusting. Roll out chilled dough disk into thin circular shape. Carefully transfer to pie dish, gently pressing into corners. Trim excess edges, leaving slight overhang for decorative crimping.
Step 6: Finish And Bake
Transfer desired filling into prepared crust. If using top crust, layer second dough disk over filling. Crimp edges decoratively. Cut small ventilation slits across top crust. Bake according to specific pie recipe instructions.
Tips Passed Down for a Perfect Pie Base
How to Keep Pie Dough Fresh and Easy to Roll
Pies That Pair Beautifully with This Crust
Ways to Add a Modern Twist to This Vintage Recipe
Print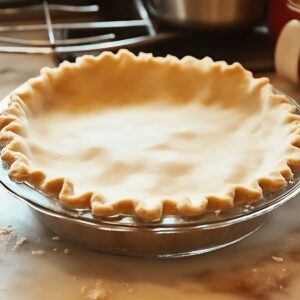
Ruths Grandmas Pie Crust Recipe
- Total Time: 1 hour 15 minutes
- Yield: 8 1x
Description
Grandma’s classic Ruth’s pie crust delivers flaky, buttery perfection with simple ingredients and generations of baking wisdom. Crisp pastry promises delightful memories and warm kitchen moments you’ll cherish with each delectable slice.
Ingredients
Main Ingredients:
- 2 ½ cups (315 g) all-purpose flour
- 1 cup (225 g) cold unsalted butter
Fat/Binding Components:
- ¼–½ cup (60–120 ml) ice water
Seasoning:
- 1 teaspoon salt
- 1 tablespoon granulated sugar (optional, for sweet pies)
Instructions
- In a spacious mixing vessel, combine flour, salt, and optional sugar, thoroughly blending the dry components with a whisk to ensure even distribution.
- Introduce chilled butter into the flour mixture, utilizing a pastry cutter or nimble fingertips to integrate until the texture resembles coarse, gravelly crumbs with occasional pea-sized butter fragments.
- Incrementally introduce ice-cold water, one tablespoon at a time, gently folding with a fork or hands until the dough coheres without becoming overly manipulated. The ideal consistency should maintain structural integrity when compressed.
- Partition the dough into two equal segments, molding each into a compact disk. Encase each disk securely in plastic wrap, then refrigerate for a minimum of 60 minutes or up to 48 hours to enhance flavor and texture.
- Select a lightly dusted work surface and carefully roll one dough disk to approximately 1/8-inch thickness, ensuring sufficient dimension to generously line the pie dish. Tenderly transfer the rolled dough, pressing gently to conform to the dish’s contours.
- Trim excess dough edges, maintaining a slight overhang if preparing a double-crust configuration. Should a top crust be desired, roll the second dough disk with equivalent precision.
- Populate the prepared crust with selected filling, drape with the top crust if applicable. Meticulously crimp edges to create a hermetic seal, then delicately score several small vents to facilitate steam escape.
- Proceed with baking according to the specific recipe’s thermal and temporal guidelines, monitoring for golden-brown perfection.
Notes
- Keep butter super cold to ensure a flaky, tender crust that crumbles perfectly with each bite.
- Use unsalted butter for better control over the salt content and a more consistent flavor profile.
- Handle the dough minimally to prevent gluten development, which can make the crust tough and chewy.
- Substitute part of the all-purpose flour with whole wheat flour for a nuttier flavor and added nutrition.
- For a vegan version, replace butter with cold coconut oil or chilled vegetable shortening that maintains similar texture.
- Chill the dough for maximum 48 hours to prevent potential staleness and maintain optimal butter distribution.
- Add a splash of vodka instead of water to create an extra-tender crust that stays flakier after baking.
- Blind bake the crust for custard or cream-based pies to prevent a soggy bottom and ensure crisp texture.
- Prep Time: 15 minutes
- Cook Time: 1 hour
- Category: Desserts
- Method: Baking
- Cuisine: American
Nutrition
- Serving Size: 8
- Calories: 300
- Sugar: 1 g
- Sodium: 190 mg
- Fat: 20 g
- Saturated Fat: 12 g
- Unsaturated Fat: 8 g
- Trans Fat: 0 g
- Carbohydrates: 30 g
- Fiber: 1 g
- Protein: 4 g
- Cholesterol: 50 mg
Daves Miller
Contributing Chef & Culinary Educator
Expertise
Education
Sullivan University, Louisville, Kentucky
White Mountains Community College, Berlin, New Hampshire
Daves is the friendly face guiding you through flavorful, fuss-free recipes at Picture Perfect Meals.
He studied culinary arts at Sullivan University and embraced Baking and Pastry Arts at White Mountains Community College. Daves specializes in comforting meals with vibrant flavors, highlighting fresh, seasonal ingredients.