Silky Chocolate Pots De Creme Recipe

Smooth Chocolate Pots de Creme Recipe: Dreamy Dessert Magic

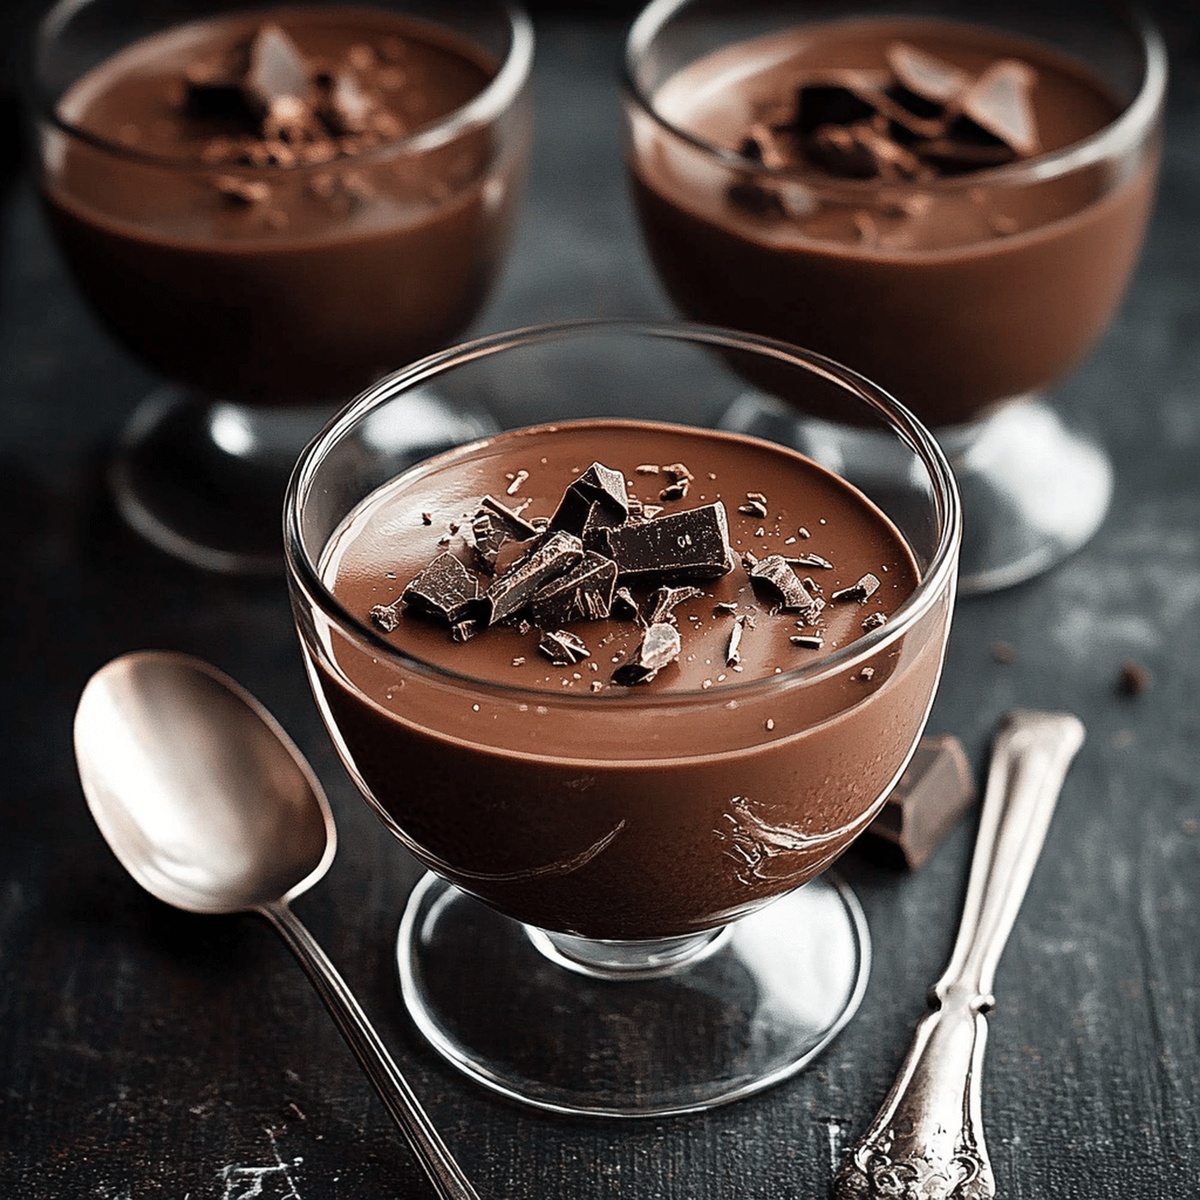
Rich, velvety chocolate pots de creme beckon with their decadent allure, promising a dessert that melts smoothly on your palate.

These elegant French custards deliver an intense chocolate experience that feels luxurious and indulgent.

Each spoonful reveals a deep, creamy texture that whispers of culinary sophistication.

The silky dessert combines simple ingredients to create something extraordinarily complex in flavor.

Dark chocolate forms the heart of this recipe, transforming humble cream and eggs into a magical treat.

Small ramekins become vessels of pure chocolate bliss, waiting to be savored with a delicate spoon.

You’ll fall in love with this classic dessert that turns an ordinary evening into a gourmet celebration.

Quick Recipe Overview

Prep Time: 10 minutes

Cook Time: 30 minutes

Total Time: 40 minutes

Calories: 350 kcal

Servings: 4

Ingredients for Chocolate Pots de Crème

For Liquid Base:
  • Heavy Cream: Provides rich, velvety texture and luxurious mouthfeel for a decadent dessert.
  • Whole Milk: Adds smoothness and helps balance the cream's intensity.
  • Espresso Powder: Enhances chocolate's depth and adds subtle coffee undertone without overpowering.
For Chocolate and Sweeteners:
  • Dark Chocolate: Delivers intense, complex flavor and creates smooth, silky custard texture.
  • Granulated Sugar: Balances bitterness and adds sweetness to complement chocolate's richness.
  • Vanilla Extract: Rounds out chocolate flavor and adds warm, aromatic complexity.
For Binding and Structure:
  • Egg Yolks: Creates luxurious, creamy consistency and provides structure to the dessert.
  • Salt: Amplifies chocolate's depth and balances overall sweetness.
Garnish:
  • Whipped Cream: Adds light, airy contrast to dense chocolate pudding.
  • Chocolate Shavings: Provides decorative touch and extra chocolate intensity.

Tools to Nail This French Classic

  • Large Saucepan: Essential for heating cream and creating smooth chocolate base.
  • Whisk: Perfect for blending chocolate mixture and egg yolks seamlessly.
  • Fine-Mesh Sieve: Critical for achieving ultra-smooth, silky texture.
  • Ramekins: 4-6 small ceramic dishes needed for individual dessert servings.
  • Deep Baking Dish: Necessary for creating water bath during baking process.
  • Mixing Bowls: Used for separating and mixing ingredients.
  • Measuring Cups/Spoons: Ensures precise ingredient quantities.
  • Sharp Knife: Helpful for chopping chocolate into small pieces.
  • Oven: Required for baking desserts at controlled temperature.

How to Make, Dreamy Chocolate Cups

  • Warm Up the Oven

Crank the oven to a cozy 325°F, setting the stage for a decadent chocolate adventure.

  • Prep Your Baking Station

Place ramekins in a deep baking dish, creating a water bath setup that’ll ensure silky smooth custards.

  • Create Chocolate Cream Base

In a saucepan, blend cream, milk, and espresso powder over medium heat. Let the mixture steam gently without boiling, awakening rich chocolate aromas.

  • Melt Chocolate Magic

Remove from heat and whisk chopped chocolate until the mixture transforms into a glossy, smooth liquid gold.

  • Whip Egg Mixture

In a separate bowl, beat egg yolks with sugar, salt, and vanilla until the color lightens and texture becomes luxuriously creamy.

  • Blend Chocolate and Eggs

Slowly pour warm chocolate into egg mixture, whisking continuously to prevent any scrambling and create a velvety smooth custard.

  • Strain for Perfection

Pour the mixture through a fine-mesh sieve, ensuring an ultra-silky texture without any lumps.

  • Fill and Bake

Distribute the mixture evenly among ramekins, then surround with hot water halfway up the sides. Bake for 30-35 minutes until edges set but centers remain slightly wobbly.

  • Chill and Serve

Cool to room temperature, then refrigerate for at least 4 hours. Top with whipped cream and chocolate shavings before serving this dreamy dessert.

Swaps for Dark, Milk, or White Chocolate

  • Silky Smooth Secrets: Learn how to create the most luxurious chocolate pots de creme with these expert tips and tasty variations!
  • Make It Creamy: Use the highest quality dark chocolate (70% cocoa) for an ultra-rich, velvety texture that melts perfectly in your mouth.
  • Espresso Boost: Experiment with different coffee intensities by adjusting the espresso powder – more for deep coffee lovers, less for subtle chocolate lovers.
  • Diet-Friendly Twist: Create a lighter version by substituting full-fat cream with coconut milk and using dark chocolate with lower sugar content for a dairy-free, lower-calorie option perfect for gluten-free and vegan diets.
  • Temperature Tricks: Always temper your eggs by slowly adding warm chocolate mixture while continuously whisking to prevent scrambling and ensure a smooth, elegant dessert every single time.
  • Flavor Adventure: Try fun variations like adding orange zest, a splash of bourbon, or a pinch of cinnamon to elevate the classic chocolate flavor and surprise your taste buds with unexpected complexity.

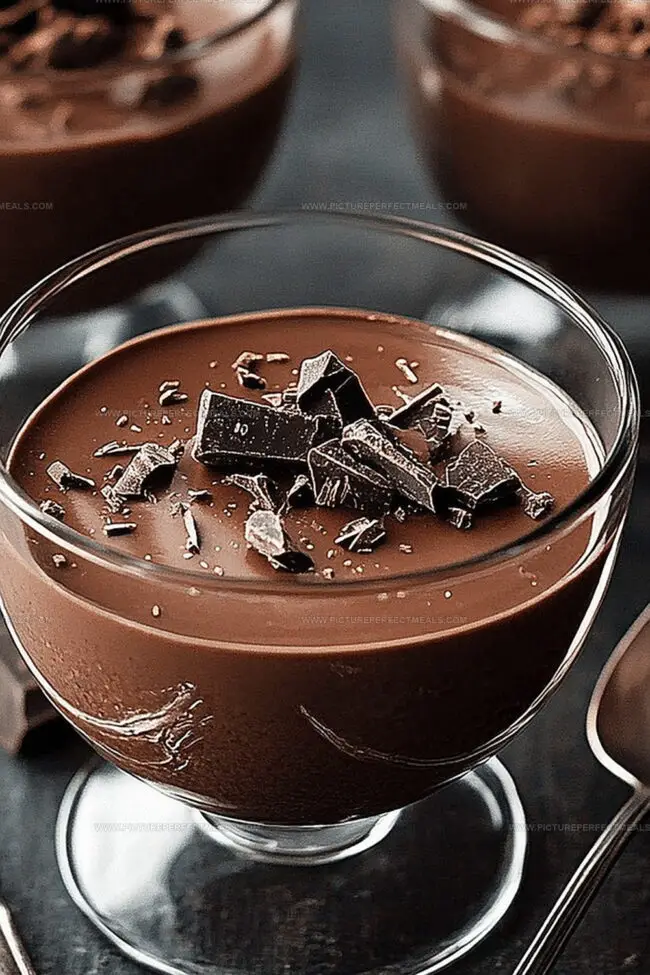
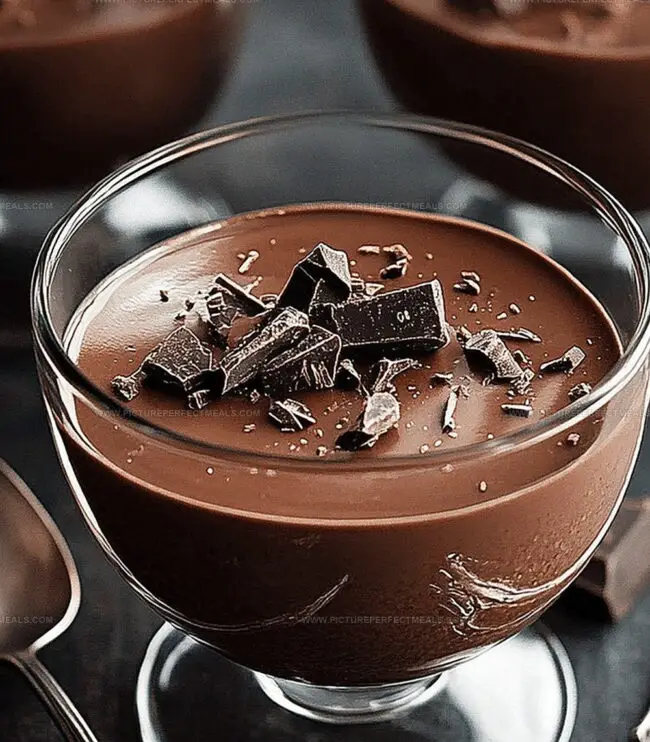
Serving in Glass Jars or Fancy Ramekins

  • Elegant Dessert Plating: Create a luxurious presentation by serving each chocolate pot de creme on a pristine white plate with a delicate dusting of cocoa powder and a fresh mint leaf.
  • Coffee Companion Pairing: Serve alongside a small shot of espresso or rich dark roast coffee to complement the dessert's deep chocolate and subtle espresso notes.
  • Textural Contrast Topping: Sprinkle crunchy caramelized nuts or delicate chocolate pearls on top to add an unexpected crunch that elevates the silky smooth chocolate texture.
  • Berry Brightness Accent: Garnish with a few fresh raspberries or a small compote on the side to introduce a tangy counterpoint to the rich, creamy chocolate dessert.

Storing to Keep That Silky Texture Perfect

  • Quick Chill Technique: Refrigerate the chocolate pots de creme for minimum 4 hours to achieve perfect creamy consistency and allow flavors to fully develop.
  • Make-Ahead Magic: Prepare these desserts up to 3 days in advance, keeping them tightly sealed in the refrigerator for stress-free entertaining and meal planning.
  • Smart Storage Strategy: Store individual ramekins covered with plastic wrap or in an airtight container to maintain freshness and prevent absorbing other refrigerator odors.
  • Temperature Tip: Keep chilled until 15-20 minutes before serving to ensure optimal texture and smooth, silky mouthfeel when enjoying this decadent dessert.
Print
clock clock iconcutlery cutlery iconflag flag iconfolder folder iconinstagram instagram iconpinterest pinterest iconfacebook facebook iconprint print iconsquares squares iconheart heart iconheart solid heart solid icon
Silky Chocolate Pots De Creme Recipe

Silky Chocolate Pots De Creme Recipe


5 Stars 4 Stars 3 Stars 2 Stars 1 Star

4.8 from 13 reviews

  • Total Time: 40 minutes
  • Yield: 5 1x

Description

Rich chocolate pots de creme from France delight dessert enthusiasts with intense cocoa flavors. Silky smooth custards promise pure indulgence for chocolate lovers seeking elegant French culinary pleasure.


Ingredients

Scale
  • 1 ½ cups (360 mL) heavy cream
  • ½ cup (120 mL) whole milk
  • 4 oz (113 g) dark chocolate (70% or higher), finely chopped
  • 3 large egg yolks
  • ¼ cup (50 g) granulated sugar
  • 1 tsp vanilla extract
  • ¼ tsp salt
  • 1 tsp espresso powder (optional, enhances chocolate flavor)
  • Whipped cream
  • Chocolate shavings or cocoa powder

Instructions

  1. Preparation: Preheat oven to 325F (163C) and position ramekins within a deep baking pan.
  2. Infusion: Gently heat cream, milk, and espresso powder in a saucepan until steam emerges, avoiding boiling.
  3. Chocolate Integration: Remove from heat and fold chopped chocolate into the warm liquid, stirring until achieving a seamless, lustrous consistency.
  4. Egg Mixture: Vigorously whisk egg yolks with sugar, salt, and vanilla extract until transforming into a pale, luxurious cream.
  5. Tempering: Gradually introduce warm chocolate liquid into egg mixture, continuously whisking to prevent thermal shock and maintain smooth texture.
  6. Refinement: Strain the entire mixture through a fine-mesh sieve to eliminate potential lumps and ensure silken perfection.
  7. Water Bath Technique: Pour hot water into the baking pan, reaching midway up ramekin sides, creating a gentle cooking environment.
  8. Baking Process: Transfer pan to oven and bake 30-35 minutes, monitoring for set edges with a subtle central tremor indicating ideal custard consistency.
  9. Cooling Strategy: Remove from oven and allow desserts to cool completely at room temperature, then refrigerate 4-6 hours or overnight to enhance flavor complexity.
  10. Presentation: Before serving, garnish with delicate whipped cream and elegant chocolate shavings for visual and gustatory appeal.

Notes

  • Temper Chocolate Carefully: Ensure gradual heat integration when melting chocolate to prevent seizing or burning, maintaining a smooth, glossy texture.
  • Prevent Egg Curdling: Slowly pour warm chocolate mixture into egg yolks while continuously whisking to create a silky, uniform custard without scrambling.
  • Master Water Bath Technique: Use hot water that reaches halfway up ramekin sides, creating gentle, even heating for perfect custard consistency.
  • Chill for Optimal Texture: Refrigerate for minimum 4 hours or overnight to allow flavors to develop and achieve a rich, creamy dessert structure.
  • Prep Time: 10 minutes
  • Cook Time: 30 minutes
  • Category: Desserts
  • Method: Baking
  • Cuisine: French

Nutrition

  • Serving Size: 5
  • Calories: 350
  • Sugar: 10 g
  • Sodium: 90 mg
  • Fat: 28 g
  • Saturated Fat: 17 g
  • Unsaturated Fat: 11 g
  • Trans Fat: 0 g
  • Carbohydrates: 30 g
  • Fiber: 2 g
  • Protein: 5 g
  • Cholesterol: 180 mg
Jenna Hartley

Jenna Hartley

Founder & Recipe Creator

Expertise

  • Recipe development with a focus on single-dish meals.
  • Fusion of traditional and modern Australian cuisines.
  • Food styling and photography for digital platforms.​

Education

Box Hill Institute, Melbourne

  • Degree: Advanced Diploma of Hospitality Management
  • Focus: Specialized in practical food and beverage service, responsible alcohol and hygiene compliance, legal risk management, and hands‑on experience in a simulated restaurant environment.

William Angliss Institute, Melbourne

  • Program: Certificate IV in Patisserie
  • Focus: Specialized in pastry and bakery techniques, cookery and specialty food preparation, recipe planning and costing, commercial kitchen operations, sustainable and inclusive work practices, food safety and hygiene compliance, and workplace health and safety.

Jenna is the heart of Picture Perfect Meals, turning simple ingredients into beautiful, easy‑to‑make dishes. 

Growing up around family meals in Melbourne, she trained at Box Hill Institute and then perfected her pastry skills at William Angliss Institute. She loves mixing classic Australian flavors with fresh ideas to keep cooking fun and stress‑free.

Leave a Reply

Your email address will not be published. Required fields are marked *

Recipe rating 5 Stars 4 Stars 3 Stars 2 Stars 1 Star