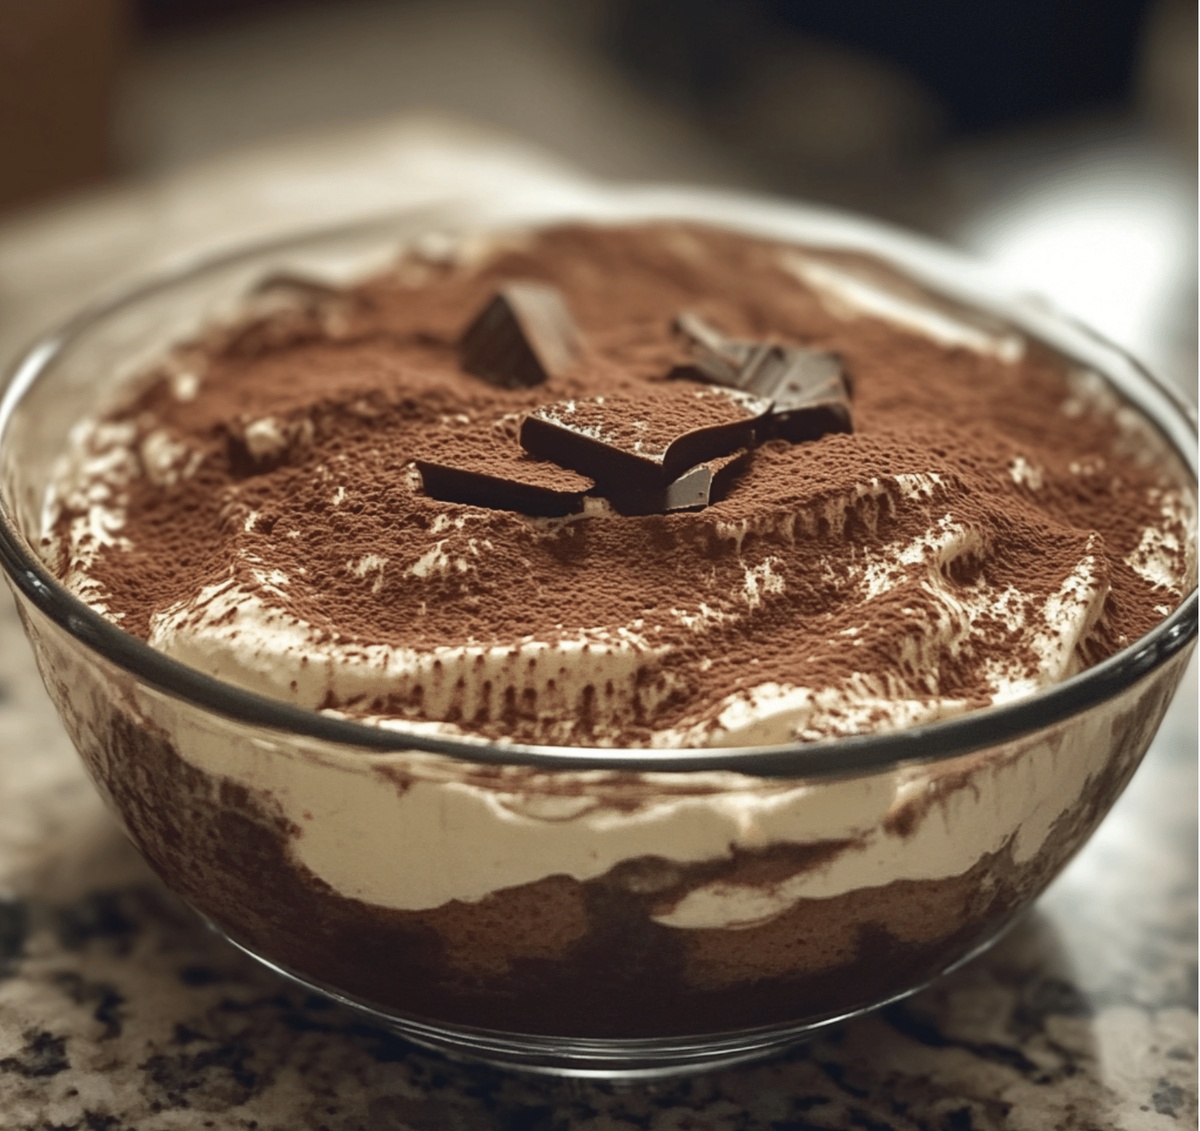
Dreamy Silky Chocolate Ricotta Tiramisu Recipe for Sweet Bliss
Decadent desserts sometimes surprise us with their unexpected chocolate ricotta tiramisu twist.
Rich, creamy layers merge classic Italian flavors with a luxurious chocolate essence.
Each spoonful promises a delightful dance of coffee-soaked ladyfingers and smooth ricotta.
The traditional recipe gets a remarkable upgrade with velvety chocolate undertones.
Elegant yet simple, this dessert speaks volumes about culinary creativity.
Chocolate lovers will swoon over the harmonious blend of textures and tastes.
Prepare to indulge in a heavenly treat that transforms an ordinary evening into a gourmet experience.
Quick Recipe Overview
Chocolate Ricotta Tiramisu Ingredient Lineup
For Creamy Base:For Coffee Soak:For Structure:Handy Tools to Make Your Chocolate Tiramisu Silky
How to Build This Rich, Tiramisu
Blend ricotta, mascarpone, powdered sugar, cocoa powder, and vanilla until silky smooth. Fold in melted dark chocolate for an extra rich flavor.
Combine brewed coffee, coffee liqueur, and sugar in a shallow dish. Mix until sugar completely dissolves.
Quickly dip ladyfingers into coffee mixture, avoiding oversaturation. Place first layer of soaked ladyfingers in serving dish. Spread half of chocolate cream evenly across the layer. Repeat with another set of ladyfingers and remaining chocolate cream.
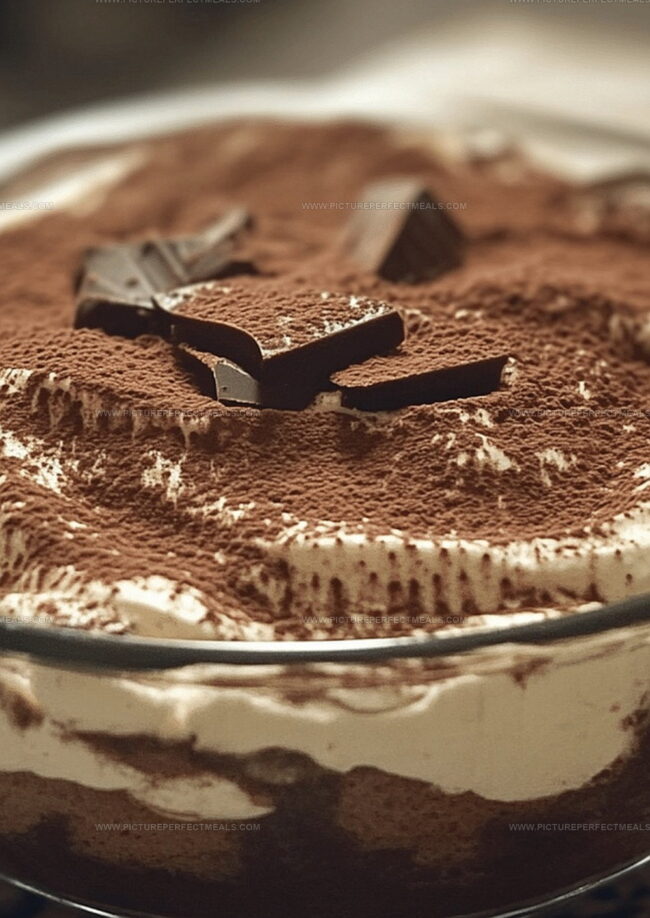
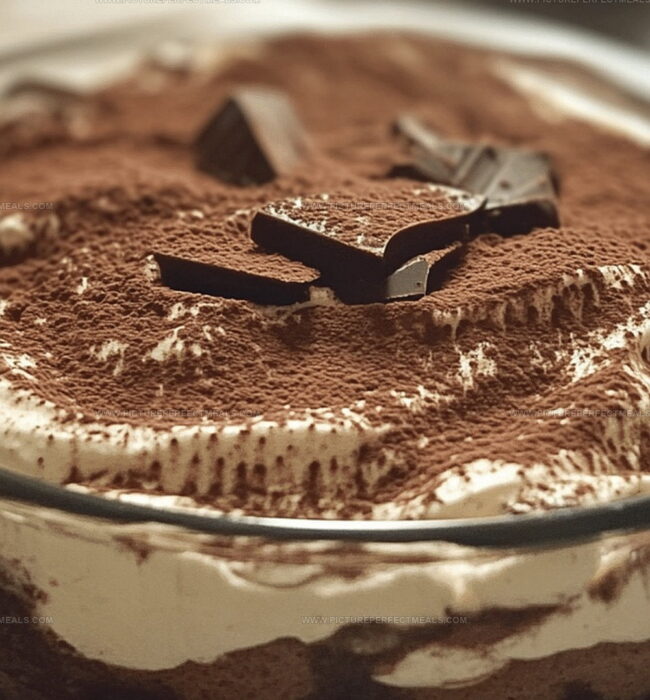
Cover tiramisu with plastic wrap. Refrigerate for minimum 4 hours, allowing flavors to meld and texture to set. Just before serving, dust top generously with cocoa powder and sprinkle shaved dark chocolate.
Cut into elegant squares or scoop into individual portions. Complement with a shot of espresso or a glass of dessert wine for a truly decadent experience.
Variations That Bring Your Ricotta Dessert to Life
Serving Ideas for Decadent Chocolate Tiramisu
Storing Your Tiramisu Without Losing That Texture
Print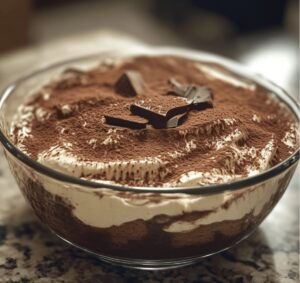
Silky Chocolate Ricotta Tiramisu Recipe
- Total Time: 4 hours 20 minutes
- Yield: 13 1x
Description
Chocolate ricotta tiramisu celebrates Italian dessert artistry with rich layers of mascarpone and espresso-soaked ladyfingers. Creamy textures and deep cocoa notes invite you to savor a classic reimagined.
Ingredients
- 24 ladyfinger cookies (savoiardi)
- 1 ½ cups (360 ml) ricotta cheese (whole milk, drained if watery)
- 1 cup (240 ml) mascarpone cheese
- ¼ cup (60 ml) dark chocolate, finely grated or melted
- ¼ cup (60 ml) dark chocolate, shaved or grated (for garnish)
- 1 ½ cups (360 ml) strong brewed coffee, cooled
- 1 cup (240 ml) powdered sugar
- ¼ cup (30 g) cocoa powder (for cream)
- ¼ cup (30 g) cocoa powder (for dusting)
- 2 tbsps coffee liqueur
- 1 tbsp granulated sugar
- 1 tsp vanilla extract
Instructions
- Mixture Preparation: Whisk ricotta, mascarpone, powdered sugar, cocoa powder, and vanilla extract into a silky smooth consistency. Fold in melted dark chocolate to elevate the flavor complexity, creating a luxurious cream base.
- Coffee Infusion: Combine freshly brewed coffee, coffee liqueur, and granulated sugar, stirring until perfectly blended into a rich, aromatic liquid.
- Layering Foundation: Quickly dip ladyfingers into the coffee mixture, ensuring they’re moistened but not waterlogged. Arrange the soaked ladyfingers in a precise, overlapping pattern across the bottom of the serving dish.
- Cream Application: Generously spread half of the chocolate ricotta cream over the ladyfinger base, creating an even, smooth layer that completely covers the initial foundation.
- Secondary Layering: Repeat the process with another layer of coffee-moistened ladyfingers, topping with the remaining chocolate ricotta cream. Smooth the surface to create a visually appealing finish.
- Chilling and Setting: Encase the tiramisu in plastic wrap and refrigerate for a minimum of 4 hours, allowing the flavors to meld and intensify, and the texture to become perfectly set.
- Final Presentation: Just before serving, liberally dust the top with cocoa powder and garnish with delicate dark chocolate shavings. Cut into elegant squares or individual portions for a sophisticated dessert experience.
Notes
- Control Coffee Soaking: Quickly dip ladyfingers into coffee mixture to prevent soggy texture; aim for a brief 1-2 second immersion to maintain structural integrity.
- Temperature Management: Let chocolate ricotta mixture come to room temperature before layering to ensure smooth, spreadable consistency and prevent clumping.
- Flavor Intensity Adjustment: Customize coffee liqueur strength based on personal preference; reduce or increase to suit individual taste without compromising dessert structure.
- Make-Ahead Magic: Prepare tiramisu 1-2 days in advance for enhanced flavor development; refrigeration allows ingredients to harmonize and deepen taste profile.
- Prep Time: 20 minutes
- Cook Time: 4 hours
- Category: Desserts
- Method: None
- Cuisine: Italian
Nutrition
- Serving Size: 13
- Calories: 220
- Sugar: 15 g
- Sodium: 70 mg
- Fat: 12 g
- Saturated Fat: 7 g
- Unsaturated Fat: 4 g
- Trans Fat: 0 g
- Carbohydrates: 23 g
- Fiber: 1 g
- Protein: 5 g
- Cholesterol: 30 mg
Jenna Hartley
Founder & Recipe Creator
Expertise
Education
Box Hill Institute, Melbourne
William Angliss Institute, Melbourne
Jenna is the heart of Picture Perfect Meals, turning simple ingredients into beautiful, easy‑to‑make dishes.
Growing up around family meals in Melbourne, she trained at Box Hill Institute and then perfected her pastry skills at William Angliss Institute. She loves mixing classic Australian flavors with fresh ideas to keep cooking fun and stress‑free.