Silky Classic Tiramisu Recipe

Dreamy Silky Classic Tiramisu Recipe for Coffee Lovers

Rich, velvety layers of divine tiramisu dance with espresso-soaked ladyfingers that create a magical dessert experience.

Coffee-infused mascarpone cream melts on your palate with delicate elegance.

Each spoonful tells a story of Italian culinary passion and sweet indulgence.

The traditional tiramisu recipe combines simple ingredients into a sophisticated treat that feels luxurious yet approachable.

Delicate mascarpone cheese blends perfectly with whipped eggs and sugar, creating a dreamy texture.

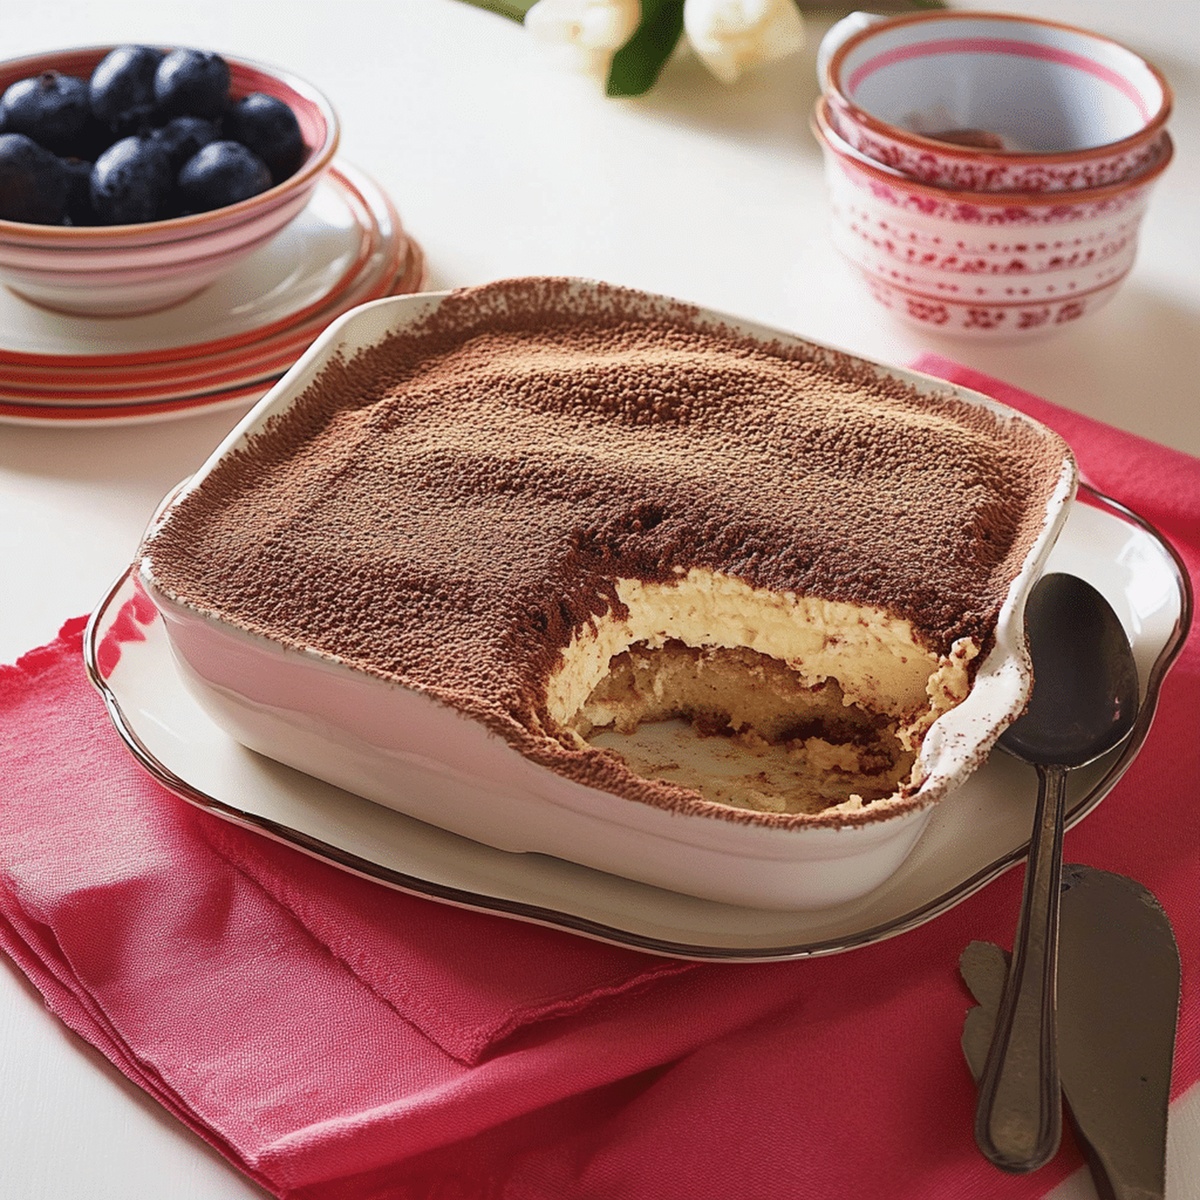
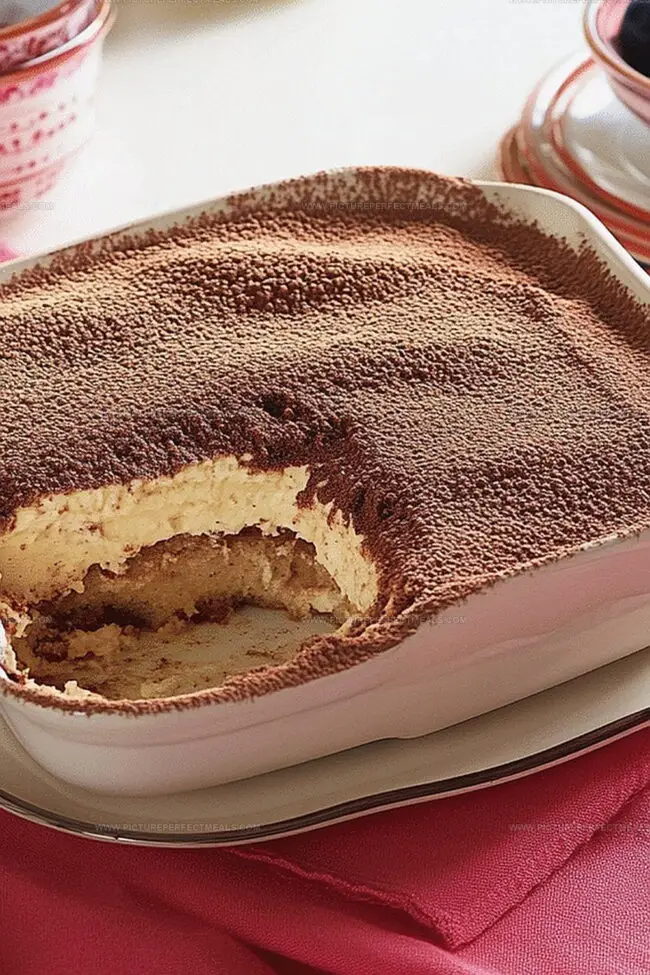
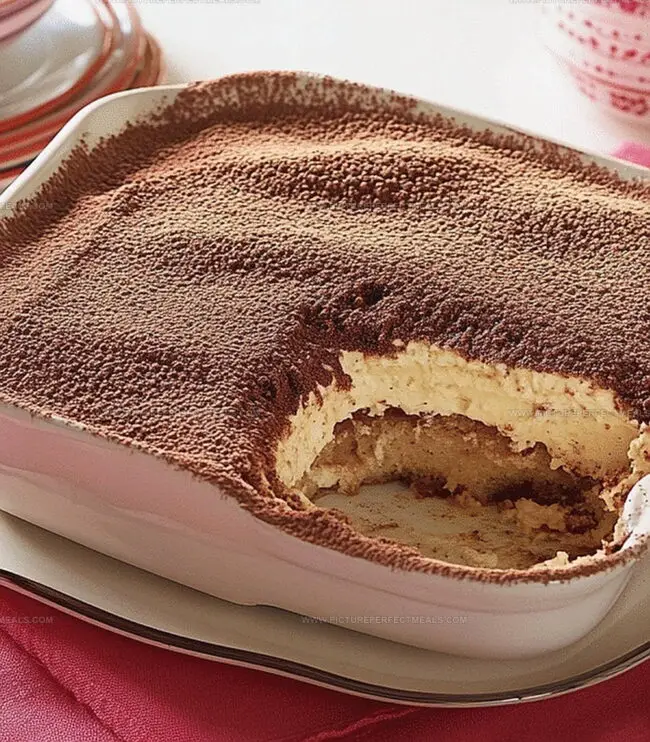
Cocoa powder dusted on top adds a final touch of decadent charm.

You’ll want to savor every delightful bite of this classic Italian dessert.

Make Tiramisu from Start to Finish

  • Create Creamy Mascarpone Base

Whisk mascarpone cheese until silky smooth in a bowl. In another container, whip cream with sweet touches until peaks stand tall. Gently blend these two worlds together, creating a dreamy, cloudlike mixture.

  • Brew Coffee Bath

Mix cooled coffee with a splash of liqueur in a wide, shallow dish. This liquid will give your dessert a bold, rich personality.

  • Build Delicious Layers

Quickly dip ladyfingers into coffee mixture, letting them briefly kiss the liquid. Line them up in your serving dish like delicate soldiers. Spread half of your creamy mascarpone across these soft cookies. Repeat the dance of dipping and layering.

  • Chill and Develop Flavors

Cover your masterpiece and let it rest in the refrigerator. Give it at least four hours, but overnight is magical. This waiting period lets all the flavors mingle and become best friends.

  • Finish with Flair

Grab cocoa powder and dust the top with a light, elegant touch. Use a fine sieve to create a beautiful, even blanket of chocolatey goodness. Slice and serve this decadent Italian dream chilled.

Flavor Tips for Classic Tiramisu

  • Quick Coffee Dipping: Briefly dunk ladyfingers into coffee mixture to prevent soggy texture, ensuring they maintain slight crispness for perfect layered consistency.
  • Make-Ahead Magic: Prepare tiramisu 1-2 days in advance, allowing flavors to develop deeper complexity and making party planning easier.
  • Gluten-Free Twist: Replace traditional ladyfingers with gluten-free alternatives like almond sponge cake or gluten-free ladyfingers for celiac-friendly version.
  • Dairy-Free Option: Swap mascarpone and heavy cream with coconut cream and cashew-based cream cheese to create plant-based tiramisu suitable for vegan diets.
  • Temperature Tip: Always serve chilled and remove from refrigerator just moments before serving to maintain ideal creamy texture and prevent separation of layers.

How to Present Classic Tiramisu

  • Decadent Dessert Companion: Pair your tiramisu with a small shot of espresso or amaretto liqueur to enhance the rich coffee flavors.
  • Sweet Wine Pairing: Complement the creamy dessert with a chilled glass of Marsala wine or a sweet Moscato, which beautifully balances the intense coffee and mascarpone notes.
  • Garnish Glamour: Elevate the presentation by adding fresh raspberries, a sprinkle of dark chocolate shavings, or a delicate mint leaf on top of each slice for a touch of elegance and extra flavor dimension.
  • Texture Contrast: Serve alongside a crisp almond biscotti or thin wafer cookie to provide a delightful crunch that contrasts with the tiramisu's silky smooth texture.

Saving Your Tiramisu

  • Smart Cooling Strategy: Refrigerate tiramisu immediately after assembling to help layers set perfectly and develop rich, deep flavors. Keep tightly covered with plastic wrap to prevent absorbing other refrigerator odors.
  • Freezing Possibility: Wrap the entire dessert tightly in plastic and aluminum foil for up to 2 weeks. Thaw overnight in the refrigerator before serving, ensuring texture remains creamy and smooth.
  • Portion Portability: Store individual slices in sealed containers for easy grab-and-go treats. Place wax paper between layers to prevent sticking and maintain presentation quality.
  • Freshness Window: Consume within 3-4 days for optimal taste and texture. Keep consistently chilled at 40°F or below to maintain food safety and prevent cream separation.

Quick Recipe Overview

Prep Time: 20 minutes

Cook Time: 0 minutes

Total Time: 20 minutes

Calories: 300 kcal

Servings: 9

Ingredients to Prep for Classic Tiramisu

For Creamy Base:
  • Mascarpone Cheese: Luxuriously smooth Italian cream cheese that creates silky texture and rich depth.
  • Heavy Cream: Adds airy lightness and helps create fluffy, cloud-like filling perfect for elegant desserts.
  • Sugar: Balances flavors and provides gentle sweetness to complement coffee notes.
  • Vanilla Extract: Introduces warm, aromatic undertone that elevates overall dessert complexity.
For Soaking Liquid:
  • Espresso or Strong Coffee: Delivers bold, authentic Italian flavor and provides essential moisture for ladyfingers.
  • Coffee Liqueur: Optional ingredient that intensifies coffee essence and adds sophisticated grown-up dimension.
For Layering and Garnish:
  • Ladyfingers: Delicate sponge cookies that absorb coffee mixture and create classic tiramisu structure; choose firm, dry ones for best results.
  • Cocoa Powder: Traditional finishing touch that adds bittersweet contrast and elegant visual appeal; select high-quality Dutch-processed variety for deepest flavor.

Tiramisu Gear Checklist

  • Whisk: Essential for smoothly blending mascarpone and creating creamy textures.
  • Large mixing bowls: Perfect for whipping cream and combining ingredients separately.
  • Hand mixer or stand mixer: Helps create stiff whipped cream peaks quickly and easily.
  • Shallow bowl: Ideal for dipping ladyfingers into coffee mixture.
  • 9×9-inch baking dish: Provides the right size for layering tiramisu components.
  • Spatula: Great for gently folding cream and smoothing layers evenly.
  • Fine-mesh sieve: Helps dust cocoa powder smoothly and uniformly across the top.
  • Plastic wrap: Used for covering and chilling the dessert in the refrigerator.
Print
clock clock iconcutlery cutlery iconflag flag iconfolder folder iconinstagram instagram iconpinterest pinterest iconfacebook facebook iconprint print iconsquares squares iconheart heart iconheart solid heart solid icon
Silky Classic Tiramisu Recipe

Silky Classic Tiramisu Recipe


5 Stars 4 Stars 3 Stars 2 Stars 1 Star

4.6 from 23 reviews

  • Total Time: 20 minutes
  • Yield: 9 1x

Description

Delectable tiramisu from Italy delights dessert enthusiasts with creamy mascarpone layers and espresso-soaked ladyfingers. Coffee-infused elegance brings sweet comfort that connects passionate chefs with authentic Mediterranean culinary traditions.


Ingredients

Scale
  • 8 oz (225 g) mascarpone cheese, softened
  • 24 ladyfinger cookies (savoiardi)
  • 1 ½ cups (360 ml) strong brewed coffee or espresso, cooled
  • 1 cup (240 ml) heavy cream, cold
  • ⅓ cup (70 g) granulated sugar
  • 1 tsp vanilla extract
  • 2 tbsps coffee liqueur (optional, e.g., Kahlua)
  • 2 tbsps cocoa powder, for dusting

Instructions

  1. Mascarpone Preparation: Whisk mascarpone cheese until velvety and lump-free, creating a smooth foundation for the dessert.
  2. Cream Crafting: Whip heavy cream with sugar and vanilla until forming stiff, glossy peaks that maintain structural elegance.
  3. Cream Fusion: Gently fold whipped cream into mascarpone, preserving the airy texture and creating a luxurious cream mixture.
  4. Coffee Infusion: Blend cooled espresso with coffee liqueur to develop a rich, aromatic liquid for ladyfinger soaking.
  5. Ladyfinger Assembly: Briefly dip each ladyfinger into the coffee mixture, ensuring rapid immersion to prevent sogginess while maintaining cookie structure.
  6. Layer Construction: Arrange coffee-soaked ladyfingers across the serving dish’s base, creating a complete, uniform foundation.
  7. Cream Layering: Spread half the mascarpone cream over ladyfingers, using a spatula to distribute evenly and eliminate potential air pockets.
  8. Final Composition: Repeat layering with remaining coffee-dipped ladyfingers and mascarpone cream, smoothing the surface for a polished appearance.
  9. Chilling and Setting: Refrigerate the tiramisu, covered, for a minimum of four hours or overnight to allow flavor integration and proper setting.
  10. Finishing Touch: Just before serving, delicately dust the surface with cocoa powder using a fine-mesh sieve for an elegant presentation.

Notes

  • Perfect Coffee Dipping: Briefly dunk ladyfingers for 2 seconds max to prevent sogginess, maintaining their delicate texture and preventing structural breakdown.
  • Cream Consistency Matters: Whip mascarpone and cream separately until peaks are stiff and glossy, ensuring smooth integration without deflating the mixture’s airiness.
  • Chilling is Crucial: Refrigerate tiramisu for minimum 4 hours, preferably overnight, allowing flavors to meld and develop a rich, cohesive taste profile.
  • Cocoa Powder Technique: Use a fine-mesh sieve for an even, light dusting of cocoa powder, creating a professional and visually appealing finish.
  • Prep Time: 20 minutes
  • Cook Time: 0 minutes
  • Category: Desserts
  • Method: None
  • Cuisine: Italian

Nutrition

  • Serving Size: 9
  • Calories: 300
  • Sugar: 15 g
  • Sodium: 50 mg
  • Fat: 18 g
  • Saturated Fat: 11 g
  • Unsaturated Fat: 7 g
  • Trans Fat: 0 g
  • Carbohydrates: 29 g
  • Fiber: 1 g
  • Protein: 4 g
  • Cholesterol: 70 mg
Jenna Hartley

Jenna Hartley

Founder & Recipe Creator

Expertise

  • Recipe development with a focus on single-dish meals.
  • Fusion of traditional and modern Australian cuisines.
  • Food styling and photography for digital platforms.​

Education

Box Hill Institute, Melbourne

  • Degree: Advanced Diploma of Hospitality Management
  • Focus: Specialized in practical food and beverage service, responsible alcohol and hygiene compliance, legal risk management, and hands‑on experience in a simulated restaurant environment.

William Angliss Institute, Melbourne

  • Program: Certificate IV in Patisserie
  • Focus: Specialized in pastry and bakery techniques, cookery and specialty food preparation, recipe planning and costing, commercial kitchen operations, sustainable and inclusive work practices, food safety and hygiene compliance, and workplace health and safety.

Jenna is the heart of Picture Perfect Meals, turning simple ingredients into beautiful, easy‑to‑make dishes. 

Growing up around family meals in Melbourne, she trained at Box Hill Institute and then perfected her pastry skills at William Angliss Institute. She loves mixing classic Australian flavors with fresh ideas to keep cooking fun and stress‑free.

Leave a Reply

Your email address will not be published. Required fields are marked *

Recipe rating 5 Stars 4 Stars 3 Stars 2 Stars 1 Star