Silky Garlic Aioli Recipe

Whip Up This Velvety Garlic Aioli Recipe in a Flash

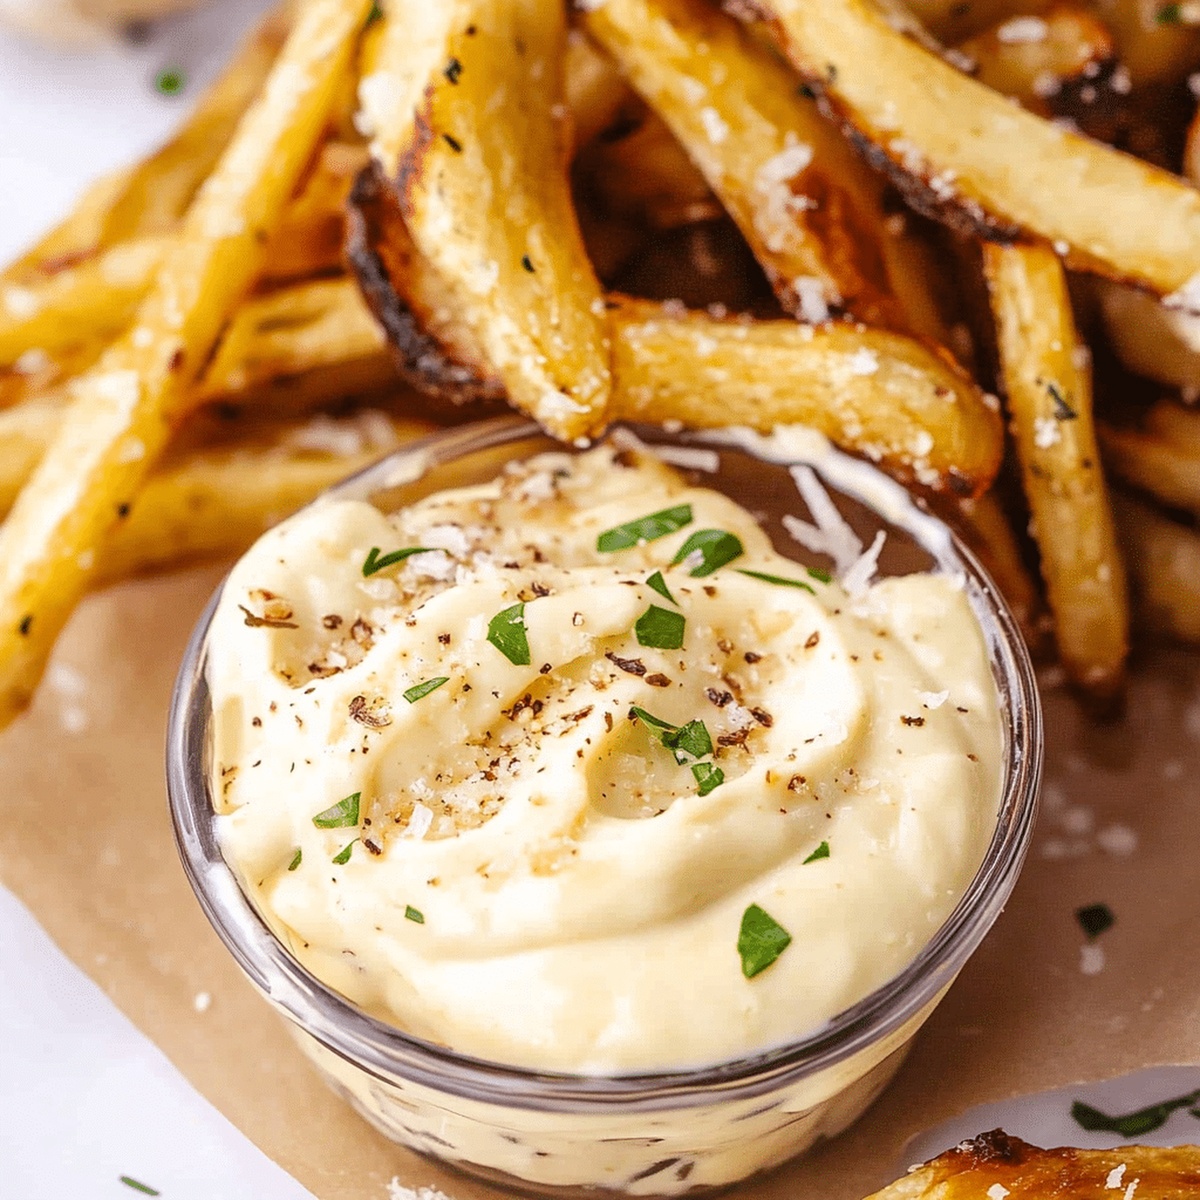
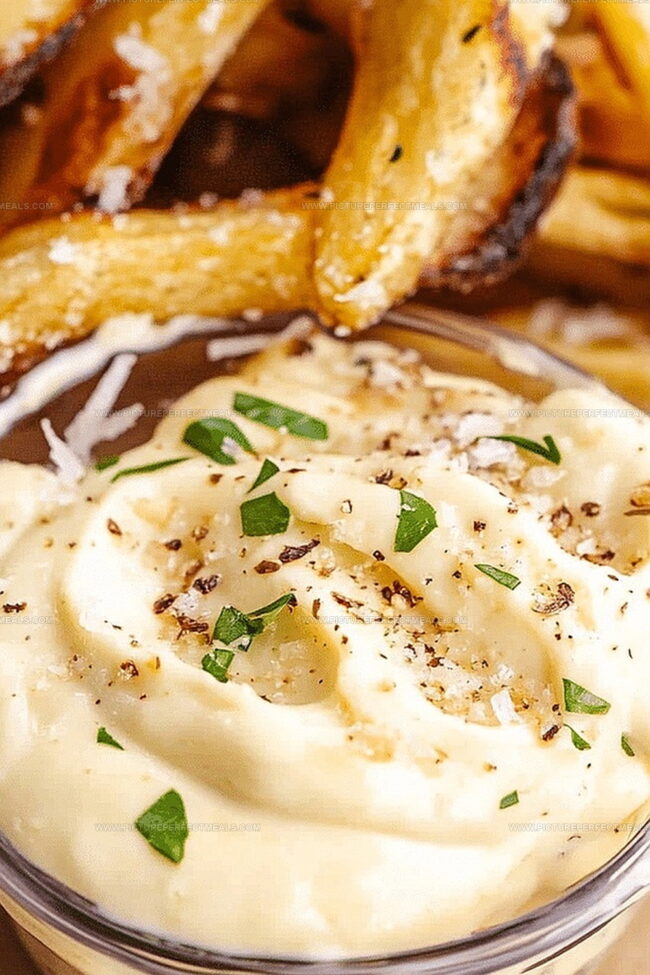
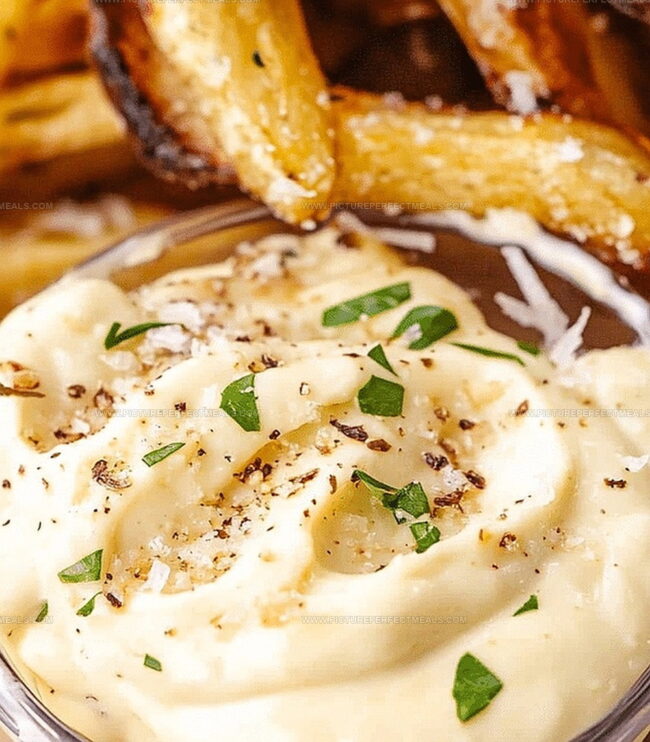
Creamy and luxurious garlic aioli brings a burst of Mediterranean flavor to any dish.

This classic sauce, packed with robust garlic flavor, turns simple ingredients into a culinary delight.

Whisking together eggs, oil, and fresh garlic creates a smooth, velvety condiment that elevates everything from sandwiches to vegetables.

Chefs and home cooks love this versatile sauce for its rich, tangy profile.

The secret lies in using the freshest ingredients and blending them with precision.

Each spoonful promises a delectable experience that will tantalize your taste buds.

Let this homemade aioli become your new favorite kitchen companion.

Quick Recipe Overview

Prep Time: 10 minutes

Cook Time: 0 minutes

Total Time: 10 minutes

Calories: 160 kcal

Servings: 5

Essentials to Prep for Garlic Aioli

For Base Ingredients:
  • Mayonnaise: Creamy foundation that provides silky texture and rich flavor base for the aioli.
  • Garlic Clove: Essential aromatic ingredient that delivers intense, sharp pungent flavor and authentic Mediterranean character.
For Flavor Enhancers:
  • Lemon Juice: Bright citrus element that adds zesty tanginess and helps balance the richness of mayonnaise.
  • Dijon Mustard: Optional spicy condiment that introduces subtle heat and deepens overall flavor complexity.
  • Salt: Crucial seasoning that amplifies and harmonizes all other ingredient profiles.
For Optional Enrichment:
  • Olive Oil: Extra luxurious touch that introduces smooth, rounded Mediterranean essence and additional depth to the aioli's flavor profile.

Kitchen Tools for Garlic Aioli

  • Garlic Press or Fine Grater: Essential for turning garlic into a smooth, fine paste for maximum flavor infusion.
  • Small Mixing Bowl: Perfect for combining ingredients and creating a smooth, creamy aioli.
  • Whisk: Helps blend mayonnaise, garlic, and other ingredients into a silky, well-incorporated sauce.
  • Sharp Knife: Alternative method for finely mincing garlic if you don't have a press or grater.
  • Measuring Spoons: Useful for precise ingredient quantities, especially for lemon juice and salt.

Making Garlic Aioli Happen

  • Crush Garlic

Grab a fresh garlic clove and transform it into a silky smooth paste using a sharp knife or garlic press. The finer you mince, the more intense the flavor will be.

  • Blend Creamy Base

Grab a mixing bowl and combine mayonnaise with your freshly crushed garlic. Squeeze in a splash of bright lemon juice and a dollop of Dijon mustard for an extra flavor kick.

  • Season and Enhance

Sprinkle in a pinch of salt and give everything a good whisk. Taste and adjust – this is your chance to make the aioli sing with flavor. Want more zing? Add another squeeze of lemon.

  • Boost the Richness

For a luxurious touch, drizzle in some olive oil while whisking. This will create a silkier, more sophisticated sauce that’ll make your taste buds dance.

  • Chill and Develop Flavor

Pop the aioli in the refrigerator for about 15 minutes. This magical resting time allows all the flavors to mingle and become best friends, creating a more complex and delicious spread.

Helpful Notes for Garlic Aioli

  • Garlic Fusion Flavors: Experiment with roasted garlic for a deeper, caramelized taste that adds complexity to the classic aioli.
  • Zero-Waste Herb Boost: Finely chop fresh herbs like parsley, chives, or basil to mix into the aioli for an extra layer of freshness and color.
  • Dietary Swap Magic: Replace regular mayonnaise with vegan mayo or Greek yogurt for a lighter, alternative version suitable for different dietary needs.
  • Spice Lover's Twist: Add a pinch of smoked paprika, cayenne pepper, or sriracha to give the aioli a zesty kick that elevates any dish.
  • Storage Savvy: Keep the aioli in an airtight container in the refrigerator for up to 5 days, always stirring before serving to maintain its creamy texture.

Ways to Serve Garlic Aioli

  • Flavor-Packed Dipping Station: Create a vibrant spread with crispy french fries, roasted vegetables, grilled seafood, and chicken tenders for guests to enjoy alongside the garlic aioli.
  • Sandwich and Burger Booster: Spread this creamy aioli on sandwiches, burgers, or wraps to elevate the flavor profile and add a zesty, garlicky kick to your favorite lunch options.
  • Mediterranean Mezze Companion: Use as a dipping sauce for pita bread, grilled kebabs, falafel, or as a condiment for Mediterranean-style platters to bring a tangy, rich dimension to the meal.
  • Seafood Sensation: Drizzle over grilled shrimp, steamed clams, baked salmon, or use as a dipping sauce for crab cakes to enhance the delicate flavors of seafood dishes.

How to Store Garlic Aioli

  • Quick Fridge Storage: Transfer aioli to an airtight glass container with a tight-fitting lid to maintain freshness and prevent flavor absorption from other foods.
  • Flavor Protection Plan: Keep refrigerated for maximum 3-5 days, ensuring optimal taste and preventing bacterial growth by storing at consistent cool temperatures.
  • Smart Separation Strategy: Always use clean utensils when scooping to avoid cross-contamination and extend the aioli's refrigerator lifespan.
  • Temperature Tip: Allow aioli to sit at room temperature for 10-15 minutes before serving to soften and enhance its creamy texture and rich garlic notes.
Print
clock clock iconcutlery cutlery iconflag flag iconfolder folder iconinstagram instagram iconpinterest pinterest iconfacebook facebook iconprint print iconsquares squares iconheart heart iconheart solid heart solid icon
Silky Garlic Aioli Recipe

Silky Garlic Aioli Recipe


5 Stars 4 Stars 3 Stars 2 Stars 1 Star

4.8 from 25 reviews

  • Total Time: 10 minutes
  • Yield: 5 1x

Description

Creamy garlic aioli brings Mediterranean charm to your table with bold, zesty flavors. Rich and silky sauce promises delightful dipping experiences for adventurous palates.


Ingredients

Scale
  • ½ cup (120 ml) mayonnaise
  • 12 tbsps (180 ml) olive oil (optional, for a richer texture)
  • 1 large garlic clove, minced or grated
  • 1 tbsp fresh lemon juice
  • ½ tsp Dijon mustard (optional, for extra flavor)
  • ¼ tsp salt (or to taste)

Instructions

  1. Garlic Preparation: Crush garlic cloves into a fine pulp using a garlic press or sharp knife, ensuring a fragrant and uniform consistency.
  2. Base Mixing: Combine minced garlic with mayonnaise in a mixing bowl, creating a creamy foundation for the aioli’s robust flavor profile.
  3. Flavor Enhancement: Introduce fresh lemon juice and Dijon mustard to the mixture, adding vibrant citrus notes and subtle tanginess that complement the garlic’s intensity.
  4. Seasoning Refinement: Sprinkle salt and whisk thoroughly, tasting and adjusting the seasoning to achieve a perfectly balanced flavor harmony.
  5. Texture Optimization: Optional drizzle of olive oil while whisking vigorously to develop a luxurious, silky smooth texture that elevates the aioli’s mouthfeel.
  6. Flavor Melding: Refrigerate the mixture for at least 15 minutes, allowing the ingredients to infuse and develop a more complex, integrated taste profile.
  7. Serving Presentation: Serve chilled as a versatile condiment, ready to enhance and transform various culinary creations with its bold, aromatic character.

Notes

  • Mince Garlic Thoroughly: Use a sharp knife or garlic press to create a fine, uniform pulp without large chunks, ensuring maximum flavor distribution.
  • Balance Flavor Carefully: Taste and adjust seasoning gradually, adding salt and lemon juice in small increments to achieve a harmonious taste profile.
  • Control Consistency Wisely: Whisk olive oil gently to create a smooth, silky texture without over-mixing, which can break the emulsion.
  • Chill for Maximum Flavor: Refrigerate for at least 15 minutes before serving to allow ingredients to blend and develop a more intense, complex taste.
  • Prep Time: 10 minutes
  • Cook Time: 0 minutes
  • Category: Appetizer, Snacks
  • Method: Blending
  • Cuisine: Mediterranean

Nutrition

  • Serving Size: 5
  • Calories: 160
  • Sugar: 0 g
  • Sodium: 50 mg
  • Fat: 18 g
  • Saturated Fat: 2 g
  • Unsaturated Fat: 16 g
  • Trans Fat: 0 g
  • Carbohydrates: 1 g
  • Fiber: 0 g
  • Protein: 1 g
  • Cholesterol: 5 mg
Jenna Hartley

Jenna Hartley

Founder & Recipe Creator

Expertise

  • Recipe development with a focus on single-dish meals.
  • Fusion of traditional and modern Australian cuisines.
  • Food styling and photography for digital platforms.​

Education

Box Hill Institute, Melbourne

  • Degree: Advanced Diploma of Hospitality Management
  • Focus: Specialized in practical food and beverage service, responsible alcohol and hygiene compliance, legal risk management, and hands‑on experience in a simulated restaurant environment.

William Angliss Institute, Melbourne

  • Program: Certificate IV in Patisserie
  • Focus: Specialized in pastry and bakery techniques, cookery and specialty food preparation, recipe planning and costing, commercial kitchen operations, sustainable and inclusive work practices, food safety and hygiene compliance, and workplace health and safety.

Jenna is the heart of Picture Perfect Meals, turning simple ingredients into beautiful, easy‑to‑make dishes. 

Growing up around family meals in Melbourne, she trained at Box Hill Institute and then perfected her pastry skills at William Angliss Institute. She loves mixing classic Australian flavors with fresh ideas to keep cooking fun and stress‑free.

Leave a Reply

Your email address will not be published. Required fields are marked *

Recipe rating 5 Stars 4 Stars 3 Stars 2 Stars 1 Star