
Smooth & Dreamy Silky Old Fashioned Fudge Recipe
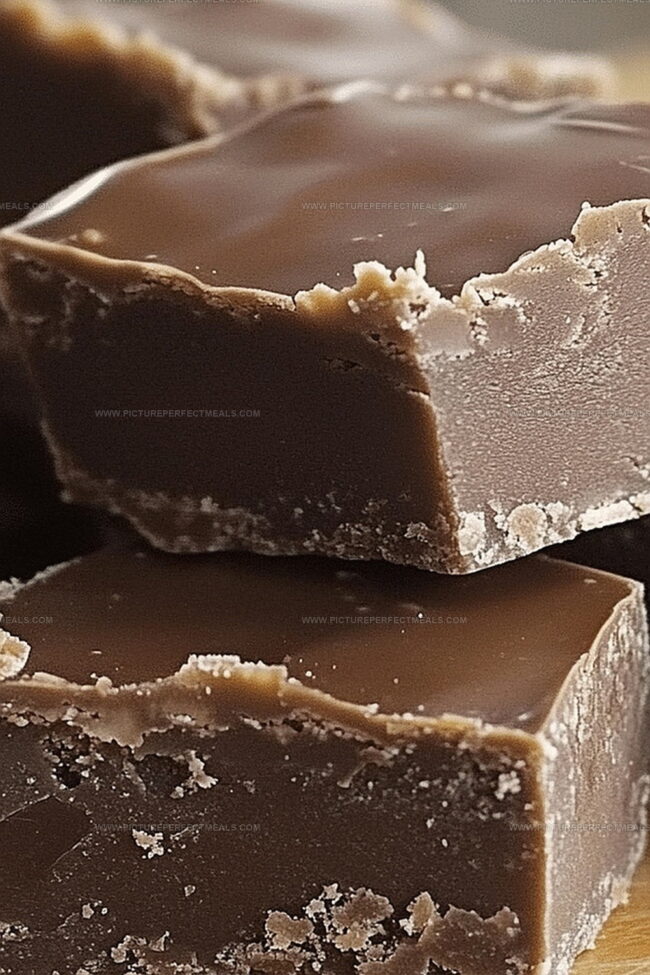
Chocolate lovers swoon over this creamy old fashioned fudge recipe that melts hearts with its rich, decadent texture.
Sweet memories flood back with each velvety bite of traditional fudge perfection.
Generations have cherished this classic dessert that brings pure joy to the table.
Crafted with simple ingredients, this fudge creates moments of pure indulgence.
The blend of sugar, butter, and chocolate produces a mouthwatering treat that feels like a warm hug.
Smooth and irresistible, this recipe promises to become your new favorite sweet escape.
Prepare to embark on a delightful culinary journey that will have everyone asking for seconds.
Quick Recipe Overview
What You’ll Need for Old Fashioned Fudge
For Base Ingredients:For Flavor Enhancers:For Optional Mix-Ins:Equipment That Brings This Fudge Recipe to Life
How to Make Old Fashioned Fudge Like Grandma Did
Grab a heavy saucepan, wooden spoon, candy thermometer if you have one, and a lined baking dish. Make sure everything is clean and ready to rock.
Toss sugar, cocoa, and milk into the saucepan. Gently warm and stir until everything melts together smoothly over medium heat.
Let the mixture bubble without touching it. Watch for the perfect temperature around 234-240F. No thermometer? Drop a tiny bit in cold water – it should form a soft, squishy ball.
Pull the pan off the heat. Drop in butter and vanilla. Let it chill and cool down to about 110F without stirring.
Grab your wooden spoon and beat the mixture until it turns thick and loses its shiny look. This might take 5-10 minutes of arm power. Want nuts? Fold them in now.
Quickly spread the fudge into your prepared dish. Let it cool completely at room temperature. Once solid, slice into delicious squares and dive in!
Flavor Add-Ins That Take Fudge Beyond the Basics
Serve in Squares or With Holiday Cheer
Store Fudge So It Stays Firm, Not Crumbly
Print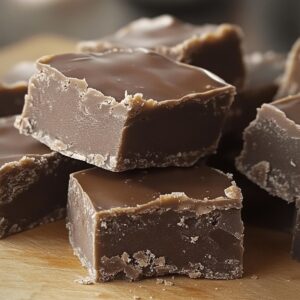
Silky Old Fashioned Fudge Recipe
- Total Time: 30 minutes
- Yield: 17 1x
Description
Classic Old Fashioned Fudge delights chocolate enthusiasts with its rich, creamy texture. Smooth chocolate squares promise sweet memories of grandma’s traditional kitchen magic.
Ingredients
- 2 cups (400 grams) granulated sugar
- ½ cup (120 milliliters/4 fl oz) whole milk
- ½ cup (115 grams/4 oz) unsalted butter
- ¼ cup (25 grams/0.9 oz) unsweetened cocoa powder
- 1 cup (150 grams/5.3 oz) chopped walnuts or pecans (optional)
- 1 tsp vanilla extract
- ¼ tsp salt
Instructions
- Preparation Setup: Assemble a heavy-bottomed saucepan, wooden spoon, candy thermometer, and lined square pan, ensuring all equipment is clean and ready for precise fudge crafting.
- Initial Mixture: Combine granulated sugar, cocoa powder, and milk in the saucepan, heating gently while stirring continuously until ingredients integrate smoothly and dissolve completely.
- Temperature Elevation: Increase heat, allowing mixture to bubble without stirring, carefully monitoring temperature until reaching the soft ball stage between 234F and 240F using a candy thermometer or classic water drop test.
- Cooling Phase: Remove from heat, add unsalted butter and vanilla extract without immediate stirring, letting the mixture cool naturally to approximately 110F, creating optimal crystallization conditions.
- Transformation Process: Energetically beat the mixture with a wooden spoon, transitioning from a glossy liquid to a thick, matte texture through persistent stirring for 5-10 minutes, developing the classic fudge consistency.
- Final Setting: Quickly pour the transformed mixture into the prepared pan, spreading evenly and allowing it to set completely at room temperature until firm and ready to be cut into delectable squares.
Notes
- Choose Robust Cookware: Use a heavy-bottomed saucepan to distribute heat evenly and prevent sugar from burning, which ensures smooth fudge texture.
- Master Temperature Precision: Invest in a reliable candy thermometer to hit the exact 234-240F sweet spot, preventing grainy or too-soft fudge consistency.
- Control Stirring Technique: Minimize stirring during initial heating to prevent sugar crystallization, then vigorously beat when cooling to create perfect creamy texture.
- Adapt for Dietary Needs: Substitute dairy milk with coconut or almond milk for lactose-free version, and use dark cocoa powder for richer chocolate flavor without compromising recipe integrity.
- Prep Time: 10 minutes
- Cook Time: 20 minutes
- Category: Desserts, Snacks
- Method: Boiling
- Cuisine: American
Nutrition
- Serving Size: 17
- Calories: 153
- Sugar: 23 g
- Sodium: 40 mg
- Fat: 7 g
- Saturated Fat: 4 g
- Unsaturated Fat: 3 g
- Trans Fat: 0 g
- Carbohydrates: 24 g
- Fiber: 1 g
- Protein: 1 g
- Cholesterol: 15 mg
Jenna Hartley
Founder & Recipe Creator
Expertise
Education
Box Hill Institute, Melbourne
William Angliss Institute, Melbourne
Jenna is the heart of Picture Perfect Meals, turning simple ingredients into beautiful, easy‑to‑make dishes.
Growing up around family meals in Melbourne, she trained at Box Hill Institute and then perfected her pastry skills at William Angliss Institute. She loves mixing classic Australian flavors with fresh ideas to keep cooking fun and stress‑free.