Dreamy Silky Sugar Cookie Frosting Recipe for Sweet Treats
Sweet bakers know that homemade sugar cookie frosting can be the secret ingredient that turns ordinary treats into extraordinary delights.
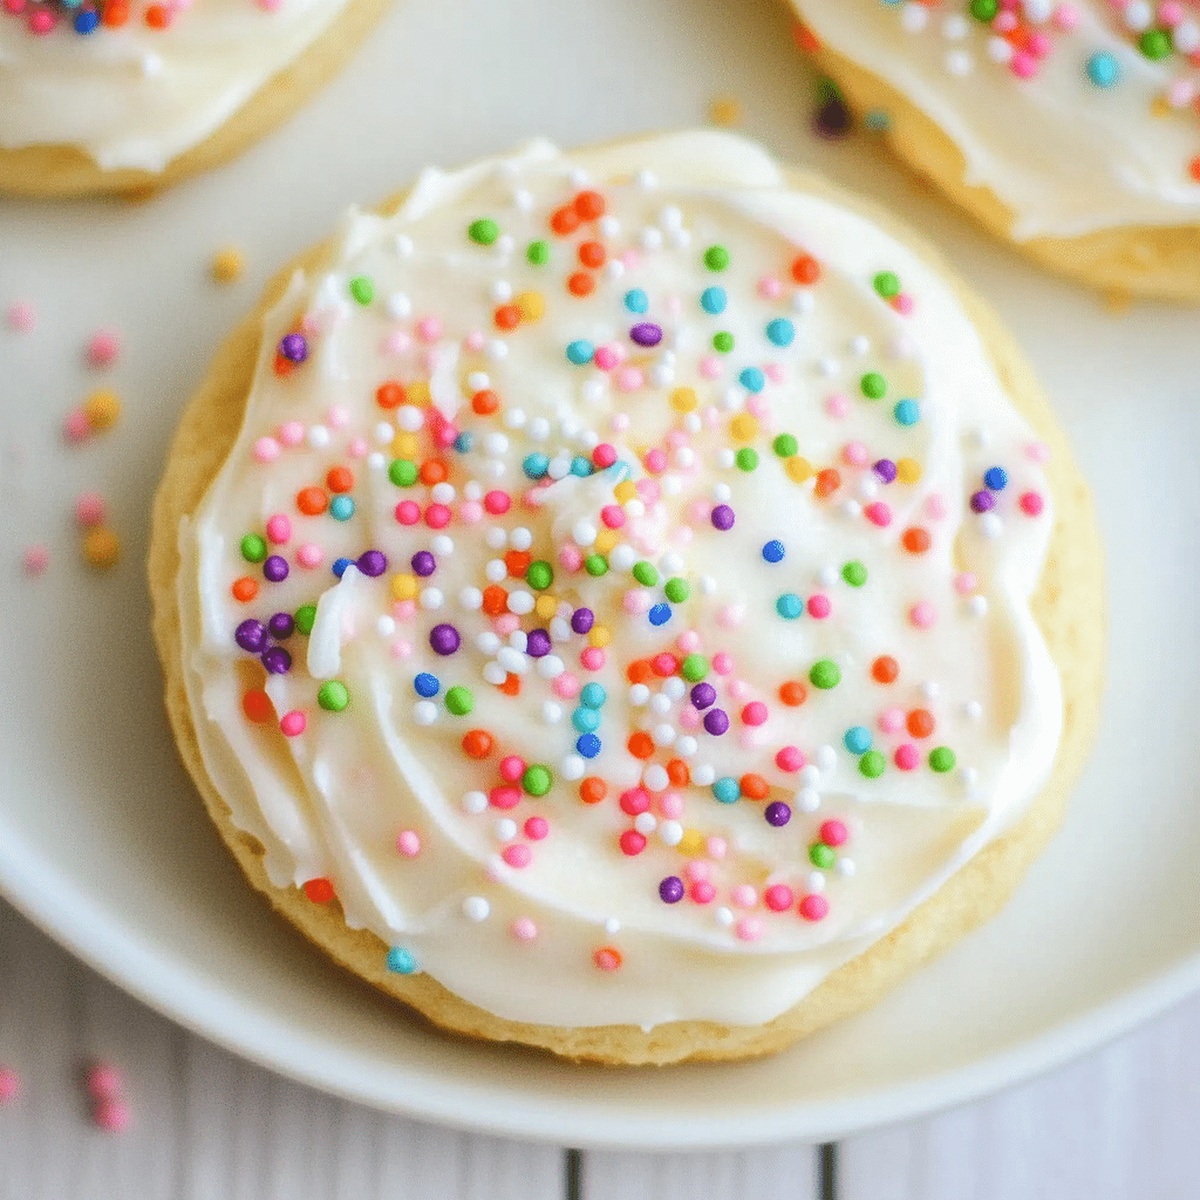
This silky sugar cookie frosting recipe delivers a creamy, smooth coating that melts perfectly on warm cookies.
Professional pastry chefs have long understood the magic of a perfectly balanced frosting blend.
The recipe combines simple ingredients with precise techniques to create a luxurious topping that will wow everyone at your gathering.
Soft, glossy, and easy to spread, this frosting transforms basic sugar cookies into show-stopping desserts.
Each spoonful promises a delectable experience that elevates your baking game.
Prepare to delight taste buds and create memorable moments with this irresistible frosting masterpiece.
Quick Recipe Overview
Ingredients for the Perfect Sugar Cookie Frosting
For Base Ingredients:For Liquid Enhancers:For Finishing Touches:Tools for Mixing Smooth Sugar Cookie Frosting
Whip Up Sugar Cookie Frosting in a Few Simple Steps
Grab your mixer and transform soft butter into a silky, smooth canvas. Beat until it looks like a fluffy cloud, about 2-3 minutes of magic mixing.
Slowly shower powdered sugar into the butter, mixing gently to avoid a sugary explosion. Keep scraping the bowl’s edges to ensure everything blends perfectly.
Pour in milk, vanilla, and a tiny pinch of salt. Whirl the mixture until it becomes a dreamy, creamy consistency. Need it thinner? Add milk sparingly, one tiny splash at a time.
Separate your frosting into different bowls and unleash your inner artist. Drop in gel food coloring to create a rainbow of frosting hues that will make your cookies pop.
Use a spatula or piping bag to dress up your cooled cookies. Glide the frosting smoothly across the surface or create delicate designs that will make everyone smile.
Give your decorated cookies some breathing room at room temperature. Let them rest for 12 hours so the frosting becomes perfectly firm and ready to be stacked or shared.
How to Adjust Sugar Cookie Frosting Flavor and Texture
Apply Sugar Cookie Frosting Like a Pro
Keep Sugar Cookie Frosting Ready-to-Use Anytime
Print
Silky Sugar Cookie Frosting Recipe
- Total Time: 15 minutes
- Yield: 13 1x
Description
Mexican-inspired sugar cookie frosting blends traditional techniques with modern flair. Royal icing provides elegant finishing touches for delicate cookies you’ll cherish from first bite to last.
Ingredients
- 1 cup/2 sticks/226 g unsalted butter (softened)
- 4 cups/454 g powdered sugar (sifted for best results)
- 24 tbsps/360 ml milk (adjust for desired consistency)
- 1 tsp/5 ml vanilla extract
- 1/8 tsp/0.6 g salt (optional, to balance sweetness)
- Food coloring (optional)
Instructions
- Butter Preparation: Whip softened butter in a large bowl using an electric mixer until smooth and creamy, eliminating all visible lumps.
- Sugar Integration: Methodically fold powdered sugar into the butter at low speed, meticulously scraping bowl edges to ensure complete blending and prevent sugar clouds.
- Flavor and Texture Enhancement: Combine milk, vanilla extract, and salt into the mixture, blending on medium speed until the frosting achieves a harmonious, luxurious cream consistency.
- Consistency Calibration: Adjust frosting thickness by adding minimal milk if the texture seems too thick, targeting a spreadable yet stable composition that holds its shape.
- Color Customization: Divide frosting into separate containers and infuse with gel food coloring, creating vibrant palettes to transform ordinary sugar cookies into visually stunning treats.
- Decorative Application: Embellish completely cooled cookies using either precise piping techniques or smooth spreading with an offset spatula, ensuring professional-grade presentation.
- Stabilization: Allow decorated cookies to rest at room temperature, enabling the frosting to develop a delicate outer shell for effortless handling and storage.
Notes
- Butter Temperature Matters: Use room temperature butter for smooth, lump-free frosting that blends effortlessly and creates a creamy texture.
- Gradual Sugar Integration: Add powdered sugar slowly to prevent messy clouds and ensure a silky, even mixture without dry pockets.
- Consistency Control: Adjust frosting thickness by adding milk in tiny increments, aiming for a spreadable yet firm texture that holds shape on cookies.
- Color Creativity: Use gel food coloring for vibrant, concentrated hues that won’t thin out the frosting and create stunning visual designs.
- Prep Time: 15 minutes
- Cook Time: 0 minutes
- Category: Desserts, Snacks
- Method: Blending
- Cuisine: American
Nutrition
- Serving Size: 13
- Calories: 148
- Sugar: 16 g
- Sodium: 0.05 g
- Fat: 7 g
- Saturated Fat: 4.5 g
- Unsaturated Fat: 2.5 g
- Trans Fat: 0 g
- Carbohydrates: 22 g
- Fiber: 0 g
- Protein: 0.2 g
- Cholesterol: 15 mg
Jenna Hartley
Founder & Recipe Creator
Expertise
Education
Box Hill Institute, Melbourne
William Angliss Institute, Melbourne
Jenna is the heart of Picture Perfect Meals, turning simple ingredients into beautiful, easy‑to‑make dishes.
Growing up around family meals in Melbourne, she trained at Box Hill Institute and then perfected her pastry skills at William Angliss Institute. She loves mixing classic Australian flavors with fresh ideas to keep cooking fun and stress‑free.