Wickedly Indulgent Peanut Butter Cookie Dough Bars Recipe
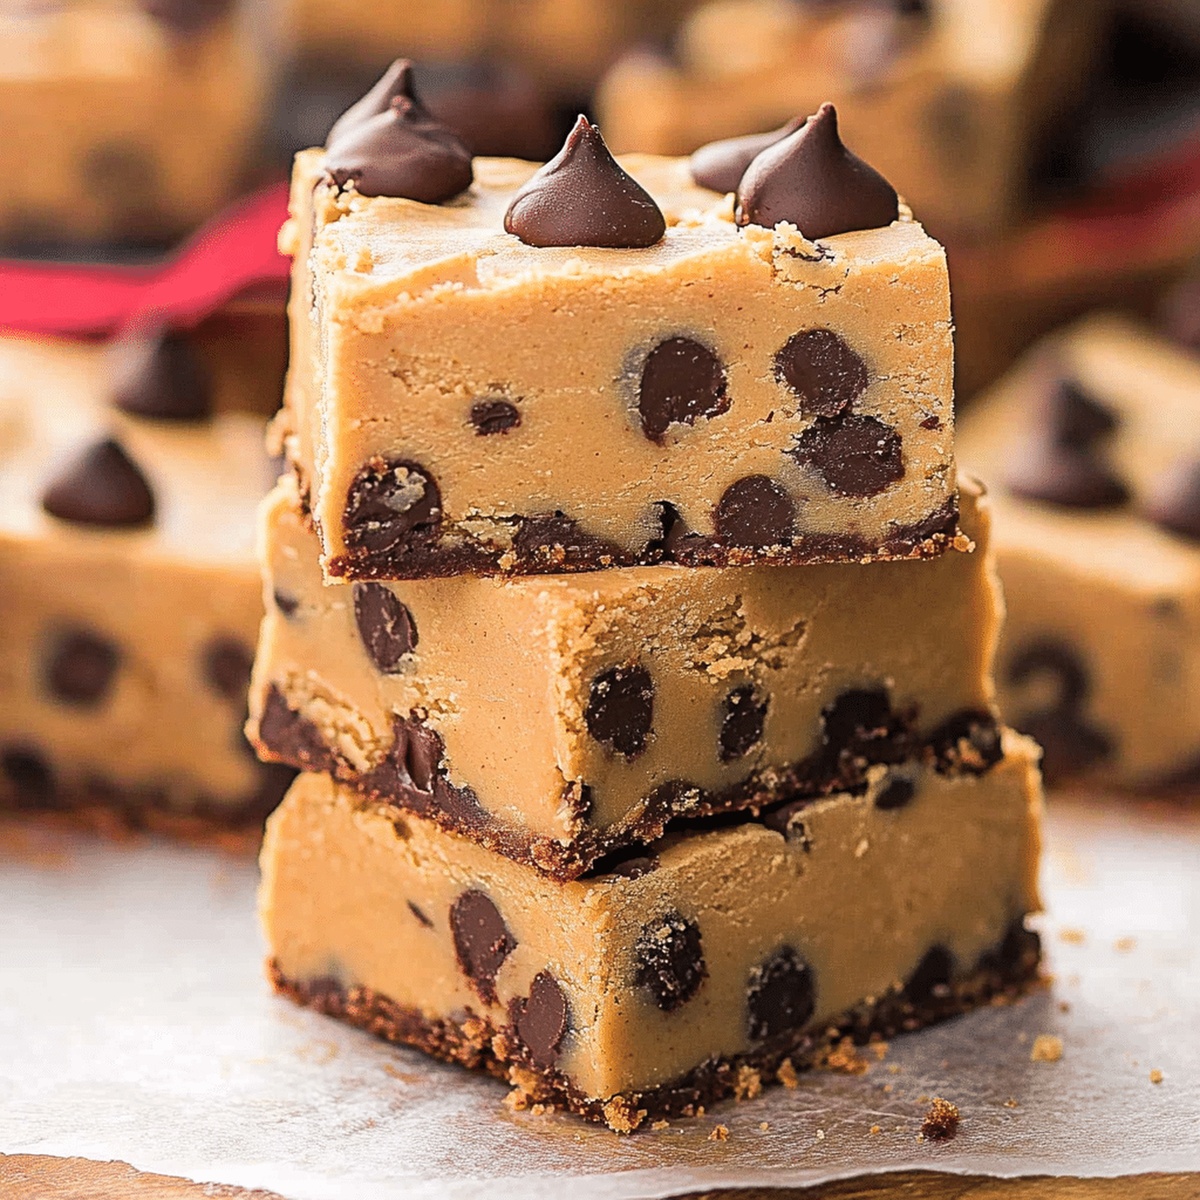
Chocolate and peanut butter create magic in these sinful peanut butter cookie dough bars that melt hearts instantly.
Sweet dreams are made of delectable layers waiting to surprise you.
The rich, creamy texture blends decadent flavors into one irresistible treat.
Every bite promises pure indulgence without guilt.
Smooth chocolate cascades over velvety peanut butter cookie dough, creating a dessert that breaks all rules.
No baking required means less hassle and more enjoyment.
These bars will become your new favorite dessert obsession that everyone craves.
Quick Recipe Overview
What You’ll Need for Peanut Butter Cookie Dough Bars
For Cookie Dough Base:For Chocolate Topping:For Optional Garnish:Kitchen Tools for No-Bake Peanut Butter Cookie Dough Bars
Layer and Chill: Peanut Butter Bars Made Simple
Grab your mixing bowl and whip together creamy peanut butter, softened butter, and brown sugar until they become a fluffy dream. Splash in vanilla extract and sprinkle some salt for depth. Slowly fold in oat flour until everything looks crumbly. Add tiny bits of milk, stirring until the mixture transforms into a perfect cookie dough texture.
Grab a baking pan and line it with parchment paper, letting edges hang over for easy removal. Press your delicious cookie dough mixture into the pan, smoothing the surface with a spatula until it’s perfectly even.
Combine chocolate chips and peanut butter in a microwave-safe bowl. Zap in short bursts, stirring between each interval, until the mixture becomes silky smooth and glossy.
Drizzle the melted chocolate mixture across the cookie dough, spreading it carefully to create an even, tempting layer. Pop the pan into the refrigerator and let it chill for a couple hours until completely set.
Pull out the bars using the parchment paper edges. Slice into delectable squares. Serve chilled or at room temperature for a mouthwatering treat that’ll make taste buds dance.
Cookie Dough Bar Tips for Texture and Sweetness
Fun Ways to Serve Peanut Butter Cookie Dough Bars
Store Peanut Butter Bars for Snacking Later
Print
Sinful Peanut Butter Cookie Dough Bars Recipe
- Total Time: 2 hours 15 minutes
- Yield: 17 1x
Description
Irresistible peanut butter cookie dough bars combine creamy layers of sweet indulgence with rich chocolate. Chocolate chips and smooth peanut butter create a delightful dessert you cannot resist.
Ingredients
- 2 cups oat flour (or all-purpose flour, heat-treated)
- 1 cup brown sugar
- 1 cup creamy peanut butter
- ½ cup unsalted butter
- 1 ½ cups semi-sweet chocolate chips
- 2 tbsps milk
- 2 tbsps creamy peanut butter
- 1 tsp vanilla extract
- ½ tsp salt
Instructions
- Mixing Base: Whip peanut butter, butter, and brown sugar until fluffy and light, creating a smooth foundational mixture.
- Flavor Enhancement: Incorporate vanilla extract and salt, then blend oat flour until the mixture develops a crumbly consistency, ensuring even distribution of ingredients.
- Dough Preparation: Gradually add milk, kneading the mixture until it transforms into a cohesive, pliable cookie dough with perfect texture.
- Pan Setup: Line a square baking pan with parchment paper, allowing generous overhangs for easy removal of the finished dessert.
- Layer Formation: Spread the peanut butter dough evenly across the prepared pan, pressing gently to create a uniform base with smooth edges.
- Chocolate Topping: Melt chocolate chips and peanut butter together in the microwave, stirring between short intervals until achieving a silky, glossy consistency.
- Final Assembly: Pour the chocolate-peanut butter mixture over the dough layer, spreading carefully to ensure complete and even coverage.
- Chilling and Setting: Refrigerate the bars for a minimum of two hours, allowing the layers to solidify and flavors to meld completely.
- Serving: Remove from refrigerator, lift the dessert using parchment edges, slice into precise squares, and serve chilled or allow slight tempering for a more indulgent texture.
Notes
- Customize Dough Texture: Adjust milk quantity carefully to achieve desired cookie dough consistency, preventing overly sticky or crumbly results.
- Prevent Chocolate Separation: Melt chocolate and peanut butter slowly and gently, stirring consistently to maintain smooth, glossy chocolate layer without grainy texture.
- Storage and Freshness: Store bars in airtight container within refrigerator for maximum 5-7 days, keeping them chilled to preserve structural integrity and prevent rapid softening.
- Dietary Modifications: Substitute oat flour with gluten-free alternatives like almond or coconut flour, and use dairy-free chocolate chips for vegan-friendly version while maintaining similar rich, creamy texture.
- Prep Time: 15 minutes
- Cook Time: 2 hours
- Category: Desserts, Snacks
- Method: Blending
- Cuisine: American
Nutrition
- Serving Size: 17
- Calories: 220
- Sugar: 12 g
- Sodium: 150 mg
- Fat: 14 g
- Saturated Fat: 6 g
- Unsaturated Fat: 8 g
- Trans Fat: 0 g
- Carbohydrates: 23 g
- Fiber: 2 g
- Protein: 4 g
- Cholesterol: 15 mg
Jenna Hartley
Founder & Recipe Creator
Expertise
Education
Box Hill Institute, Melbourne
William Angliss Institute, Melbourne
Jenna is the heart of Picture Perfect Meals, turning simple ingredients into beautiful, easy‑to‑make dishes.
Growing up around family meals in Melbourne, she trained at Box Hill Institute and then perfected her pastry skills at William Angliss Institute. She loves mixing classic Australian flavors with fresh ideas to keep cooking fun and stress‑free.