Juicy Sizzling Cheeseburger Wraps Recipe: Handheld Flavor Magic
Bursting with flavor, these delectable cheeseburger wraps bring restaurant-style magic right to your kitchen.
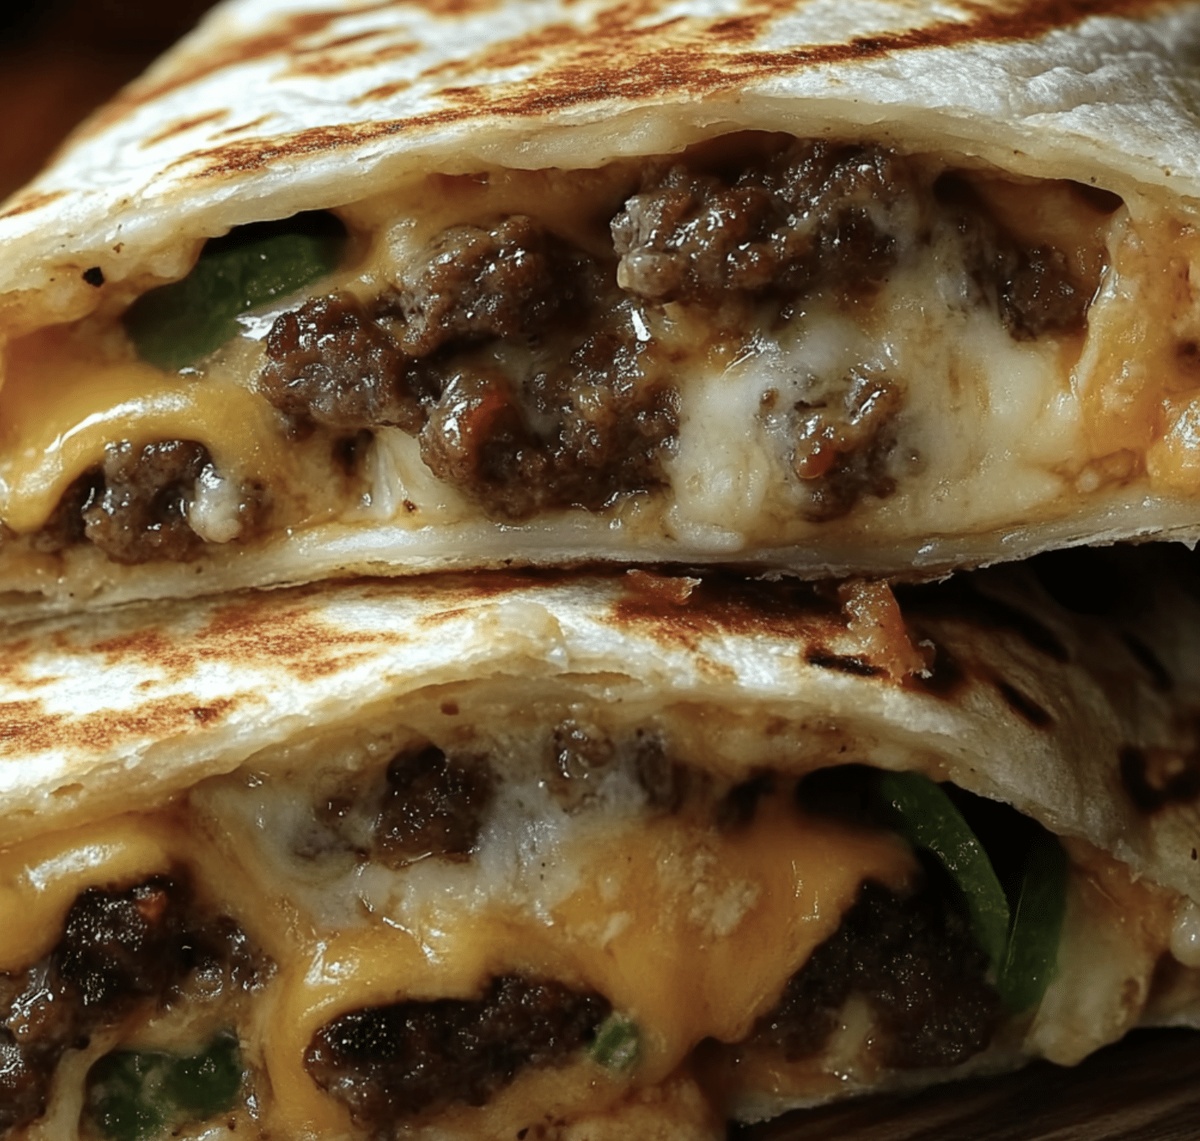
Each bite of this incredible cheeseburger wraps recipe promises a mouthwatering explosion of classic burger tastes.
Tender ground beef mingles with melted cheese, creating a handheld meal that beats traditional burgers.
Crisp lettuce and tangy condiments add perfect layers of texture and zest.
The wraps come together quickly, making them ideal for busy weeknight dinners or casual gatherings.
Crispy on the outside and juicy on the inside, these wraps will become your new go-to comfort food.
Prepare to transform an everyday meal into something extraordinary that everyone at the table will devour.
Quick Recipe Overview
Grilled Cheeseburger Wraps Ingredients At A Glance
For Meat Base:For Seasoning and Flavor Enhancers:For Wrap Components:Tools To Wrap And Grill Grilled Cheeseburger Wraps Easily
How To Prepare Grilled Cheeseburger Wraps At Home
Heat a skillet and toss in ground beef with diced onions. Cook until meat is fully cooked and onions are soft. Drain any extra grease and season with Worcestershire sauce and spices.
Spread tortilla flat and dollop ketchup and mustard in the center. Add fresh crisp lettuce, juicy tomato slices, and tangy pickles.
Sprinkle shredded cheese over the beef mixture. Carefully fold tortilla sides inward, then roll tightly from bottom to create a compact wrap.
Warm a skillet with a touch of butter. Place wraps seam-side down and cook until golden and crispy, about 2-3 minutes per side. Press gently with spatula to ensure even browning.
Cut wraps diagonally and plate immediately. Pair with crispy fries, a light salad, or your favorite dipping sauce for a delicious meal that’ll satisfy any burger craving.
Filling Swaps And Ideas For Grilled Cheeseburger Wraps
Presenting Grilled Cheeseburger Wraps Hot Off The Grill
Best Methods To Store Grilled Cheeseburger Wraps
Print
Sizzling Cheeseburger Wraps Recipe
- Total Time: 30 minutes
- Yield: 5 1x
Description
Grilled cheeseburger wraps blend classic burger flavors with convenient tortilla packaging for a quick meal. Melted cheese, seasoned beef, and fresh toppings create a handheld delight you’ll crave again and again.
Ingredients
- 1 lb (450 g) ground beef
- 1.5 cups (150 g) shredded cheddar or American cheese
- 4 large flour tortillas
- 1 small onion, finely chopped
- 1 tbsp Worcestershire sauce
- 1 tsp garlic powder
- 1 tsp paprika
- Salt and pepper, to taste
- Lettuce leaves
- Sliced tomatoes
- Dill pickles (optional)
- Ketchup and mustard (or your favorite burger sauce)
- 1 tbsp butter or cooking spray
Instructions
- Meat Preparation: Brown ground beef and onions in a skillet over medium heat, ensuring complete cooking with no pink remaining and onions turning translucent.
- Seasoning Enhancement: Infuse the beef mixture with Worcestershire sauce, garlic powder, paprika, salt, and pepper, thoroughly mixing to distribute flavors evenly.
- Tortilla Assembly: Spread ketchup and mustard across tortilla center, creating a robust flavor foundation for the wrap.
- Vegetable Layer: Arrange crisp lettuce, ripe tomato slices, and tangy pickle pieces over the condiment base, establishing a vibrant textural landscape.
- Protein and Cheese Distribution: Generously spread seasoned beef across the vegetable layer, then crown with melting shredded cheese, allowing residual heat to soften the dairy component.
- Wrapping Technique: Fold tortilla sides inward, then roll from bottom up, crafting a compact parcel that securely envelops all ingredients.
- Grilling Process: Butter a skillet or grill pan, heating to medium temperature, then place wraps seam-side down and grill for 3-4 minutes per side until achieving a golden, crispy exterior with fully melted cheese.
- Serving Presentation: Remove from heat, slice diagonally, and serve immediately alongside complementary sides like crispy fries or a refreshing garden salad.
Notes
- Meat Selection Matters: Choose lean ground beef (90/10 or 85/15) to prevent excessive grease and ensure a cleaner, more flavorful wrap without soggy tortillas.
- Drain Excess Fat: After cooking ground beef, carefully drain fat using a colander to reduce greasiness and create a lighter, healthier final dish.
- Cheese Melting Technique: Use room temperature cheese and cover the wrap briefly while grilling to help cheese melt evenly and create a gooey texture throughout.
- Tortilla Temperature Trick: Warm tortillas slightly before assembling to improve flexibility and prevent cracking during wrapping and grilling.
- Prep Time: 10 minutes
- Cook Time: 20 minutes
- Category: Lunch, Dinner, Snacks
- Method: Grilling
- Cuisine: American
Nutrition
- Serving Size: 5
- Calories: 450
- Sugar: 2 g
- Sodium: 800 mg
- Fat: 26 g
- Saturated Fat: 10 g
- Unsaturated Fat: 14 g
- Trans Fat: 1 g
- Carbohydrates: 32 g
- Fiber: 2 g
- Protein: 25 g
- Cholesterol: 80 mg
Jenna Hartley
Founder & Recipe Creator
Expertise
Education
Box Hill Institute, Melbourne
William Angliss Institute, Melbourne
Jenna is the heart of Picture Perfect Meals, turning simple ingredients into beautiful, easy‑to‑make dishes.
Growing up around family meals in Melbourne, she trained at Box Hill Institute and then perfected her pastry skills at William Angliss Institute. She loves mixing classic Australian flavors with fresh ideas to keep cooking fun and stress‑free.