
Velvety Smooth Peanut Butter Banana Cups Recipe for Sweet Treats
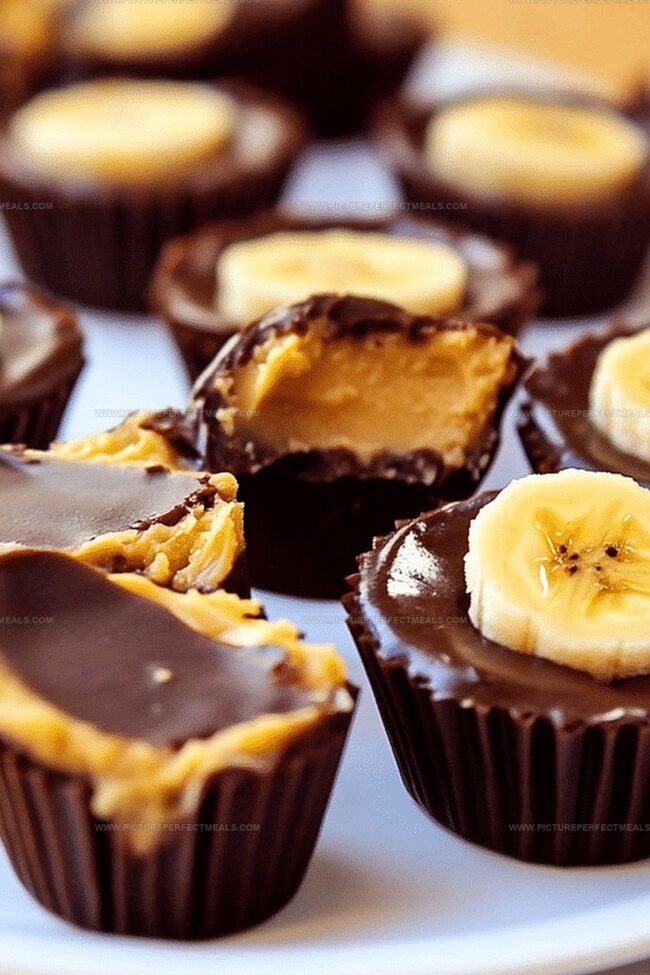
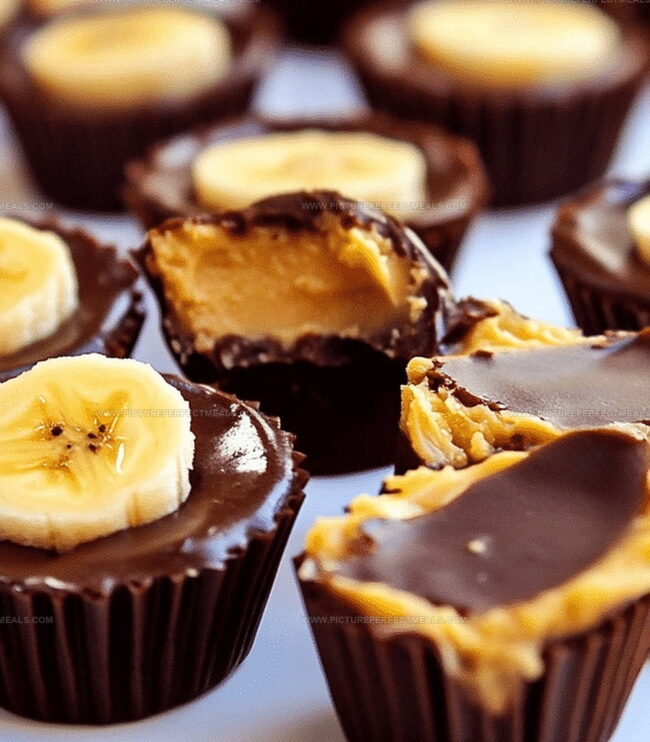
Chocolate meets creamy peanut butter in these irresistible banana cups that dance with decadent flavor.
Sweet bananas provide a lush foundation for these delightful treats.
The recipe blends simple ingredients into a mouthwatering dessert anyone can master.
Rich layers of chocolate and smooth peanut butter create a perfect harmony of textures.
Each bite delivers a delectable combination that feels both indulgent and nostalgic.
No complicated techniques or fancy equipment stand between you and these addictive little cups.
These treats promise to become your new favorite quick dessert that sparks joy with every single bite.
Quick Recipe Overview
What You Need for Peanut Butter Banana Cups
For Base:For Filling:For Topping:Tools for Creating Delicious Peanut Butter Banana Cups
How to Make No-Bake Peanut Butter Banana Cups
Grab a medium-sized bowl and gather your creamy peanut butter, ripe bananas, and optional sweeteners like honey or vanilla extract.
Mash the bananas thoroughly and blend them with peanut butter using a fork or whisk until you achieve a silky, uniform consistency.
Melt chocolate chips in a microwave-safe bowl, stirring every 30 seconds to prevent burning and ensure a glossy, smooth texture.
Using silicone or paper cupcake liners, pour a thin layer of melted chocolate as the base, tilting to coat the sides evenly.
Place the chocolate-lined cups in the refrigerator for about 5 minutes to allow the chocolate to set and create a sturdy foundation.
Spoon the creamy peanut butter and banana mixture into the chilled chocolate cups, leaving a small space at the top.
Cover the filling with another layer of melted chocolate, ensuring complete coverage and a smooth surface.
Refrigerate the cups for approximately 15-20 minutes until the chocolate hardens completely and the filling sets.
Gently remove the cups from the liners and serve chilled as a delightful, creamy dessert perfect for any occasion.
Flavor Variations for These Peanut Butter Snacks
Serve Peanut Butter Banana Cups at Any Occasion
Keep Them Chilled and Delicious in Storage
Print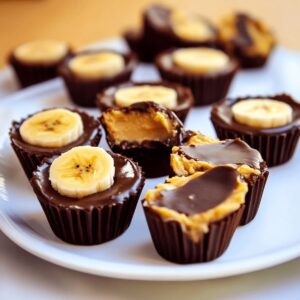
Smooth Peanut Butter Banana Cups Recipe
- Total Time: 30 minutes
- Yield: 13 1x
Description
Creamy peanut butter banana cups blend delightful flavors from quick homemade desserts. Sweet chocolate shells cradle silky filling, promising a delectable treat you won’t want to miss.
Ingredients
- 1 cup (175 g) dark chocolate chips or chopped chocolate
- ½ cup (120 g) natural peanut butter (smooth or crunchy)
- 1 ripe banana, mashed
- 1 tbsp honey or maple syrup (optional, for extra sweetness)
- 1 tsp vanilla extract
- 1 tsp coconut oil (optional, for a smoother texture)
- Crushed peanuts
- Sea salt flakes
- Banana chips
Instructions
- Preparation: Mash ripe bananas in a medium bowl until completely smooth, eliminating all visible chunks.
- Blending: Incorporate creamy peanut butter, honey, and vanilla extract, stirring until the mixture achieves a luxurious, uniform consistency with no visible ingredient separation.
- Texture Check: Ensure the final mixture is silky, spreadable, and capable of holding its shape, creating a perfect base for the peanut butter banana cups.
Notes
- Choose Perfectly Ripe Bananas: Select bananas with brown spots for maximum sweetness and easier mashing, ensuring a rich, natural flavor profile.
- Blend Ingredients Smoothly: Use a spatula or whisk to create a completely uniform mixture, eliminating any lumps or ingredient separation for a creamy texture.
- Control Sweetness Levels: Adjust honey quantity based on banana ripeness and personal preference, allowing flexibility for different taste preferences.
- Optimize Chilling Technique: Refrigerate the mixture for 15-20 minutes before serving to enhance texture and help the cups set more firmly, creating a more enjoyable eating experience.
- Prep Time: 10 minutes
- Cook Time: 20 minutes
- Category: Snacks, Desserts
- Method: Blending
- Cuisine: American
Nutrition
- Serving Size: 13
- Calories: 152
- Sugar: 9 g
- Sodium: 3 mg
- Fat: 10 g
- Saturated Fat: 3 g
- Unsaturated Fat: 7 g
- Trans Fat: 0 g
- Carbohydrates: 14 g
- Fiber: 2 g
- Protein: 4 g
- Cholesterol: 0 mg
Jenna Hartley
Founder & Recipe Creator
Expertise
Education
Box Hill Institute, Melbourne
William Angliss Institute, Melbourne
Jenna is the heart of Picture Perfect Meals, turning simple ingredients into beautiful, easy‑to‑make dishes.
Growing up around family meals in Melbourne, she trained at Box Hill Institute and then perfected her pastry skills at William Angliss Institute. She loves mixing classic Australian flavors with fresh ideas to keep cooking fun and stress‑free.