Heavenly Red Velvet Cheesecake Balls Recipe: Silky Joy In Seconds
Decadent red velvet cheesecake balls dance between rich, creamy indulgence and bite-sized perfection.
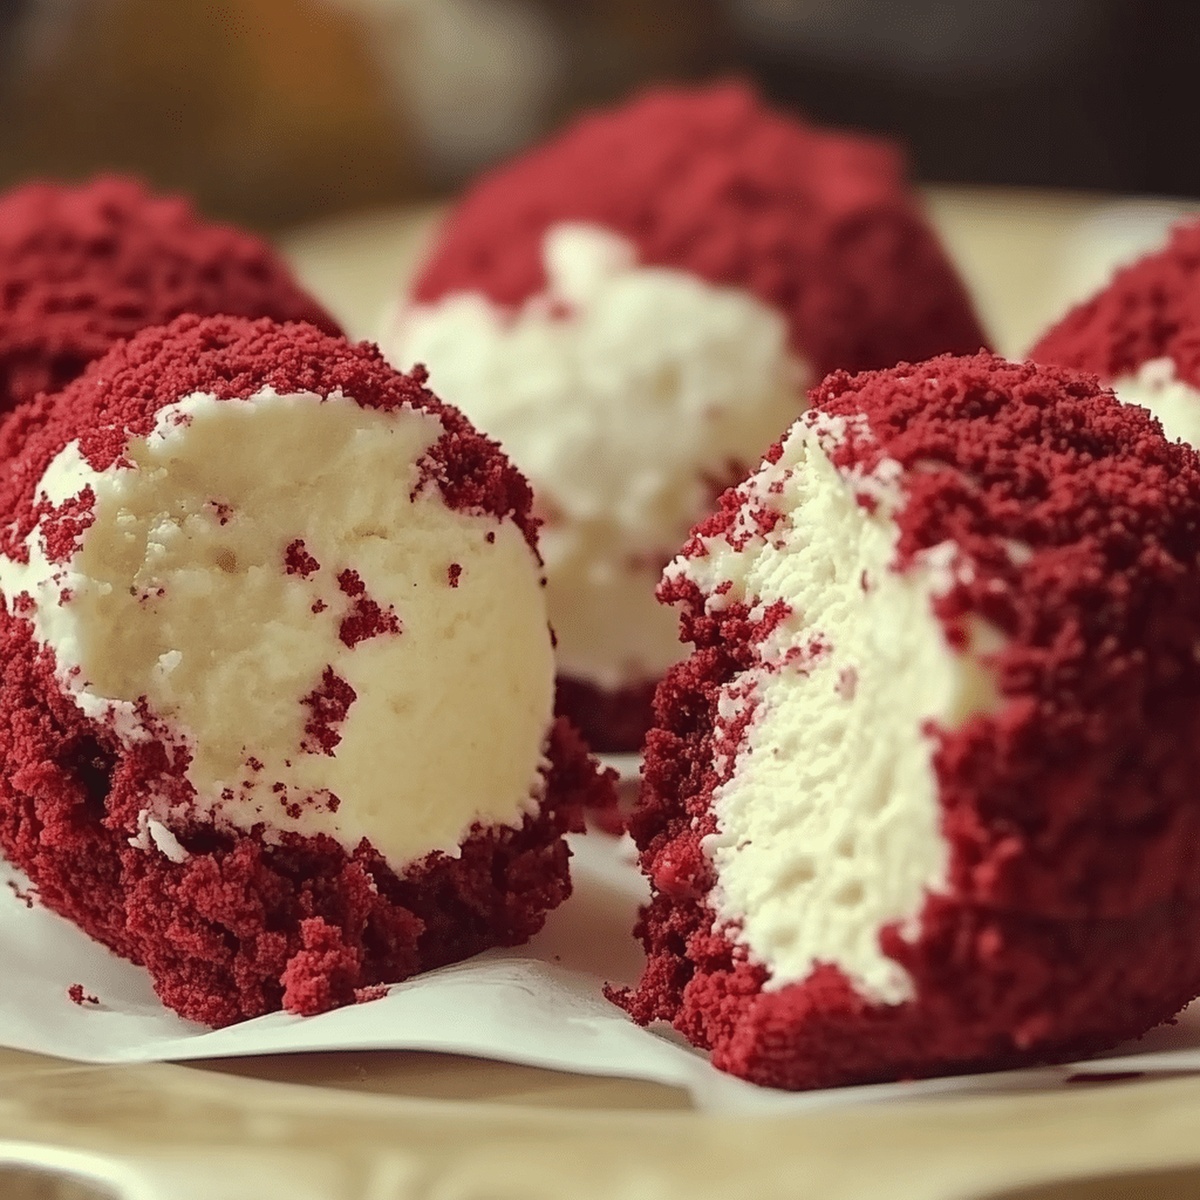
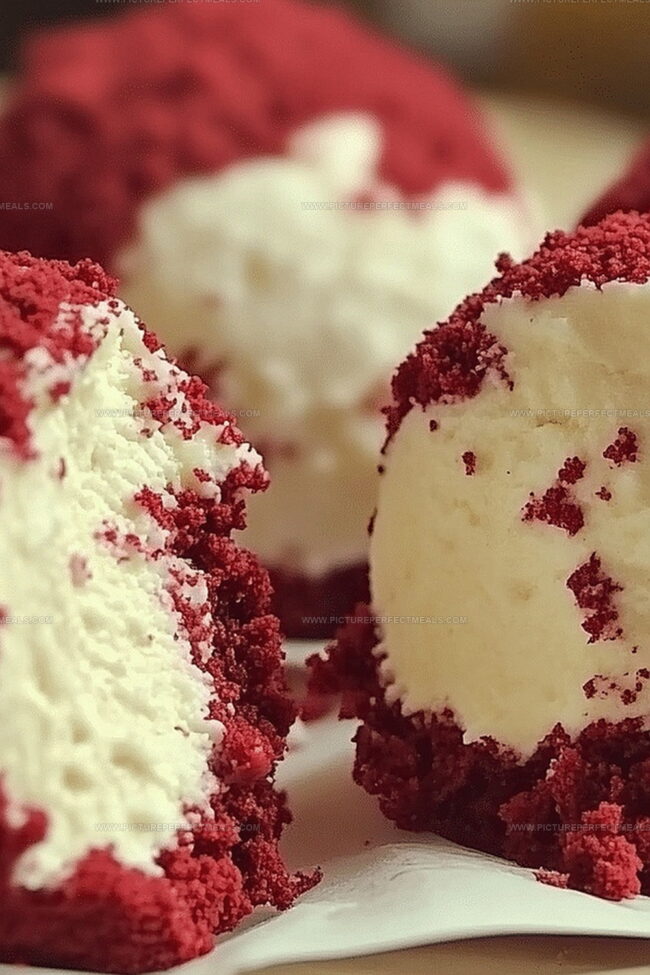
These delightful treats blend smooth cream cheese with classic red velvet warmth in every single morsel.
Luxurious chocolate coating adds a delectable crunch to each soft, velvety sphere.
Professional bakers and home cooks adore this elegant dessert for its stunning presentation and irresistible flavor profile.
Minimal ingredients and straightforward preparation make these cheesecake balls a foolproof dessert for any celebration.
Sweet moments of pure bliss await you with each delectable bite.
Prepare to impress and delight everyone at your next gathering with these stunning red velvet cheesecake balls.
Quick Recipe Overview
Red Velvet Cheesecake Balls Ingredient List
For Base and Binding:For Creamy Filling:For Coating and Decoration:What You’ll Need for Cheesecake Balls
How to Make Red Velvet Cheesecake Balls from Scratch
Whip cream cheese until silky smooth, blending in sweet powders and vanilla essence. Tuck mixture into refrigerator for quick cooling and slight firming.
Break red velvet cake into delicate crumbs, ensuring soft texture holds together. Add melted chocolate if needed for binding.
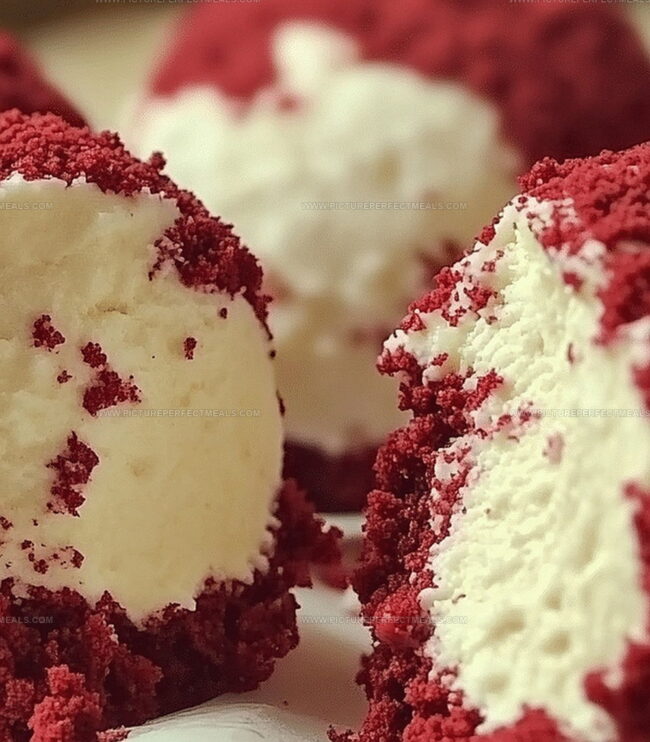
Scoop cream cheese and form gentle spheres. Wrap each ball with red velvet crumb mixture, rolling between palms to craft perfect round treats.
Rest balls on parchment-lined tray inside refrigerator, allowing them to firm and develop rich taste profile.
Melt chocolate using gentle microwave technique. Carefully immerse each ball, letting excess chocolate drip elegantly.
Before chocolate hardens, sprinkle with cake crumbs or decorative touches. Create visual appeal with artistic drizzles.
Allow chocolate coating to set completely. Present these luxurious bite-sized delights chilled or at comfortable room temperature for maximum enjoyment.
Add-Ons and Tweaks for Cheesecake Balls
Presenting Red Velvet Cheesecake Balls Beautifully
Red Velvet Cheesecake Ball Storage Tips
Print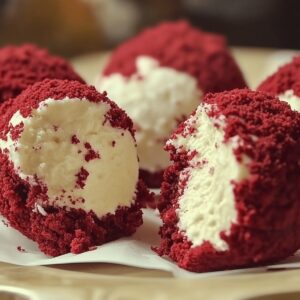
Smooth Red Velvet Cheesecake Balls Recipe
- Total Time: 20 minutes
- Yield: 13 1x
Description
Sweet red velvet cheesecake balls blend creamy cheesecake with classic Southern dessert charm. Compact chocolate-coated spheres deliver rich flavors that satisfy chocolate and cheesecake cravings in one perfect bite.
Ingredients
- 12 oz (340 g) white chocolate or semi-sweet chocolate, melted
- 8 oz (226 g) cream cheese, softened
- 1 ½ cups red velvet cake crumbs (from boxed mix or homemade cake)
- ¼ cup powdered sugar
- ½ cup semi-sweet or white chocolate chips, melted (for binding if needed)
- 1 tsp vanilla extract
- Red velvet cake crumbs for garnish
- Red or white sprinkles
Instructions
- Prepare Base: Whip cream cheese with powdered sugar and vanilla extract until achieving a luxurious, smooth consistency.
- Chill Mixture: Refrigerate cream cheese blend for 20-30 minutes to firm up and facilitate easier handling.
- Process Cake: Pulverize red velvet cake into fine, uniform crumbs, eliminating any substantial fragments. If crumbs seem dry, integrate melted chocolate chips to create a cohesive mixture.
- Form Spheres: Gently shape chilled cream cheese into compact, uniform balls. Enrobe each sphere completely with red velvet crumb coating, ensuring a seamless, polished exterior.
- Initial Chill: Position coated balls on a parchment-lined tray and refrigerate for 30 minutes to solidify structure.
- Chocolate Coating: Melt chocolate in microwave, stirring periodically to achieve a glossy, fluid texture. Delicately submerge each chilled ball, allowing excess coating to cascade off.
- Decorative Finish: While chocolate remains liquid, embellish with reserved red velvet crumbs, decorative elements, or elegant chocolate drizzle. Allow chocolate to set at room temperature or through brief refrigeration.
- Serve: Present red velvet cheesecake balls chilled or at ambient temperature for optimal gustatory experience.
Notes
- Prevent Cracking: Keep cream cheese at room temperature before mixing to ensure smooth, lump-free consistency and prevent cracking during shaping.
- Control Moisture: Slightly compress cake crumbs to remove excess moisture, which helps maintain structural integrity and prevents balls from becoming too soft or falling apart.
- Optimize Coating Technique: Use a fork or dipping tool when coating in chocolate to achieve a thin, even layer and minimize messy drips and uneven coverage.
- Temperature Management: Chill balls between each preparation stage – after cream cheese mixing, after forming spheres, and after coating – to maintain firm texture and easy handling.
- Prep Time: 20 minutes
- Cook Time: 0 minutes
- Category: Desserts, Snacks
- Method: None
- Cuisine: American
Nutrition
- Serving Size: 13
- Calories: 150
- Sugar: 10 g
- Sodium: 100 mg
- Fat: 9 g
- Saturated Fat: 5 g
- Unsaturated Fat: 3 g
- Trans Fat: 0 g
- Carbohydrates: 16 g
- Fiber: 1 g
- Protein: 2 g
- Cholesterol: 30 mg
Jenna Hartley
Founder & Recipe Creator
Expertise
Education
Box Hill Institute, Melbourne
William Angliss Institute, Melbourne
Jenna is the heart of Picture Perfect Meals, turning simple ingredients into beautiful, easy‑to‑make dishes.
Growing up around family meals in Melbourne, she trained at Box Hill Institute and then perfected her pastry skills at William Angliss Institute. She loves mixing classic Australian flavors with fresh ideas to keep cooking fun and stress‑free.