
Soft & Buttery Snowball Cookies Recipe for Holiday Magic
Sweet memories swirl around these delightful snowball cookies that melt in your mouth like childhood whispers.
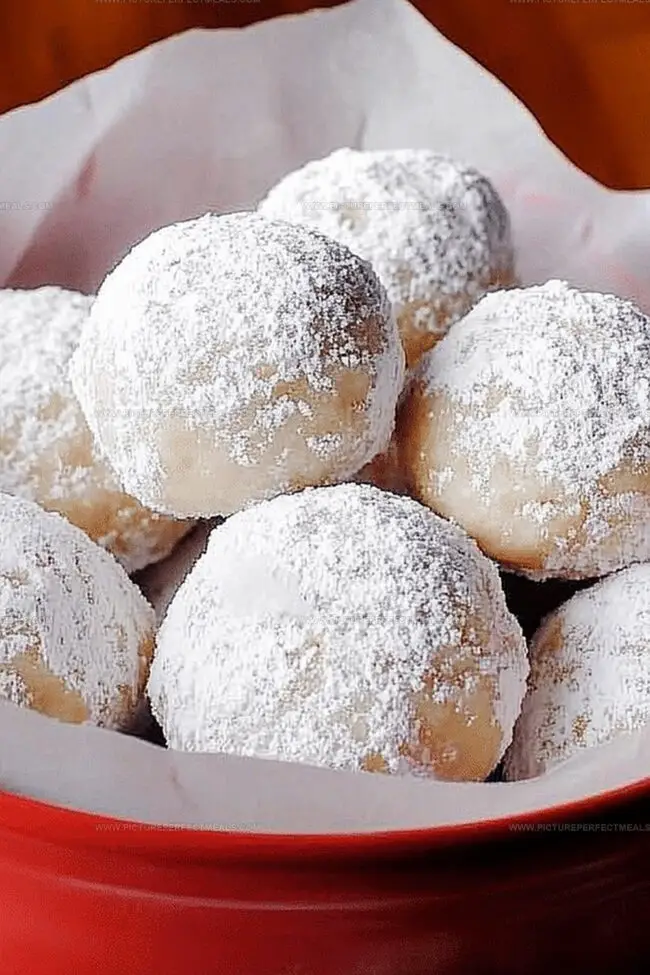
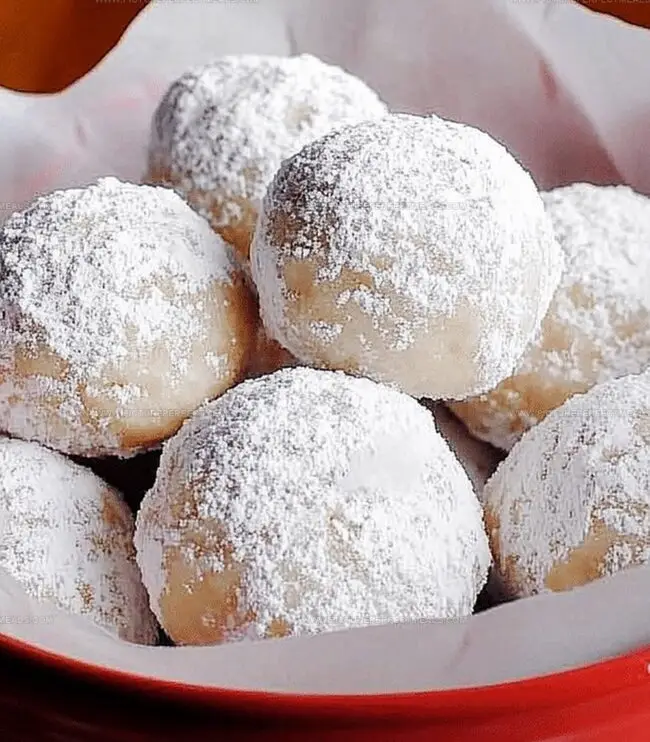
Dusty white powder coats each tender morsel with a sugary embrace.
Crisp pecans nestled inside provide a delicate crunch that surprises and delights.
Grandmother’s kitchen always felt magical when these treats emerged from her oven.
Delicate and simple, these cookies require minimal ingredients but deliver maximum comfort.
Light as winter’s first flurry, they dance between sweet and nutty flavors.
Each bite transports you to cozy moments shared with loved ones.
Bake a batch and watch how quickly joy spreads across eager faces.
Snowball Cookies Made for Winter Snacking
All Ingredients Required for Snowball Cookies
Butter and Sugar Base:Dry Ingredients:Flavor and Texture Enhancers:Coating:Directions for Mixing, Rolling, and Dusting Snowball Cookies
Step 1: Warm Up the Oven
Fire up your oven to 350F (175C) and cover a baking sheet with parchment paper. This trick prevents sticking and makes cleanup a breeze.
Step 2: Blend Butter and Sugar
Grab a big mixing bowl and whip the softened butter with powdered sugar using an electric mixer. Keep blending until the mixture looks cloud-like and fluffy, which takes around 2-3 minutes.
Step 3: Introduce Flavor Elements
Splash in vanilla extract and sprinkle a touch of salt into the buttery base. Slowly fold in all-purpose flour, mixing until just combined. If you’re feeling nutty, toss in:Step 4: Create Cookie Rounds
Using your hands or a cookie scoop, roll the dough into tiny spheres about the size of a golf ball. Arrange these on the prepared baking sheet, leaving a small gap between each one since they won’t expand much.
Step 5: Bake to Golden Perfection
Slide the sheet into the oven and bake for 12-15 minutes. Look for light golden edges while keeping the centers soft. After pulling them out, let them rest for 5 minutes before moving to a cooling rack.
Step 6: Snow Them with Sugar
While the cookies are still warm, lovingly roll each one in a mountain of powdered sugar. Coat them generously to achieve that classic snowball look. Allow them to cool completely before serving or sharing.
Tips to Help Snowball Cookies Hold Their Shape
How to Store Snowball Cookies Without Losing Texture
Delicious Matches for Snowball Cookies
New Ways to Add a Twist to Snowball Cookies
Print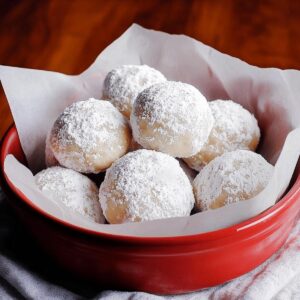
Snowball Cookies Recipe
- Total Time: 30 minutes
- Yield: 24 1x
Description
Delightful Snowball Cookies bring holiday magic straight from Mexican kitchens, rolling delicate pecan-studded dough into powdery white spheres of pure winter joy. Festive crumbly treats melt gracefully, connecting family memories with each heavenly sweet bite.
Ingredients
Main Ingredients:
- 2 ¼ cups (280 g) all-purpose flour
- 1 cup (225 g) unsalted butter, softened
- 1 cup (120 g) finely chopped pecans or walnuts
Sweetening and Flavoring:
- ½ cup (60 g) powdered sugar (plus extra for rolling)
- 1 teaspoon vanilla extract
Seasoning:
- ¼ teaspoon salt
Instructions
- Prepare the oven environment by heating to 350F (175C) and lining a baking sheet with parchment paper to prevent sticking and simplify post-baking cleanup.
- Utilize an electric mixer to blend softened butter and powdered sugar, whipping the mixture until it reaches a light, airy texture with increased volume, approximately 2-3 minutes.
- Enhance the butter mixture with vanilla extract and a subtle salt pinch, then methodically fold in all-purpose flour until just incorporated; gently integrate chopped nuts if desired.
- Craft uniform dough spheres using hands or a cookie scoop, creating compact 1-inch rounds that maintain a consistent size and shape for even baking.
- Arrange cookie balls strategically on the prepared sheet, maintaining slight separation to allow minimal spreading during the baking process.
- Carefully monitor cookies in the preheated oven, removing when edges display a delicate golden hue, typically after 12-15 minutes, ensuring centers remain tender and not overly crisp.
- Allow cookies a brief 5-minute resting period on the baking sheet to stabilize their structure before transitioning to a wire cooling rack.
- While cookies retain residual warmth, generously enrobe each one in powdered sugar, creating a thick, elegant white coating that resembles fresh snowfall.
- Permit cookies to cool completely, allowing the powdered sugar to set and the texture to reach optimal delicacy before serving or storing.
Notes
- Make butter softness crucial by leaving it at room temperature for 30-45 minutes before mixing, ensuring smooth, even blending without lumps.
- Choose finely ground nuts like pecans or walnuts for better texture and more consistent cookie coverage, enhancing the overall flavor profile.
- Create gluten-free versions by substituting all-purpose flour with almond flour or a gluten-free blend, maintaining the delicate, crumbly texture of traditional snowball cookies.
- Roll cookies in powdered sugar twice for extra thick, elegant coating – first while warm, then again after completely cooling for maximum snowy appearance and sweet dusting.
- Prep Time: 15 minutes
- Cook Time: 15 minutes
- Category: Desserts, Snacks
- Method: Baking
- Cuisine: American
Nutrition
- Serving Size: 24
- Calories: 150
- Sugar: 1 g
- Sodium: 40 mg
- Fat: 10 g
- Saturated Fat: 3 g
- Unsaturated Fat: 7 g
- Trans Fat: 0 g
- Carbohydrates: 16 g
- Fiber: 1 g
- Protein: 2 g
- Cholesterol: 30 mg
Daves Miller
Contributing Chef & Culinary Educator
Expertise
Education
Sullivan University, Louisville, Kentucky
White Mountains Community College, Berlin, New Hampshire
Daves is the friendly face guiding you through flavorful, fuss-free recipes at Picture Perfect Meals.
He studied culinary arts at Sullivan University and embraced Baking and Pastry Arts at White Mountains Community College. Daves specializes in comforting meals with vibrant flavors, highlighting fresh, seasonal ingredients.