
Zesty Cheese-Filled Thumbprint Bites: A Fiery Party Recipe
Biting into these mouthwatering spicy cheesy thumbprint appetizers sends taste buds on an electrifying culinary adventure.
Carefully crafted with bold flavors, these bite-sized delights pack a serious punch of heat and richness.
Cheese melts perfectly inside each golden-brown morsel, creating an irresistible crunch that beckons hungry guests.
Jalapeños and sharp cheddar combine in a tantalizing dance of spice and creaminess.
Simple ingredients transform into an elegant starter that elevates any gathering.
Serve these crowd-pleasing appetizers and watch them disappear within moments of hitting the table.
Prepare to become the star of your next party with this addictive recipe.
Quick Recipe Overview
Ingredient List of Thumbprint Appetizers with Hot Pepper Jelly
For Dry Ingredients:For Wet and Binding Ingredients:For Filling and Topping:Must-Have Tools for These Jelly-Filled Bites
Steps to Build Thumbprints with a Kick
Warm up the oven to 375F and line baking sheets with parchment paper for easy cleanup. Clear your countertop for smooth cookie creation.
Blend soft butter with sharp cheddar and Parmesan until creamy and smooth. Add egg yolk and splash of water, mixing until perfectly combined. Gently fold in flour, salt, black pepper, and smoked paprika to form a soft dough.
Roll dough into small rounds, placing them comfortably apart on prepared sheets. Press a gentle indentation into each ball using your thumb or a spoon’s back, creating a cozy pocket for jelly.
Slide trays into the oven and bake for 10-12 minutes until edges turn beautiful golden brown. While still warm, softly remake the centers to ensure a perfect jelly nest.
Carefully dollop hot pepper jelly into each cookie’s center. Return to oven for 2-3 minutes to slightly warm the jelly and intensify its flavor.
Allow cookies to rest on baking sheet for 5 minutes, then transfer to a cooling rack. Serve these zesty, cheesy treats warm or at room temperature for maximum enjoyment.
Sweet & Savory Combos to Try with This Appetizer
Presentation Ideas for Your Thumbprint Tray
How to Store These Holiday Favorites
Print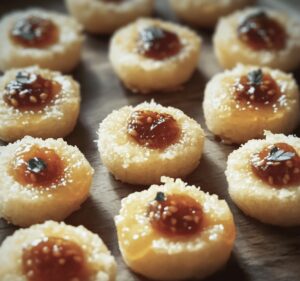
Spicy Cheesy Thumbprint Appetizers
- Total Time: 35 minutes
- Yield: 25 1x
Description
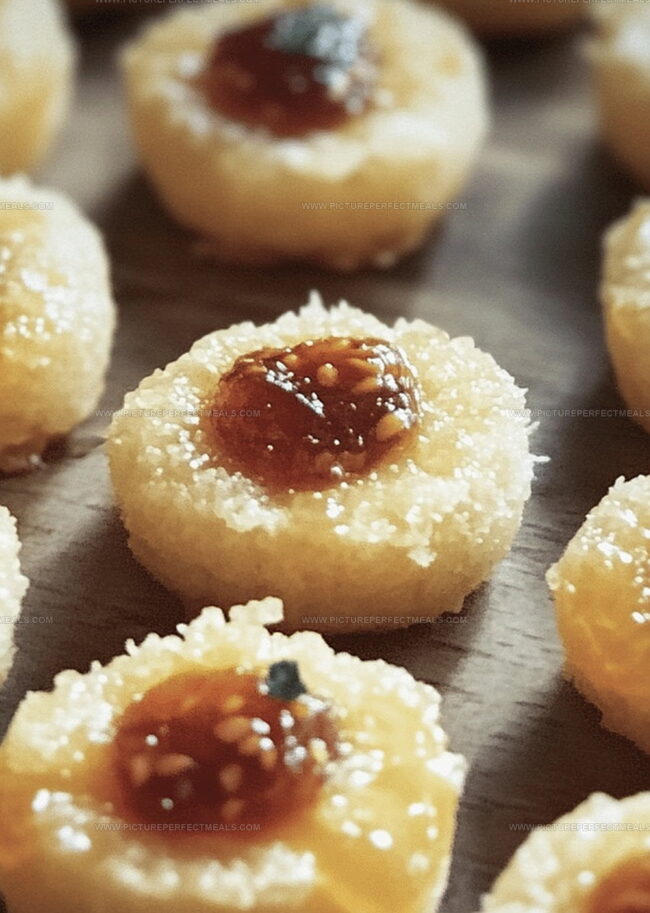
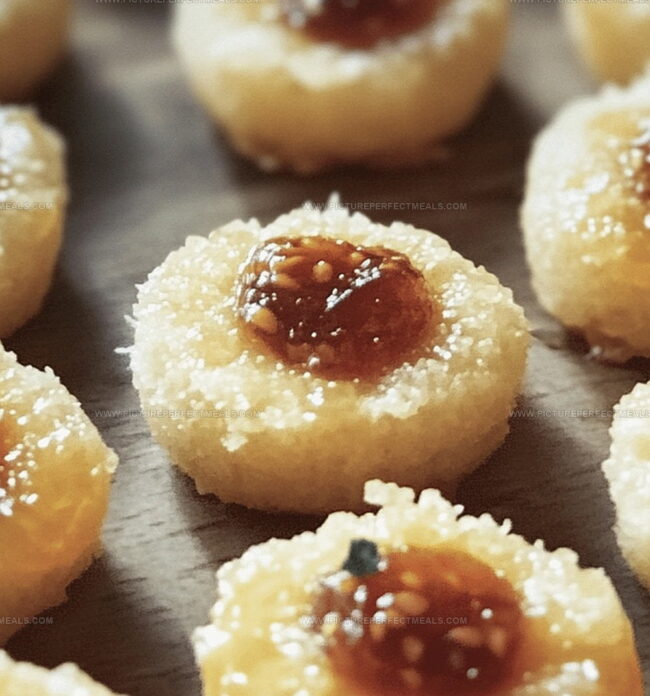
Cheesy thumbprint appetizers with hot pepper jelly combine creamy cheese and spicy pepper jelly for an irresistible party snack. Guests will devour these elegant bites that balance rich flavors with zesty heat.
Ingredients
- 1 cup (100 grams) sharp cheddar cheese, shredded
- ¼ cup (25 grams) Parmesan cheese, grated
- ½ cup (115 grams) butter, unsalted, softened
- 1 large egg yolk
- 2 tbsps cold water
- ⅓ cup (80 ml) hot pepper jelly
- 1 ½ cups (190 grams) all-purpose flour
- ½ tsp salt
- ¼ tsp black pepper
- ½ tsp smoked paprika (optional)
Instructions
- Preheat Preparation: Configure the oven to 375F (190C) and strategically line baking sheets with parchment paper or silicone mats for optimal non-stick performance.
- Seasoning Blend: Whisk flour, salt, black pepper, and smoked paprika in a mixing bowl, ensuring a uniform spice distribution that will infuse the dough with robust flavor.
- Cheese Dough Creation: Vigorously cream butter, cheddar, and Parmesan until silky smooth. Incorporate egg yolk and water, blending until the mixture achieves a harmonious consistency.
- Dough Formation: Delicately fold the spiced flour into the cheese base, working the mixture until a unified dough emerges with no remnant dry ingredients visible.
- Shaping and Indenting: Mold the dough into tablespoon-sized spheres, positioning them with strategic spacing on prepared sheets. Gently crater each ball’s center using your thumb or a spoon’s reverse side.
- Baking Sequence: Slide sheets into the preheated oven, baking 10-12 minutes until edges transform to a golden amber. Immediately upon removal, reinforce the indentations while still warm.
- Jelly Embellishment: Delicately fill each thumbprint cavity with hot pepper jelly, returning to the oven for an additional 2-3 minutes to gently warm the preserves.
- Cooling and Serving: Rest appetizers on the baking sheet for 5 minutes, then transition to a wire rack. Allow complete cooling before presenting at room temperature for optimal taste and textural experience.
Notes
- Ensure Butter Softness: Use room temperature butter for smooth, even mixing and better dough consistency.
- Prevent Overworking Dough: Mix ingredients gently to avoid tough, dense thumbprints; stop mixing once the dough comes together.
- Uniform Size Matters: Use a cookie scoop or tablespoon for consistent ball sizing, ensuring even baking and professional appearance.
- Customize Jelly Options: Swap hot pepper jelly with pepper jam, fruit preserves, or sweet chili sauce for diverse flavor profiles and dietary preferences.
- Prep Time: 15 minutes
- Cook Time: 20 minutes
- Category: Appetizer, Snacks
- Method: Baking
- Cuisine: American
Nutrition
- Serving Size: 25
- Calories: 149
- Sugar: 2 g
- Sodium: 90 mg
- Fat: 11 g
- Saturated Fat: 7 g
- Unsaturated Fat: 3 g
- Trans Fat: 0 g
- Carbohydrates: 10 g
- Fiber: 0.5 g
- Protein: 3 g
- Cholesterol: 37 mg
Jenna Hartley
Founder & Recipe Creator
Expertise
Education
Box Hill Institute, Melbourne
William Angliss Institute, Melbourne
Jenna is the heart of Picture Perfect Meals, turning simple ingredients into beautiful, easy‑to‑make dishes.
Growing up around family meals in Melbourne, she trained at Box Hill Institute and then perfected her pastry skills at William Angliss Institute. She loves mixing classic Australian flavors with fresh ideas to keep cooking fun and stress‑free.