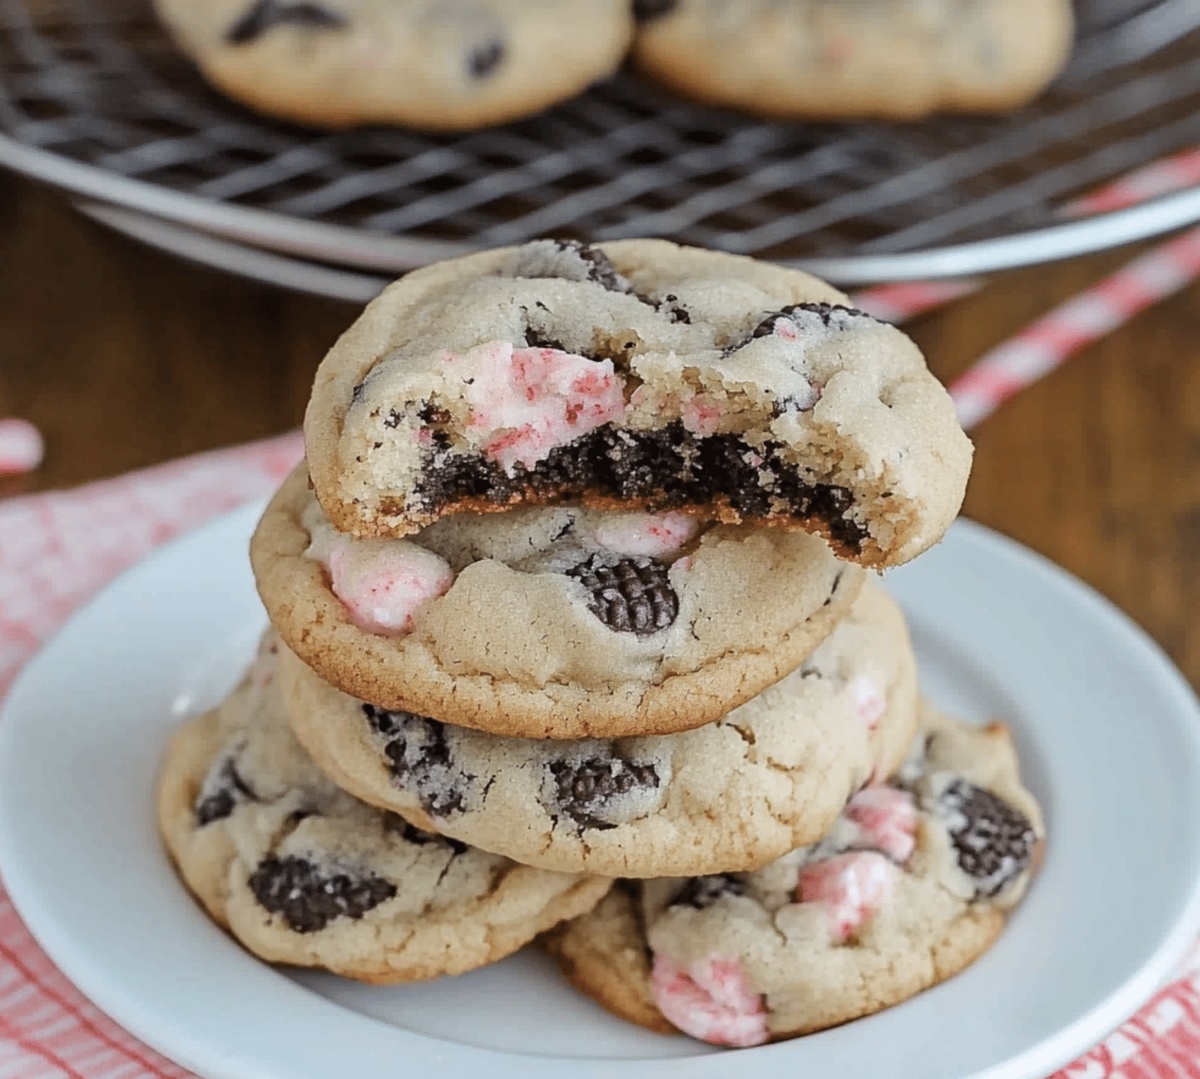
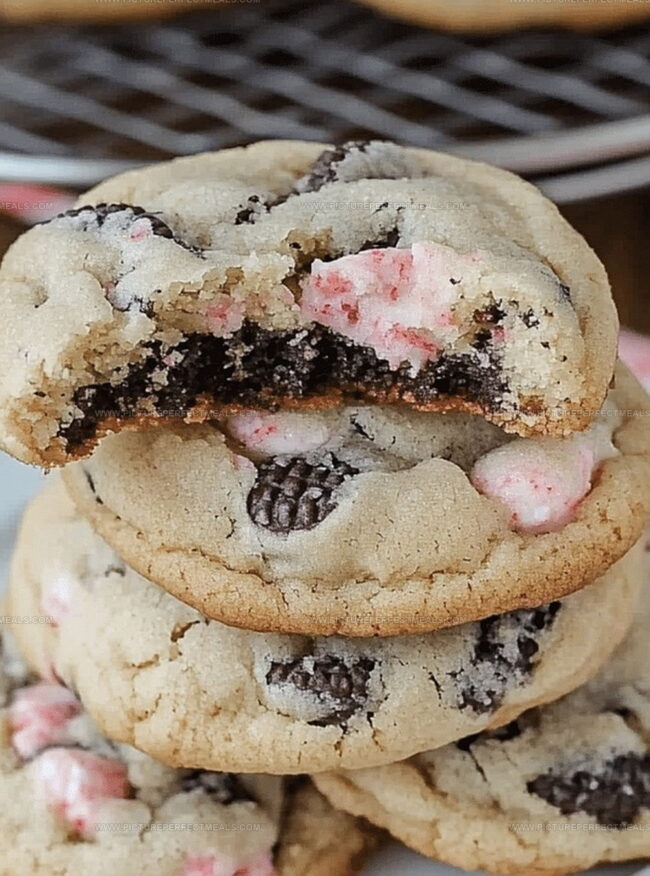
Decadent chocolate cookies with peppermint Oreo cookies create a delightful winter treat that melts in your mouth.
These festive delights combine rich chocolate with cool peppermint for a perfect seasonal indulgence.
Each bite delivers a crisp, creamy sensation that dances between sweet and refreshing.
The recipe requires minimal ingredients and comes together quickly, making it ideal for last-minute dessert cravings.
Chocolate lovers and peppermint enthusiasts will adore this simple yet sophisticated cookie.
The combination of classic Oreo crunch and peppermint’s cool essence promises a memorable flavor experience.
Whip up a batch and watch these irresistible cookies disappear in moments.
Quick Recipe Overview
Prep Time: 10 minutes
Cook Time: 15 minutes
Total Time: 25 minutes
Calories: 180 kcal
Servings: 12
Peppermint Oreo Cookies Grocery List
For Crust Base:
Oreo Cookies: Provide a chocolatey, crumbly foundation with rich sandwich cookie flavor that creates the perfect crusty backdrop.
Graham Crackers: Add extra texture and subtle sweetness to enhance the cookie base’s structure and depth.
For Filling:
Cream Cheese: Delivers smooth, tangy richness that binds ingredients and creates a luscious, creamy texture.
Powdered Sugar: Sweetens and helps stabilize the filling while creating a silky-smooth consistency.
Peppermint Extract: Introduces refreshing, cool mint flavor that elevates the entire dessert’s taste profile.
Heavy Cream: Ensures light, airy texture and helps whip the filling to perfect consistency.
For Decoration:
Candy Canes: Provide festive crunch and intense peppermint flavor while creating a beautiful visual garnish.
White Chocolate: Offers smooth melting capability for drizzling and adds elegant finishing touch.
Green Food Coloring: Creates seasonal, festive appearance with soft mint-like hue for visual appeal.
Tools for Baking Festive Peppermint Cookies
Mixing Bowl: Large, sturdy bowl for combining ingredients smoothly.
Electric Mixer or Stand Mixer: Powerful tool for creaming butter and sugar quickly.
Measuring Cups and Spoons: Precise measurements for perfect cookie texture.
Baking Sheets: Two flat pans for even cookie baking.
Parchment Paper or Silicone Baking Mats: Prevents cookies from sticking and ensures easy removal.
Spatula: Helps scrape down mixer sides and fold ingredients gently.
Cookie Scoop or Tablespoon: Creates uniform cookie sizes for consistent baking.
Wire Cooling Rack: Allows cookies to cool evenly and crisp up after baking.
How to Bake These Cool, Crunchy Cookies
Warm Up the Oven Get your oven toasty and ready by setting it to a perfect 175C (350F), creating an ideal baking environment.
Prepare Baking Surfaces Cover two baking sheets completely with parchment paper or silicone baking mats, ensuring a non-stick surface for your delicious cookies.
Create Cookie Dough Mix softened butter and sugars until they’re light and fluffy, blending them into a creamy mixture that promises delightful texture.
Add Flavor Boosters Incorporate crushed Oreo cookies and peppermint extract into your dough, infusing each bite with a cool, minty crunch.
Shape Cookie Mounds Scoop rounded tablespoons of dough onto your prepared baking sheets, leaving enough space between each for spreading.
Bake to Perfection Slide the trays into the preheated oven and bake for 10-12 minutes, watching for slightly golden edges that signal cookie success.
Cool and Enjoy Let the cookies rest on the baking sheet for a few minutes, then transfer to a wire rack to cool completely, allowing them to firm up and develop their incredible texture.
Tips for Better Peppermint-Chocolate Balance
Festive Flavor Boost: Crush extra candy canes and sprinkle them on top of the cookies for a beautiful holiday touch and extra peppermint crunch.
Gluten-Free Swap: Replace regular flour with a gluten-free all-purpose flour blend to make these cookies suitable for those with gluten sensitivities.
Dairy-Free Adaptation: Use vegan butter and dairy-free chocolate chips to transform this recipe into a delicious treat for those avoiding dairy products.
Make-Ahead Magic: Prepare the cookie dough in advance and store it in the refrigerator for up to 3 days, or freeze for longer storage, allowing you to have fresh cookies ready anytime.
Storage Savvy: Keep cookies in an airtight container at room temperature for up to 5 days, or freeze for up to 3 weeks to maintain their delicious texture and flavor.
Serve Oreo Peppermint Cookies with Flair
Festive Holiday Platter: Arrange these peppermint Oreo cookies on a decorative Christmas plate, garnished with candy cane pieces and a light dusting of powdered sugar for a stunning seasonal presentation.
Sweet Dessert Pairing: Serve alongside cold peppermint hot chocolate or creamy vanilla ice cream to enhance the minty flavor profile and create a delightful taste experience.
Gifting Delight: Package these cookies in clear cellophane bags tied with red and white ribbons, perfect as homemade holiday gifts for neighbors, teachers, or friends who love festive treats.
Gourmet Dessert Decoration: Drizzle melted white chocolate over the cookies and sprinkle crushed peppermint candies for an elegant, professional-looking finish that elevates the simple recipe.
How to Store These Holiday Cookies
Quick Refrigeration Strategy: Store cookies in an airtight container in the refrigerator for up to 5 days, keeping their crisp texture and preventing moisture buildup.
Freezing Magic: Wrap individual cookies or entire batch in plastic wrap, then place in freezer-safe container for long-term storage up to 3 months. Thaw at room temperature for best taste.
Make-Ahead Brilliance: Prepare cookie dough in advance and refrigerate for 24 hours before baking. This technique enhances flavor development and makes preparation more convenient.
Room Temperature Care: If serving within 2 days, keep cookies in sealed container at room temperature away from direct sunlight or heat sources to maintain optimal crunchiness and prevent staleness.
Homemade peppermint oreo cookies combine classic chocolate sandwich cookies with festive holiday cheer. Mint lovers can enjoy this simple dessert that brings North Pole magic to your kitchen.
Ingredients
Scale
1 ½ cups (190 g / 6.7 oz) all-purpose flour
10 Oreo cookies, crushed
¼ cup crushed peppermint candies or candy canes
½ tsp baking soda
¼ tsp salt
½ cup (115 g / 4 oz) unsalted butter, softened
½ cup (100 g / 3.5 oz) granulated sugar
½ cup (100 g / 3.5 oz) brown sugar
1 large egg
1 tsp peppermint extract
½ cup (90 g / 3.2 oz) white chocolate chips
Instructions
Preparation: Calibrate oven to 175C (350F) and line baking sheets with parchment paper or silicone mats for optimal cookie performance.
Dough Creation: Pulverize Oreo cookies into fine crumbs, then amalgamate with softened cream cheese, kneading until a uniform, malleable dough emerges.
Shaping: Craft uniform cookie spheres by portioning and rolling the Oreo-cream cheese mixture between palms, positioning them strategically on prepared baking surfaces with adequate spacing.
Baking: Introduce trays into preheated oven, allowing cookies to transform with delicately crisped edges and sturdy exterior, approximately 10-12 minutes.
Cooling: Extract baking sheets, permitting cookies to stabilize and firm up momentarily on the heated surface before transferring to a cooling rack.
Chocolate Coating: Liquify white chocolate chips into a silky glaze, then meticulously submerge each cooled cookie, ensuring comprehensive coverage.
Finishing Touch: While chocolate remains liquid, cascade crushed peppermint candies over the cookies, creating a festive, textural garnish that amplifies visual and gustatory appeal.
Notes
Chill the Dough: Refrigerate the Oreo-cream cheese mixture for 30 minutes before shaping to prevent sticky hands and ensure easier cookie ball formation.
Control Chocolate Consistency: Melt white chocolate slowly using a double boiler or microwave in short bursts, stirring frequently to prevent burning and achieve smooth dipping texture.
Manage Peppermint Coating: Crush peppermint candies finely and sift to remove large chunks, creating an even, delicate sprinkle that distributes evenly across chocolate-dipped cookies.
Temperature Precision: Allow cookies to cool completely before chocolate dipping to prevent melting and ensure a clean, crisp chocolate shell that sets smoothly.
Recipe development with a focus on single-dish meals.
Fusion of traditional and modern Australian cuisines.
Food styling and photography for digital platforms.
Education
Box Hill Institute, Melbourne
Degree: Advanced Diploma of Hospitality Management
Focus: Specialized in practical food and beverage service, responsible alcohol and hygiene compliance, legal risk management, and hands‑on experience in a simulated restaurant environment.
William Angliss Institute, Melbourne
Program: Certificate IV in Patisserie
Focus: Specialized in pastry and bakery techniques, cookery and specialty food preparation, recipe planning and costing, commercial kitchen operations, sustainable and inclusive work practices, food safety and hygiene compliance, and workplace health and safety.
Jenna is the heart of Picture Perfect Meals, turning simple ingredients into beautiful, easy‑to‑make dishes.
Growing up around family meals in Melbourne, she trained at Box Hill Institute and then perfected her pastry skills at William Angliss Institute. She loves mixing classic Australian flavors with fresh ideas to keep cooking fun and stress‑free.
Jenna Hartley
Founder & Recipe Creator
Expertise
Education
Box Hill Institute, Melbourne
William Angliss Institute, Melbourne
Jenna is the heart of Picture Perfect Meals, turning simple ingredients into beautiful, easy‑to‑make dishes.
Growing up around family meals in Melbourne, she trained at Box Hill Institute and then perfected her pastry skills at William Angliss Institute. She loves mixing classic Australian flavors with fresh ideas to keep cooking fun and stress‑free.