Tangy Cherry Tarts Recipe

Zesty Cherry Tarts Recipe: Sweet-Sour Treats to Make Today

Bakers everywhere swoon over this delectable cherry tarts recipe that perfectly balances sweet and tangy flavors.

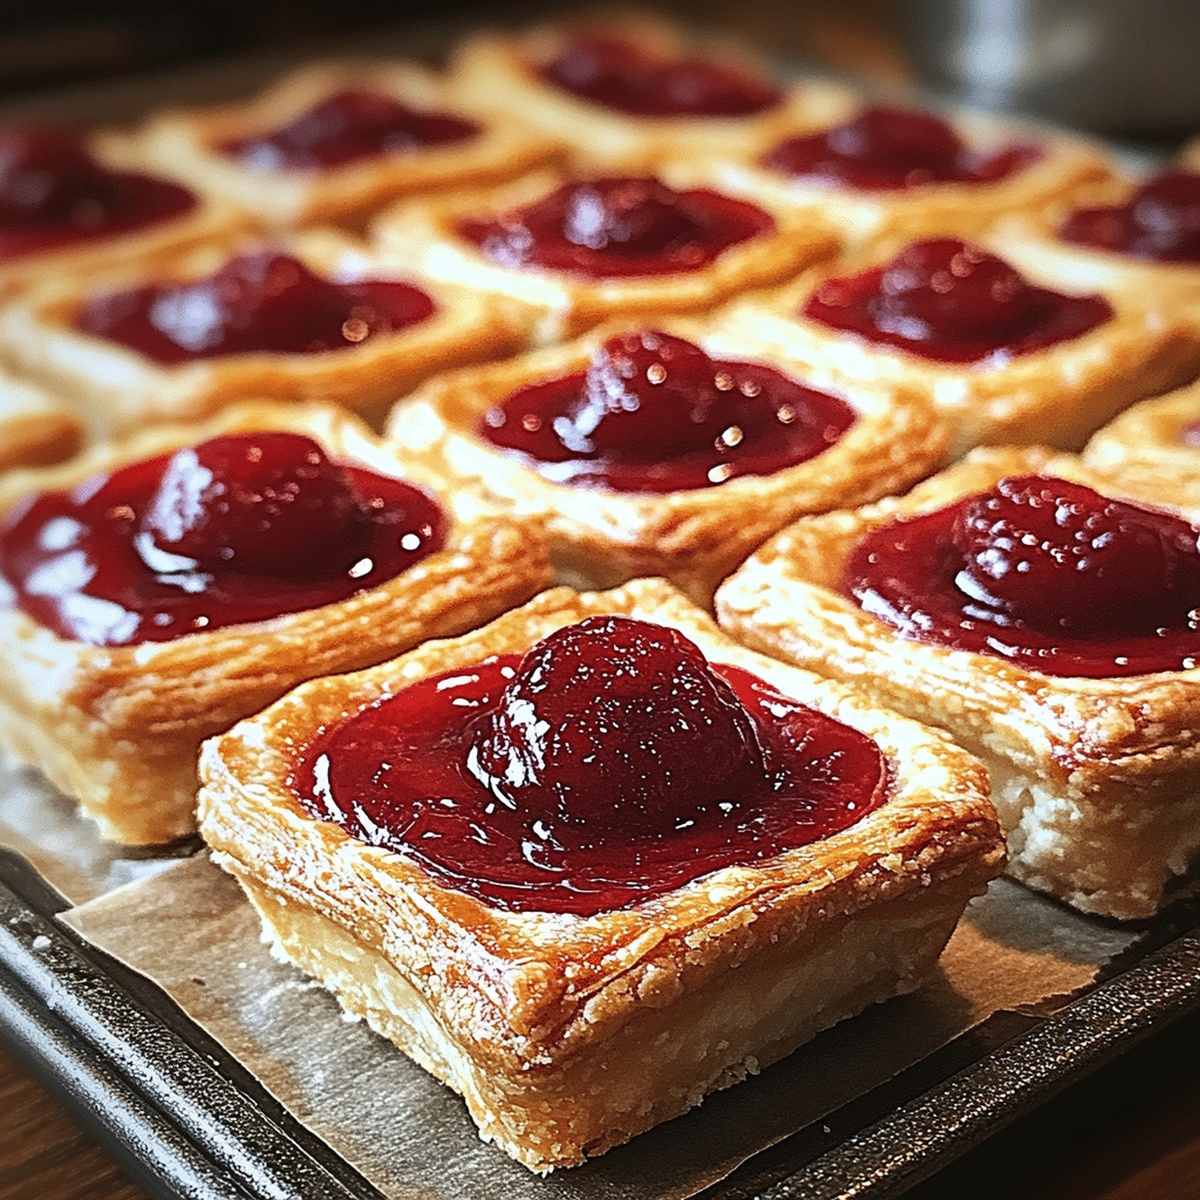
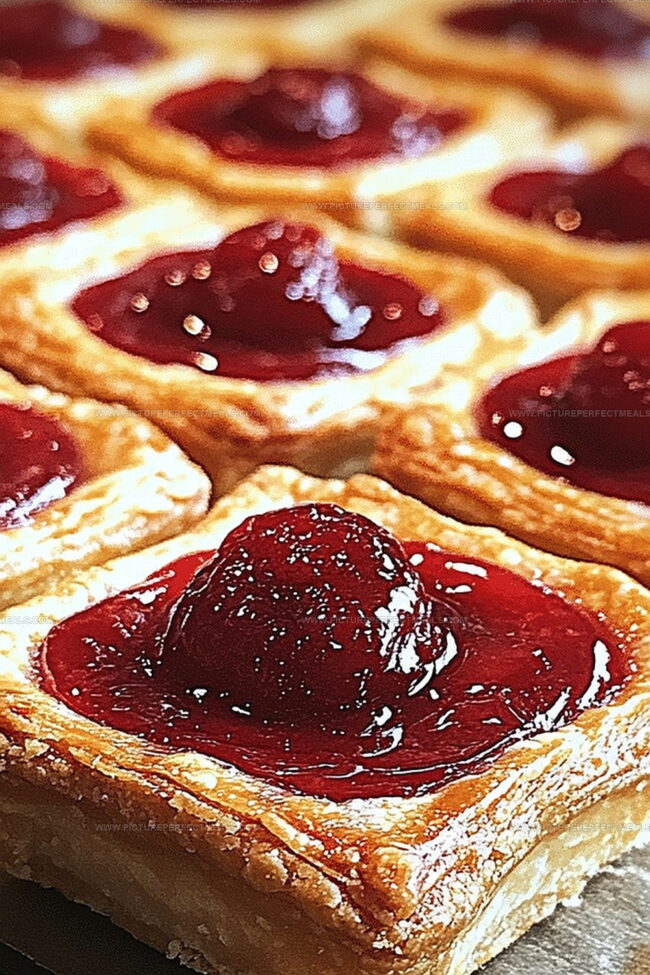
Ripe, juicy cherries burst with vibrant color and intense taste in every bite.

Rich pastry crusts create a delicate foundation for the luscious fruit filling.

These elegant desserts shine at summer gatherings and intimate dinner parties alike.

Each tart delivers a luxurious combination of buttery crust and bright cherry essence.

Serve these miniature delights warm and watch as friends savor every delectable morsel.

You won’t be able to resist the irresistible charm of these homemade cherry tarts.

Quick Recipe Overview

Prep Time: 10 minutes

Cook Time: 20 minutes

Total Time: 30 minutes

Calories: 210 kcal

Servings: 8

Five Ingredients to Make Cherry Tarts Shine

For Pastry Base:
  • Puff Pastry: Delicate, buttery foundation that creates flaky, golden layers for the tarts, selecting all-butter varieties ensures superior taste and texture.
  • Flour: Light dusting prevents sticking and helps smooth pastry rolling.
For Filling and Flavor:
  • Cherry Pie Filling: Luscious, sweet-tart mixture providing vibrant fruit flavor, choose high-quality brands with whole cherry chunks for best results.
  • Powdered Sugar: Versatile sweetener for creating optional glossy glaze, sifting prevents lumps.
For Finishing Touches:
  • Egg: Rich binding agent that creates beautiful golden-brown sheen when brushed on pastry edges, use fresh room-temperature eggs for optimal glazing.
  • Milk: Smooth liquid that helps create silky glaze consistency, whole milk provides richer texture.

Tools That Make 5-Ingredient Cherry Tarts Simple

  • Rolling Pin: Essential for smoothly rolling out the puff pastry without sticking.
  • Cookie Cutter or Sharp Knife: Helps create clean, uniform pastry squares or circles.
  • Baking Sheet: Provides a stable surface for baking the tarts with even heat distribution.
  • Parchment Paper: Prevents tarts from sticking and makes cleanup a breeze.
  • Fork: Perfect for crimping pastry edges and creating a decorative seal.
  • Mixing Bowl: Useful for beating the egg and mixing the optional glaze.
  • Pastry Brush: Helps apply the egg wash evenly for a beautiful golden finish.

How to Bake Sweet and Tangy 5-Ingredient Cherry Tarts

  • Fire Up the Oven

Crank your oven to a toasty 375F (190C) and slide a sheet of parchment paper onto your baking tray.

  • Shape the Pastry

Dust your workspace with flour and roll out the puff pastry. Slice it into charming 4-inch squares or circles using a cookie cutter.

  • Create Cherry Pockets

Plop a generous spoonful of cherry pie filling right in the center of each pastry piece. Fold the edges playfully over the fruity center or leave them open for a rustic charm.

  • Give a Golden Touch

Sweep a beaten egg along the pastry edges to create a gorgeous, sun-kissed finish.

  • Bake to Perfection

Arrange your lovely tarts on the prepared baking sheet. Let them dance in the oven for 15-20 minutes until they puff up and turn a gorgeous golden brown.

  • Dress and Delight

Once slightly cooled, drizzle a quick glaze of powdered sugar and milk if you’re feeling extra fancy.

  • Serve and Savor

Present these delectable treats warm or at room temperature – a perfect sweet bite for any moment.

Flavor Boosters for Your Quick Cherry Tart Treats

  • Cherry Tart Techniques: Quick Tricks and Twists
  • Pastry Perfection: Roll puff pastry on a chilled surface to keep it crisp and prevent sticking, ensuring a flakier texture for your tarts.
  • Filling Flexibility: Swap cherry pie filling with other fruit preserves like blueberry, raspberry, or apricot for exciting flavor variations that match your mood or pantry ingredients.
  • Dietary Modifications: Create gluten-free versions by using almond flour pastry or store-bought gluten-free puff pastry, making these tarts accessible for everyone with dietary restrictions.
  • Gourmet Upgrade: Sprinkle sliced almonds or crushed pistachios on top before baking for extra crunch and a professional bakery-style presentation that elevates the simple dessert.
  • Make-Ahead Magic: Prepare tarts ahead of time and freeze unbaked; simply add an extra 5 minutes to baking time when cooking directly from frozen for a convenient dessert option.

Serving These Cherry Tarts with Whipped Toppings or Ice Cream

  • Cherry Jubilee Sidekick: Pair these tarts with a scoop of vanilla ice cream for a delightful temperature and flavor contrast that melts in your mouth.
  • Brunch Brilliance: Serve alongside a fresh mimosa or strong coffee to elevate your weekend morning gathering with a touch of sweet elegance.
  • Picnic Perfect Treat: Pack these portable tarts in a cute container for outdoor adventures, making them an ideal grab-and-go dessert that travels well and impresses friends.
  • Dessert Presentation Pro: Dust the tarts with powdered sugar or drizzle with a simple milk-based glaze to add a professional bakery-style finishing touch that looks as good as it tastes.

Storing Cherry Tarts for Later

  • Quick Refrigeration Strategy: Store tarts in an airtight container in the refrigerator for up to 3 days, ensuring they maintain their delightful crispy texture.
  • Make-Ahead Magic: Prepare the tarts earlier in the day and reheat them in a 350F oven for 5-7 minutes to restore their fresh-baked crispness before serving.
  • Freezer-Friendly Trick: Wrap individual tarts in plastic wrap, then place in a freezer bag. They'll stay delicious for 2-3 weeks. Thaw at room temperature and warm slightly before enjoying.
  • Smart Portion Control: Separate layers with parchment paper when storing multiple tarts to prevent sticking and maintain their beautiful shape and texture.
Print
clock clock iconcutlery cutlery iconflag flag iconfolder folder iconinstagram instagram iconpinterest pinterest iconfacebook facebook iconprint print iconsquares squares iconheart heart iconheart solid heart solid icon
Tangy Cherry Tarts Recipe

Tangy Cherry Tarts Recipe


5 Stars 4 Stars 3 Stars 2 Stars 1 Star

4.7 from 21 reviews

  • Total Time: 30 minutes
  • Yield: 9 1x

Description

Homemade 5-ingredient cherry tarts showcase summer’s sweet simplicity with minimal effort and maximum flavor. Rich pastry shells cradle luscious cherry filling, delivering a delightful dessert perfect for intimate gatherings.


Ingredients

Scale
  • 1 package (1 lb/450 g) pre-made puff pastry sheets
  • 1 can (21 oz/600 g) cherry pie filling
  • 1 egg, beaten
  • 1 tbsp milk
  • ¼ cup powdered sugar

Instructions

  1. Workspace Preparation: Line a baking sheet with parchment paper and preheat the oven to 375F (190C), establishing an optimal baking environment for cherry tarts.
  2. Pastry Crafting: Roll out puff pastry on a flour-dusted surface, cutting into uniform rounds or squares using a cookie cutter to create 12 delicate pastry bases.
  3. Filling and Shaping: Position cherry pie filling at the center of each pastry piece, folding edges inward or leaving them open for a rustic presentation, then crimp borders with fork tines to secure the filling.
  4. Egg Wash and Finishing: Brush pastry edges with beaten egg to achieve a lustrous, golden-brown exterior during baking.
  5. Baking and Transformation: Arrange tarts on the prepared baking sheet and bake for 15-20 minutes until perfectly puffed and bronzed.
  6. Cooling and Garnishing: Allow tarts to cool briefly, optionally drizzling with powdered sugar glaze for added sweetness.
  7. Serving: Present cherry tarts warm or at room temperature, inviting guests to enjoy their flaky texture and fruity essence.

Notes

  • Optimize Pastry Handling: Roll puff pastry gently and minimally to maintain its delicate, flaky structure and prevent tough texture.
  • Control Moisture Levels: Use well-drained cherry filling to prevent soggy pastry bottoms and ensure crisp, golden-brown edges during baking.
  • Egg Wash Technique: Apply beaten egg sparingly with a light brush, focusing on pastry edges for an even, glossy golden-brown finish without excessive dripping.
  • Dietary Adaptation Options: Swap traditional puff pastry with gluten-free alternatives or use almond flour-based pastry for celiac or low-carb dietary needs, ensuring consistent texture and flavor profile.
  • Prep Time: 10 minutes
  • Cook Time: 20 minutes
  • Category: Desserts, Snacks
  • Method: Baking
  • Cuisine: American

Nutrition

  • Serving Size: 9
  • Calories: 210
  • Sugar: 12g
  • Sodium: 150mg
  • Fat: 10g
  • Saturated Fat: 4g
  • Unsaturated Fat: 5g
  • Trans Fat: 0g
  • Carbohydrates: 28g
  • Fiber: 1g
  • Protein: 3g
  • Cholesterol: 30mg
Jenna Hartley

Jenna Hartley

Founder & Recipe Creator

Expertise

  • Recipe development with a focus on single-dish meals.
  • Fusion of traditional and modern Australian cuisines.
  • Food styling and photography for digital platforms.​

Education

Box Hill Institute, Melbourne

  • Degree: Advanced Diploma of Hospitality Management
  • Focus: Specialized in practical food and beverage service, responsible alcohol and hygiene compliance, legal risk management, and hands‑on experience in a simulated restaurant environment.

William Angliss Institute, Melbourne

  • Program: Certificate IV in Patisserie
  • Focus: Specialized in pastry and bakery techniques, cookery and specialty food preparation, recipe planning and costing, commercial kitchen operations, sustainable and inclusive work practices, food safety and hygiene compliance, and workplace health and safety.

Jenna is the heart of Picture Perfect Meals, turning simple ingredients into beautiful, easy‑to‑make dishes. 

Growing up around family meals in Melbourne, she trained at Box Hill Institute and then perfected her pastry skills at William Angliss Institute. She loves mixing classic Australian flavors with fresh ideas to keep cooking fun and stress‑free.

Leave a Reply

Your email address will not be published. Required fields are marked *

Recipe rating 5 Stars 4 Stars 3 Stars 2 Stars 1 Star