Dreamy Red Velvet Cheesecake Brownies Recipe: Luxurious Treat
Decadent chocolate meets tangy cream cheese in these red velvet cheesecake brownies that promise pure indulgence.
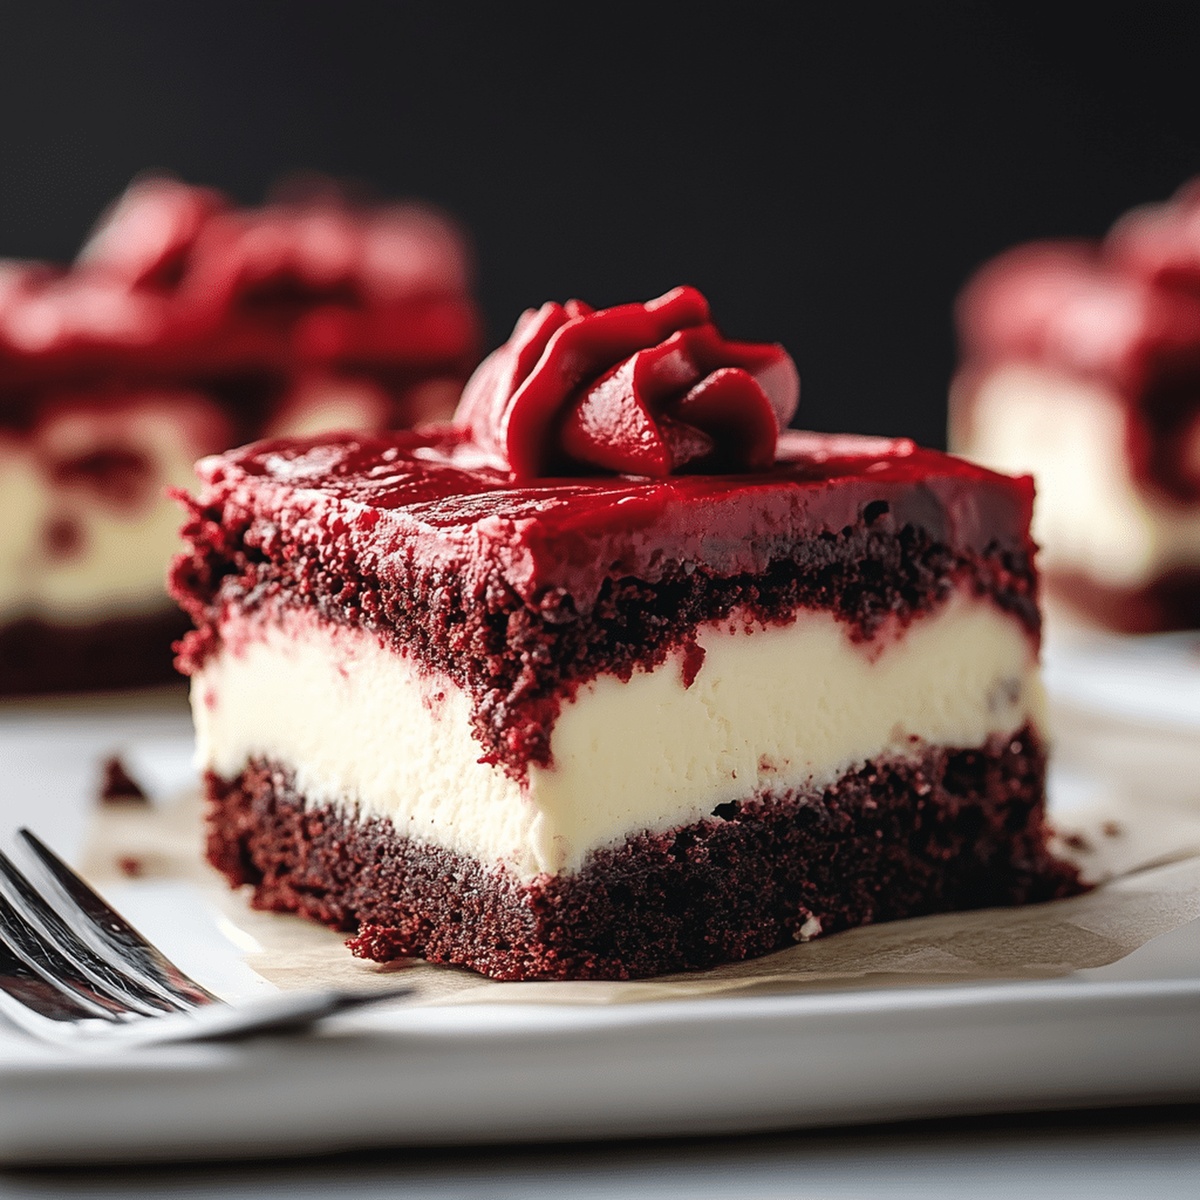
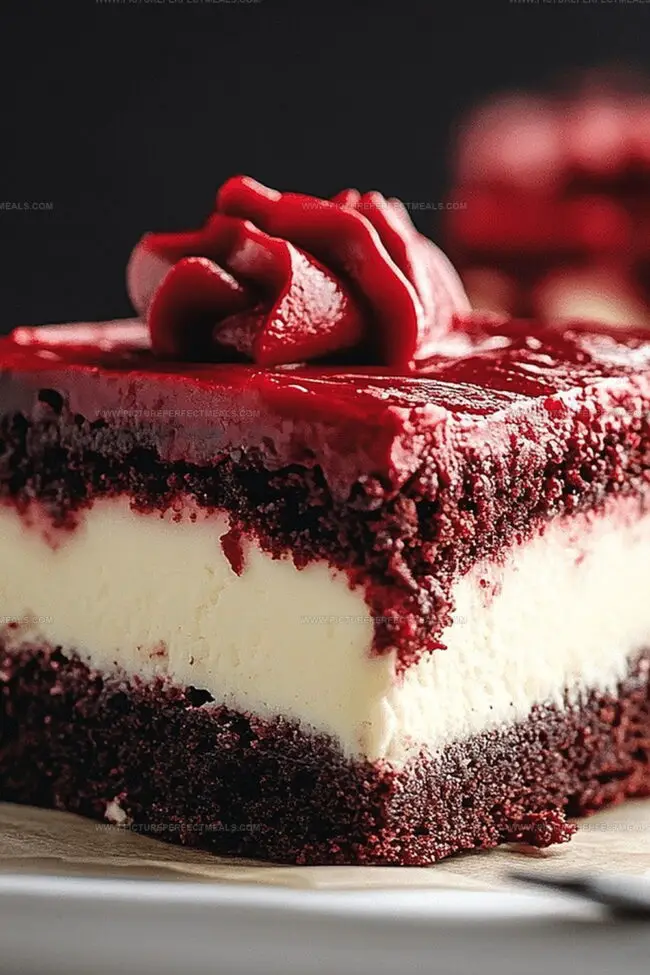
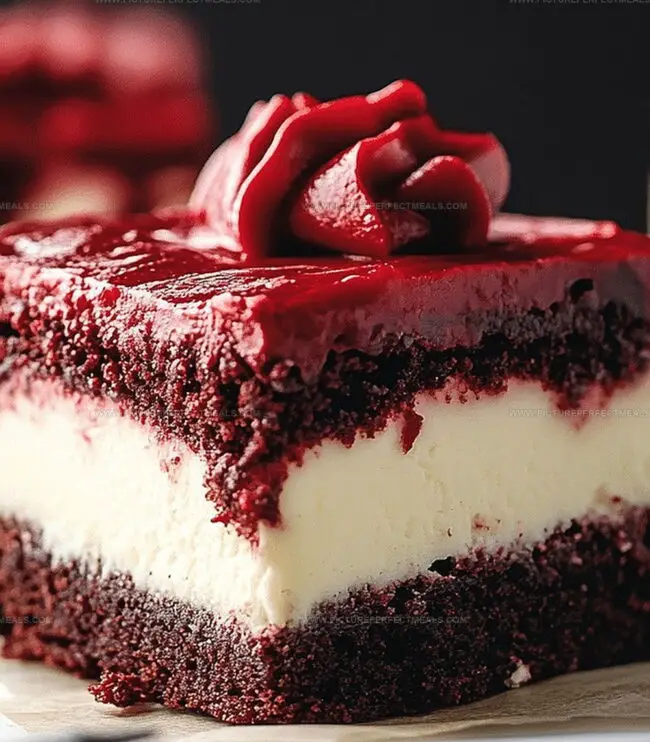
Swirls of cream cheese dance through rich red velvet batter, creating a stunning marbled effect.
Each bite offers a luxurious blend of smooth cheesecake and deep chocolate notes.
The contrast between the velvety layers makes these brownies a showstopping dessert for any occasion.
Creamy, fudgy, and irresistibly beautiful, they’ll become your new favorite treat.
Prepare to impress everyone with this stunning dessert that combines two beloved classics into one mouthwatering experience.
Quick Recipe Overview
Red Velvet Cheesecake Brownies Recipe Ingredient List
For Base and Structure:For Cheesecake Layer:For Color and Flavor Enhancement:Tools That Make Red Velvet Cheesecake Brownies
How to Bake Red Velvet Cheesecake Brownies Perfectly
Crank your oven to a toasty 350°F, getting it ready for some serious baking magic.
Grab your baking pan and line it with parchment paper, letting the edges hang over like a cozy blanket for easy brownie removal.
Mix together your brownie ingredients until they’re smooth and velvety, creating a rich chocolatey foundation that’ll make taste buds dance.
Beat your cheesecake mixture until it’s silky and light, preparing for the most incredible flavor mashup.
Pour the brownie batter into the pan, then dollop the cheesecake mixture on top. Use a knife to create mesmerizing swirls that’ll look like edible artwork.
Slide the pan into the preheated oven and let the magic happen. Bake until the edges are set but the center still has a gentle jiggle.
Once baked, let your masterpiece cool completely. Then lift it out using the parchment paper edges and slice into decadent squares of pure joy.
Brownie Variations to Try With This Recipe
Serve Red Velvet Cheesecake Brownies With Style
How to Store Red Velvet Cheesecake Brownies Properly
Print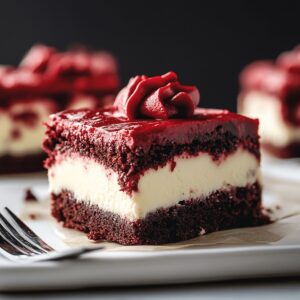
Velvety Red Velvet Cheesecake Brownies Recipe
- Total Time: 45 minutes
- Yield: 13 1x
Description
Red velvet cheesecake brownies blend rich chocolate and tangy cream cheese into an irresistible dessert. Chocolate lovers will savor each luxurious bite of this indulgent Southern-inspired treat.
Ingredients
- 8 oz (225 grams) cream cheese, softened
- ½ cup (1 stick or 113 grams) unsalted butter, melted
- 1 large egg
- 1 large egg yolk
- 1 tablespoon red food coloring
- ¾ cup (150 grams) granulated sugar
- ¼ cup (50 grams) brown sugar
- ¼ cup (50 grams) granulated sugar
- ¾ cup (90 grams) all-purpose flour
- ¼ cup (25 grams) unsweetened cocoa powder
- ½ teaspoon salt
- 1 teaspoon vanilla extract
- ½ teaspoon vanilla extract
- 1 teaspoon white vinegar
Instructions
- Preparation: Line an 8×8-inch baking pan with parchment paper, creating extended edges for effortless removal of the finished dessert.
- Oven Setup: Preheat the oven to 350°F (175°C), establishing the optimal baking environment for rich, decadent brownies.
- Brownie Base: Meticulously combine chocolate brownie batter, ensuring a smooth, homogeneous mixture that promises deep, indulgent flavor.
- Cheesecake Layer: Blend cream cheese mixture until luxuriously smooth, eliminating any potential lumps for a silky, consistent texture.
- Layering: Carefully spread the chocolate brownie batter across the prepared pan, creating an even, foundational layer for the dessert.
- Marbling Technique: Gently distribute cream cheese mixture over the chocolate base, using a swirling motion to create an artistic, mesmerizing pattern.
- Final Touch: Drag a knife or toothpick through the layers, intricately intertwining the red velvet cheesecake and chocolate elements to produce a visually stunning design.
- Baking Process: Bake until the edges firm up slightly while maintaining a subtle jiggle in the center, indicating perfect doneness.
- Cooling and Setting: Allow the dessert to cool completely at room temperature, enabling flavors to meld and the texture to stabilize for optimal enjoyment.
Notes
- Optimize Baking Temperature: Maintain exact 350°F to prevent overbaking or underbaking, which can compromise the brownie’s texture and moisture.
- Cream Cheese Technique: Ensure cream cheese is room temperature and smoothly whipped to avoid lumps, creating a silky, uniform cheesecake layer.
- Marbling Magic: Swirl gently and sparingly when combining layers to achieve beautiful, intricate patterns without overmixing.
- Storage Strategy: Cool completely before cutting, then store in an airtight container in the refrigerator for up to 5 days to preserve freshness and flavor integrity.
- Prep Time: 15 minutes
- Cook Time: 30 minutes
- Category: Desserts, Snacks
- Method: Baking
- Cuisine: American
Nutrition
- Serving Size: 13
- Calories: 213
- Sugar: 20 g
- Sodium: 90 mg
- Fat: 10 g
- Saturated Fat: 6 g
- Unsaturated Fat: 4 g
- Trans Fat: 0 g
- Carbohydrates: 28 g
- Fiber: 1 g
- Protein: 3 g
- Cholesterol: 45 mg
Jenna Hartley
Founder & Recipe Creator
Expertise
Education
Box Hill Institute, Melbourne
William Angliss Institute, Melbourne
Jenna is the heart of Picture Perfect Meals, turning simple ingredients into beautiful, easy‑to‑make dishes.
Growing up around family meals in Melbourne, she trained at Box Hill Institute and then perfected her pastry skills at William Angliss Institute. She loves mixing classic Australian flavors with fresh ideas to keep cooking fun and stress‑free.