Vibrant Tie Dye Cookies Recipe

Colorful Tie Dye Cookies Recipe: Bake a Rainbow Splash Today!

Baking colorful tie dye cookies brings pure joy to any kitchen.

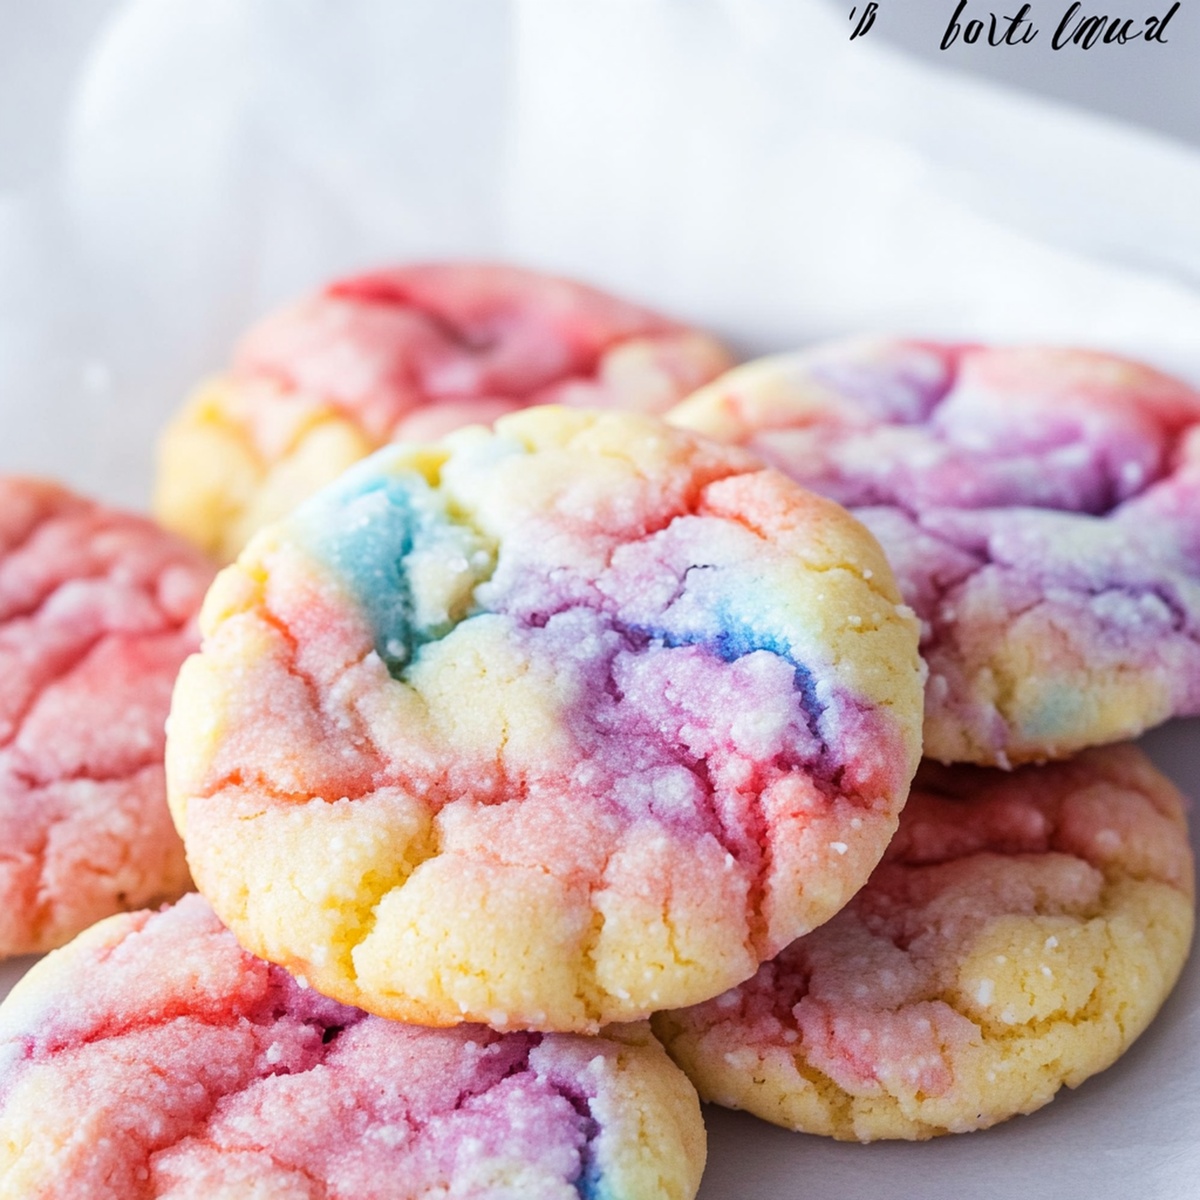
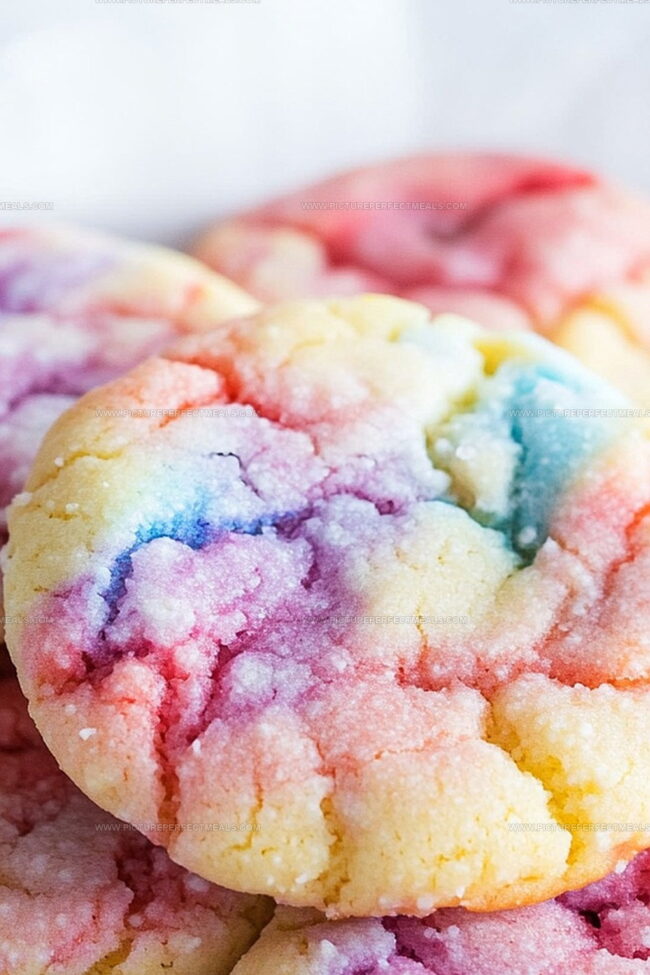
These whimsical tie dye cookies burst with playful swirls of bright, cheerful colors that delight both kids and adults.

Mixing simple ingredients creates a canvas of edible art that transforms ordinary sugar cookies into spectacular treats.

Each cookie becomes a unique masterpiece with swirling vibrant hues that dance across the surface.

The process is surprisingly easy and requires minimal special equipment.

You’ll love how these cookies become conversation starters at parties or family gatherings.

Grab your apron and prepare to unleash your inner creative baker with these stunning, eye-catching cookies.

Quick Recipe Overview

Prep Time: 20 minutes

Cook Time: 12 minutes

Total Time: 32 minutes

Calories: 192 kcal

Servings: 24

Tie Dye Cookies – Ingredient List

For Base Components:
  • All-Purpose Flour: Provides sturdy structure and tender crumb for cookies, selecting unbleached flour ensures better texture and flavor.
  • Baking Powder: Creates light, soft rise in cookies, always check expiration date for maximum leavening power.
  • Salt: Enhances overall sweetness and balances cookie flavors, use fine-grain table salt for even distribution.
For Sweet and Binding Ingredients:
  • Unsalted Butter: Delivers rich, creamy foundation, bring to room temperature for smooth mixing.
  • Granulated Sugar: Adds sweetness and helps cookies achieve golden edges, white refined sugar works best.
  • Egg: Binds ingredients and provides moisture, select fresh large eggs at room temperature.
  • Vanilla Extract: Deepens flavor complexity, pure vanilla offers more robust taste compared to artificial versions.
For Decorative Elements:
  • Gel Food Coloring: Creates vibrant, intense tie-dye effect without watering down dough, choose high-quality professional-grade colors.
  • Powdered Sugar: Produces silky smooth glaze, sift to remove lumps for perfect consistency.
  • Milk: Thins glaze and adds subtle richness, whole milk provides best texture.
  • Large mixing bowl: Perfect for combining dry and wet ingredients smoothly.
  • Medium mixing bowl: Ideal for whisking flour and dry ingredients.
  • Electric mixer or hand mixer: Essential for beating butter and sugar until fluffy.
  • Measuring cups and spoons: Precise measurements ensure cookie success.
  • Whisk: Great for blending dry ingredients evenly.
  • Baking sheets: Flat surface for baking colorful cookies.
  • Parchment paper: Prevents cookies from sticking and ensures easy cleanup.
  • Cookie cutters (optional): Helps create fun cookie shapes.
  • Wire cooling rack: Allows cookies to cool and crisp up perfectly.
  • Small bowls: Useful for dividing and coloring dough and glaze.
  • Spatula or wooden spoon: Helps mix ingredients and knead colored dough.

How to Bake Colorful Tie Dye Cookies

  • Whip Up the Cookie Base

Blend softened butter and sugar until airy and cloud-like. Add egg and vanilla, mixing smoothly. Fold in dry ingredients gently until a soft dough emerges.

  • Paint Your Dough with Color

Divide the dough into smaller sections and transform each with vibrant gel food colors. Knead carefully until colors blend seamlessly throughout each portion.

  • Create Swirling Masterpieces

Grab pinches of different colored doughs and press them together randomly. Roll into playful balls, then gently flatten to reveal stunning marbled patterns. Avoid overworking to keep the wild, unpredictable tie dye effect.

  • Bake Your Colorful Creations

Heat the oven to 350F. Arrange your kaleidoscope cookies on parchment-lined baking sheets, spacing them generously. Bake for 10-12 minutes until edges look set but not dark.

  • Add Optional Sparkle

Mix powdered sugar, milk, and vanilla into a silky glaze. Split into small bowls and add splashes of color. Drizzle or brush over cooled cookies for an extra pop of excitement.

Decorating Tips for Groovy Tie Dye Cookies

  • Tie-Dye Cookie Mastery: Pro Tips & Twists
  • Color Selection Magic: Choose gel food coloring for vibrant, intense colors that won't water down your cookie dough. Experiment with bright neon or pastel shades for unique tie-dye effects.
  • Dough Handling Hack: Keep your hands slightly damp when rolling cookies to prevent sticky dough and achieve smoother color blending. Chill dough for 15-30 minutes if it becomes too soft during mixing.
  • Vegan-Friendly Swap: Replace butter with coconut oil and use a flax egg instead of regular egg to create dairy-free and plant-based tie-dye cookies that taste just as delicious.
  • Gluten-Free Option: Substitute all-purpose flour with a gluten-free blend to make these cookies accessible for people with wheat sensitivities. Add a pinch of xanthan gum for better texture.
  • Flavor Adventure: Incorporate extracts like almond, lemon, or coconut into the dough for unexpected taste dimensions that complement the playful tie-dye appearance.

Serve Tie Dye Cookies at Parties or Picnics

  • Colorful Party Platter: Arrange tie dye cookies on a vibrant serving tray with contrasting colors to make each cookie pop. Group cookies of similar color schemes together for a stunning visual display that catches everyone's eye.
  • Sweet Celebration Centerpiece: Create a whimsical cookie tower by stacking different tie dye cookies in a playful, ascending pattern. Use a clear cake stand to showcase the rainbow-like color variations and make the dessert table more exciting.
  • Kid-Friendly Dessert Adventure: Pack these cookies in clear goodie bags with colorful ribbons for birthday parties or school events. Children will love the bright, swirled designs that look like magical art you can actually eat and share with friends.
  • Picnic Perfect Treat: Wrap individual cookies in wax paper or small parchment squares for easy outdoor snacking. These portable treats work great for summer picnics, park gatherings, or road trip munchies where fun and color are always welcome.

Store Tie Dye Cookies Without Losing Color or Crunch

  • Smart Cookie Storage: Keep freshly baked tie dye cookies in an airtight container at room temperature for 57 days. The sealed environment maintains their softness and prevents quick staleness.
  • Chilled Cookie Strategy: Refrigerate cookies in a sealed container for extended freshness. Layer between parchment paper sheets to prevent color bleeding and maintain individual cookie integrity.
  • Freezing Flavor Locks: Wrap individual cookies tightly in plastic wrap, then place in freezer-safe bags. Frozen cookies stay delicious for up to 3 months. Thaw at room temperature for 30 minutes before enjoying.
  • Colorful Batch Planning: Prepare cookie dough ahead and store unbaked colored sections in separate sealed containers within the refrigerator. Raw dough remains fresh for 23 days, allowing flexible baking schedules and spontaneous cookie creativity.
Print
clock clock iconcutlery cutlery iconflag flag iconfolder folder iconinstagram instagram iconpinterest pinterest iconfacebook facebook iconprint print iconsquares squares iconheart heart iconheart solid heart solid icon
Vibrant Tie Dye Cookies Recipe

Vibrant Tie Dye Cookies Recipe


5 Stars 4 Stars 3 Stars 2 Stars 1 Star

4.8 from 30 reviews

  • Total Time: 32 minutes
  • Yield: 25 1x

Description

Colorful tie dye cookies bring whimsical art to classic sugar cookie treats. Swirling rainbow hues create playful desserts perfect for parties and creative baking adventures you’ll remember.


Ingredients

Scale
  • 1 cup (227 g) unsalted butter, softened
  • 1 cup (200 g) granulated sugar
  • 1 large egg
  • 2 ¾ cups (660 ml) all-purpose flour
  • 1 tsp baking powder
  • ½ tsp salt
  • 1 tsp vanilla extract
  • Gel food coloring (assorted colors: red, blue, yellow, green, etc.)
  • 1 cup (120 g) powdered sugar
  • 2 ¾ tbsps (41 ml) milk
  • ½ tsp vanilla extract
  • Gel food coloring (optional for a colorful drizzle)

Instructions

  1. Prepare Dry Ingredients: Whisk flour, baking powder, and salt in a medium mixing vessel, ensuring a uniform blend that will provide structural integrity to the cookies.
  2. Cream Base: Vigorously blend butter and sugar in a spacious bowl until the mixture becomes light, fluffy, and dramatically increased in volume, creating a foundational texture for the cookies.
  3. Incorporate Wet Components: Introduce egg and vanilla extract, mixing thoroughly to create a cohesive, smooth foundation that binds all ingredients seamlessly.
  4. Form Colorful Dough: Gently fold dry ingredients into the wet mixture, then divide the dough into segments, massaging gel food coloring into each portion to create a vibrant palette of cookie segments.
  5. Create Marbled Design: Artfully layer and intertwine colored dough fragments, delicately swirling and pressing to generate a dynamic, tie dye-inspired pattern without overworking the dough.
  6. Shape and Prepare: Preheat oven to 350F (175C), line baking sheets with parchment paper, then roll and shape cookies, maintaining the intricate color swirls and leaving approximately two inches between each cookie.
  7. Bake to Perfection: Bake for 10-12 minutes, watching carefully to achieve golden edges while preserving the cookies’ soft, delicate interior and vibrant color pattern.
  8. Finish and Decorate: Cool cookies completely on a wire rack, then optionally create a complementary glaze by whisking powdered sugar, milk, and vanilla extract, adding additional food coloring for a final decorative touch.

Notes

  • Color Blending Technique: Gently mix dough colors to prevent over-mixing, which can muddle the vibrant tie-dye effect and create a dull appearance.
  • Temperature Control: Chill dough segments before combining to maintain distinct color boundaries and prevent colors from bleeding excessively.
  • Swirling Strategy: Use light, minimal touches when combining colored dough to preserve crisp color transitions and avoid creating a uniform color.
  • Glaze Application: Apply colored glaze sparingly and strategically to enhance the tie-dye design without overwhelming the cookie’s original pattern.
  • Prep Time: 20 minutes
  • Cook Time: 12 minutes
  • Category: Desserts, Snacks
  • Method: Baking
  • Cuisine: American

Nutrition

  • Serving Size: 25
  • Calories: 194
  • Sugar: 10 g
  • Sodium: 70 mg
  • Fat: 9 g
  • Saturated Fat: 5 g
  • Unsaturated Fat: 4 g
  • Trans Fat: 0 g
  • Carbohydrates: 27 g
  • Fiber: 0.5 g
  • Protein: 2 g
  • Cholesterol: 30 mg
Jenna Hartley

Jenna Hartley

Founder & Recipe Creator

Expertise

  • Recipe development with a focus on single-dish meals.
  • Fusion of traditional and modern Australian cuisines.
  • Food styling and photography for digital platforms.​

Education

Box Hill Institute, Melbourne

  • Degree: Advanced Diploma of Hospitality Management
  • Focus: Specialized in practical food and beverage service, responsible alcohol and hygiene compliance, legal risk management, and hands‑on experience in a simulated restaurant environment.

William Angliss Institute, Melbourne

  • Program: Certificate IV in Patisserie
  • Focus: Specialized in pastry and bakery techniques, cookery and specialty food preparation, recipe planning and costing, commercial kitchen operations, sustainable and inclusive work practices, food safety and hygiene compliance, and workplace health and safety.

Jenna is the heart of Picture Perfect Meals, turning simple ingredients into beautiful, easy‑to‑make dishes. 

Growing up around family meals in Melbourne, she trained at Box Hill Institute and then perfected her pastry skills at William Angliss Institute. She loves mixing classic Australian flavors with fresh ideas to keep cooking fun and stress‑free.

Leave a Reply

Your email address will not be published. Required fields are marked *

Recipe rating 5 Stars 4 Stars 3 Stars 2 Stars 1 Star