Wicked Poison Apples Recipe

Bewitchingly Sinister Wicked Poison Apples Recipe for Halloween

Sink your teeth into a spine-chilling delight with these wickedly delicious poison apples that blend Halloween magic with irresistible sweetness.

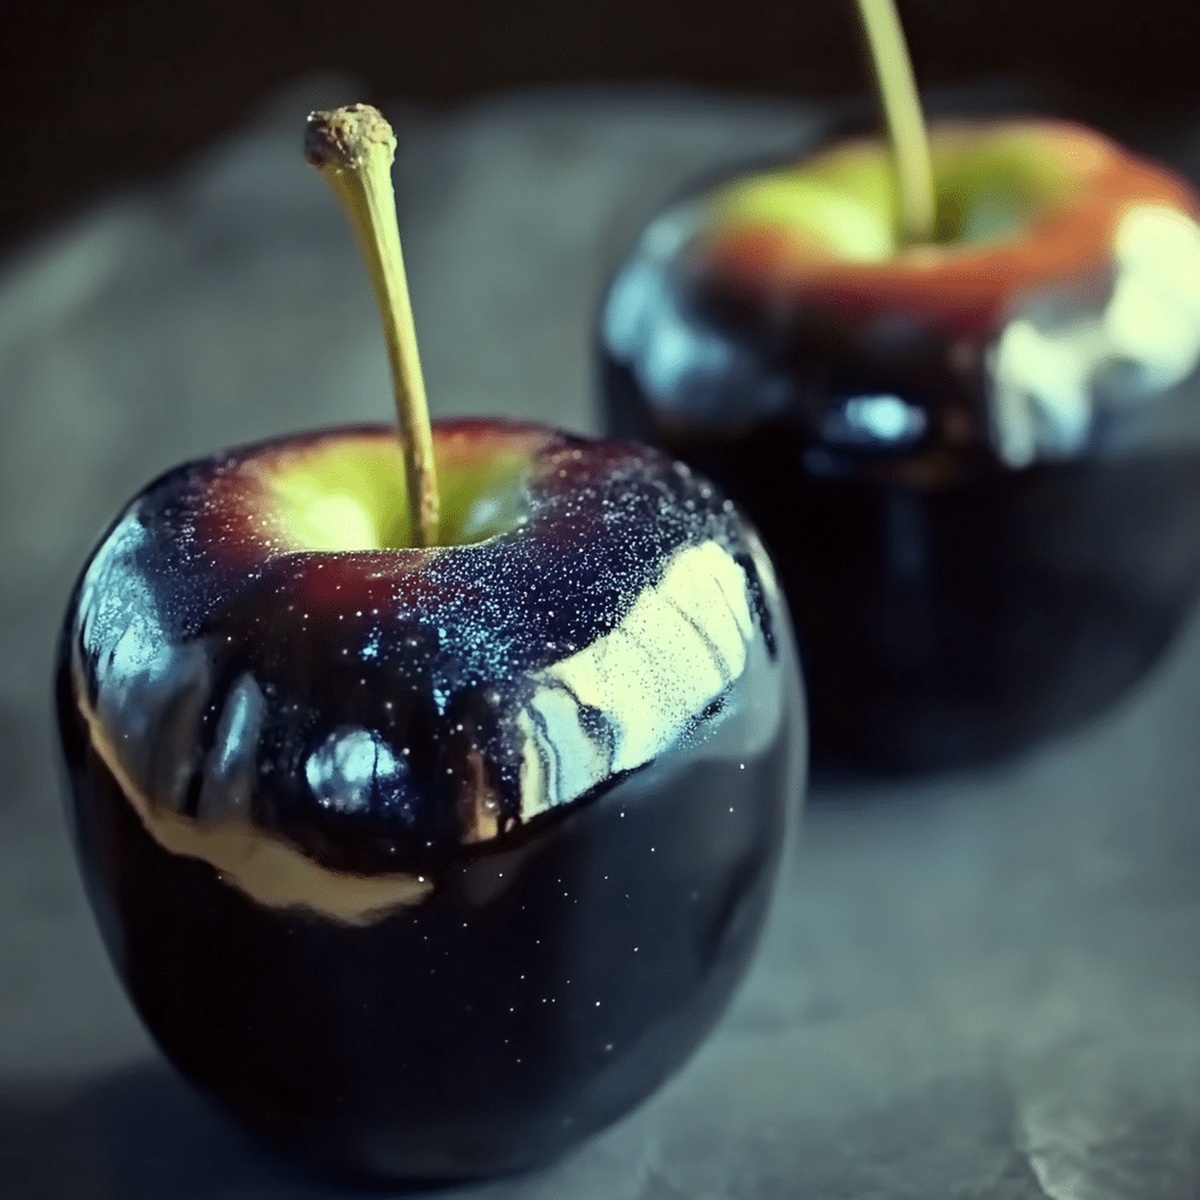
Dark crimson candy coating transforms ordinary apples into a mesmerizing treat that catches every eye at the party.

These sinister snacks combine deep red glossy shells with crisp apple interiors for a dramatic dessert experience.

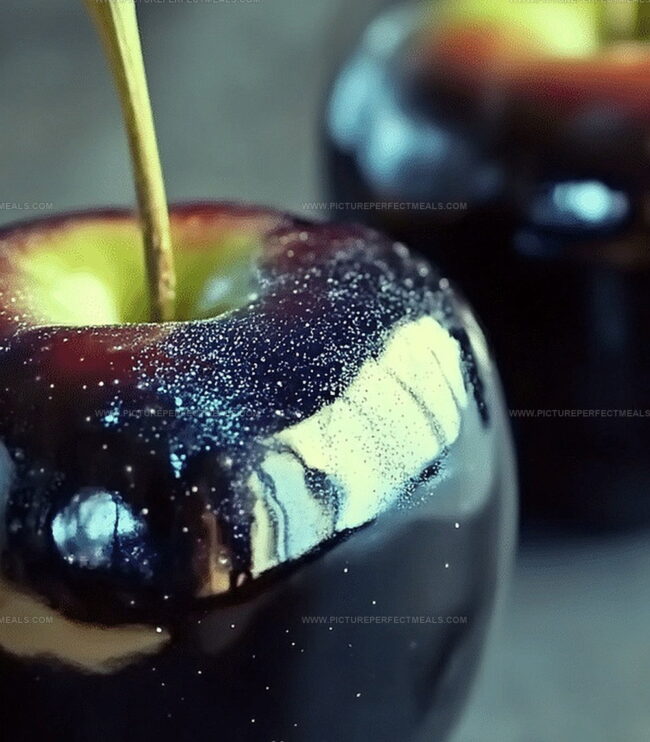
Sharp candy shells crack beautifully when you bite, revealing fresh fruit underneath.

Each apple becomes a stunning centerpiece that looks almost too gorgeous to eat.

Bold, dramatic, and deliciously wicked, these poison apples will be the star of any spooky celebration.

Prepare to enchant and delight your guests with this hauntingly beautiful Halloween classic.

Quick Recipe Overview

Prep Time: 10 minutes

Cook Time: 15 minutes

Total Time: 25 minutes

Calories: 250 kcal

Servings: 6

What You Need for Wicked Poison Apples

For Preparation:
  • Apples: Choose crisp, firm apples with smooth skin for perfect candy coating adherence.
  • Wooden Sticks: Select sturdy wooden skewers or craft sticks that will securely hold the apple.
For Candy Coating Base:
  • Granulated Sugar: Provides sweet crystalline structure and glossy finish to the candy shell.
  • Corn Syrup: Prevents sugar crystallization and creates smooth, glossy coating.
  • Water: Helps dissolve sugar and create initial syrup consistency.
  • White Vinegar: Stabilizes sugar mixture and prevents premature crystallization.
For Color and Flavor:
  • Red Food Coloring: Creates vibrant, deep crimson appearance mimicking classic poison apple aesthetic.
  • Black Food Coloring: Adds dark, dramatic undertone for enhanced visual appeal.
  • Vanilla Extract: Provides subtle background flavor and enhances overall sweetness.
  • Cinnamon Extract (Optional): Adds warm, spicy undertone to complement apple's natural flavor.
For Decorative Finishing:
  • Edible Glitter (Optional): Adds magical shimmer and enchanting touch to final presentation.
  • Black Sprinkles (Optional): Creates textural contrast and increases visual drama.

Tools to Craft Poison Apples for Halloween or Beyond

  • Large Pot: Essential for melting sugar and creating the glossy candy coating.
  • Wooden Spoon: Perfect for stirring the hot sugar mixture without scratching the pot.
  • Wooden Sticks: Used to insert into apple tops for easy handling and serving.
  • Candy Thermometer: Helps monitor sugar temperature for the perfect candy coating.
  • Baking Sheet: Lined with parchment paper for cooling and setting the coated apples.
  • Sharp Knife: Useful for cutting parchment paper and preparing workspace.
  • Measuring Cups and Spoons: Ensures precise ingredient measurements for the candy coating.

Poison Apples: Make Them Step-by-Step

  • Prepare Apples

Thoroughly scrub each apple under steaming hot water to eliminate waxy residue. Pat them completely dry with a clean kitchen towel to ensure a perfect candy coating.

  • Insert Sticks

Carefully push a sturdy wooden stick into the top center of each apple, making sure it’s secure and stable.

  • Create Candy Coating

In a heavy-bottomed saucepan, combine sugar, water, and corn syrup. Heat the mixture over medium-high heat, stirring gently until sugar dissolves completely.

  • Monitor Temperature

Use a candy thermometer to track the temperature. Without stirring, allow the syrup to reach exactly 300 degrees Fahrenheit, which creates a hard crack stage.

  • Add Color and Flavor

Remove the hot syrup from heat and quickly stir in food coloring and any desired flavoring. Work swiftly to prevent crystallization.

  • Dip Apples

Hold each apple by the stick and carefully dunk it into the molten candy coating. Twirl gently to ensure even coverage, letting excess drip off.

  • Cool and Set

Place dipped apples on a silicone mat or parchment paper. Allow them to cool and harden at room temperature for about 30 minutes.

  • Decorate Optional

Drizzle with additional melted chocolate or sprinkle with decorative toppings if desired.

Fun Variations for Poison Apples With a Twist

  • Perfect Coating Technique: Dip apples quickly and smoothly into the hot sugar mixture, twirling to ensure an even, glossy red candy shell without creating air bubbles.
  • Make-Ahead Magic: Prepare poison apples up to 2 days in advance, storing them in a cool, dry place covered loosely with wax paper to maintain their crisp candy coating.
  • Diet-Friendly Swaps: Use sugar-free candy coating for diabetic-friendly versions or swap traditional red food coloring with natural beet or pomegranate juice for a healthier alternative.
  • Halloween Flavor Twists: Experiment with different food colorings like black or purple for spooky variations, or sprinkle crushed nuts, edible glitter, or mini chocolate chips around the candy coating for extra texture and visual appeal.
  • Storage Secrets: Keep poison apples at room temperature for best taste and texture, avoiding refrigeration which can cause the candy coating to become sticky or lose its glossy finish.

Presenting Poison Apples With Spooky Style

  • Spooky Halloween Centerpiece: Create a dramatic dessert display by arranging poison apples on a black cake stand, surrounded by fake spider webs and dim lighting for maximum haunting effect.
  • Ghoulish Serving Platter: Use a dark slate or black ceramic plate to showcase the glossy red candy coating, creating a stark contrast that makes the apples look even more wickedly delicious.
  • Costume Party Companion: Serve these poison apples as a themed treat at Halloween gatherings, letting guests enjoy a nostalgic twist on the classic candied apple that perfectly matches spooky costumes and decorations.
  • Party Favor Delight: Wrap individual poison apples in clear cellophane with a black ribbon, creating take-home treats that double as memorable Halloween party souvenirs for guests to enjoy later.

Keep Poison Apples Fresh and Crunchy

  • Chill and Shield: Store poison apples in the refrigerator, covering them loosely with plastic wrap to maintain their glossy coating and prevent sticky surfaces from touching each other.
  • Sweet Separation Strategy: Place wax paper between each apple when stacking to prevent them from sticking together and protect their beautiful candy shell.
  • Freshness Window: Consume these delightful treats within 24-48 hours for the best taste and texture, as the candy coating can start to soften or become less crisp over time.
  • Temperature Tip: Keep poison apples in a cool environment around 40-45°F to maintain their stunning appearance and prevent the candy coating from becoming too soft or melting.
Print
clock clock iconcutlery cutlery iconflag flag iconfolder folder iconinstagram instagram iconpinterest pinterest iconfacebook facebook iconprint print iconsquares squares iconheart heart iconheart solid heart solid icon
Wicked Poison Apples Recipe

Wicked Poison Apples Recipe


5 Stars 4 Stars 3 Stars 2 Stars 1 Star

4.7 from 34 reviews

  • Total Time: 25 minutes
  • Yield: 7 1x

Description

Sinister poison apples from gothic folklore evoke dark culinary magic for Halloween celebrations. Crimson-glazed treats with glossy black caramel coating deliver delightful wickedness you can savor with macabre delight.


Ingredients

Scale
  • 6 Granny Smith or Honeycrisp apples
  • 6 wooden or lollipop sticks
  • 2 cups (474 ml) granulated sugar
  • ½ cup (118 ml) light corn syrup
  • ¾ cup (177 ml) water
  • ½ teaspoon black gel food coloring
  • 1 teaspoon vanilla extract
  • ½ teaspoon white vinegar

Instructions

  1. Preparation: Thoroughly wash apples under hot water to remove waxy coating, then completely dry with clean kitchen towels to ensure optimal sugar syrup adhesion.
  2. Skewering: Insert sturdy wooden skewers or craft sticks firmly into apple stems, creating secure handles for dipping and maneuvering.
  3. Setup: Line a baking sheet with parchment paper and prepare a heavy-bottomed saucepan with a calibrated candy thermometer for precise sugar syrup creation.
  4. Sugar Syrup Crafting: Heat sugar mixture carefully, monitoring temperature until it reaches a rich amber hue with a glossy, smooth consistency and develops a deep, caramel-like texture.
  5. Dipping Technique: Remove sugar syrup from heat, tilting the pan to create a deep pool, then rapidly rotate each apple to achieve a complete, even coating from apex to base, allowing excess to elegantly drip off.
  6. Cooling Process: Carefully place sugar-coated apples on prepared parchment sheet, allowing the crystalline shell to harden naturally at room temperature for approximately 20-30 minutes until the surface becomes completely firm and glossy.

Notes

  • Clean Apples Thoroughly: Wash apples under hot water to remove waxy coating, ensuring perfect candy adhesion and a clean surface.
  • Dry Completely: Use clean kitchen towels to absorb all moisture, preventing sugar syrup from becoming runny or separating.
  • Choose Right Skewers: Select sturdy wooden sticks or craft skewers that can securely hold apple’s weight without breaking during dipping.
  • Temperature Precision: Use a candy thermometer to monitor sugar syrup’s exact temperature, avoiding burning or undercooking which can ruin the glossy finish.
  • Prep Time: 10 minutes
  • Cook Time: 15 minutes
  • Category: Desserts, Snacks
  • Method: None
  • Cuisine: American

Nutrition

  • Serving Size: 7
  • Calories: 342
  • Sugar: 49 g
  • Sodium: 0 mg
  • Fat: 0 g
  • Saturated Fat: 0 g
  • Unsaturated Fat: 0 g
  • Trans Fat: 0 g
  • Carbohydrates: 87 g
  • Fiber: 4 g
  • Protein: 1 g
  • Cholesterol: 0 mg
Jenna Hartley

Jenna Hartley

Founder & Recipe Creator

Expertise

  • Recipe development with a focus on single-dish meals.
  • Fusion of traditional and modern Australian cuisines.
  • Food styling and photography for digital platforms.​

Education

Box Hill Institute, Melbourne

  • Degree: Advanced Diploma of Hospitality Management
  • Focus: Specialized in practical food and beverage service, responsible alcohol and hygiene compliance, legal risk management, and hands‑on experience in a simulated restaurant environment.

William Angliss Institute, Melbourne

  • Program: Certificate IV in Patisserie
  • Focus: Specialized in pastry and bakery techniques, cookery and specialty food preparation, recipe planning and costing, commercial kitchen operations, sustainable and inclusive work practices, food safety and hygiene compliance, and workplace health and safety.

Jenna is the heart of Picture Perfect Meals, turning simple ingredients into beautiful, easy‑to‑make dishes. 

Growing up around family meals in Melbourne, she trained at Box Hill Institute and then perfected her pastry skills at William Angliss Institute. She loves mixing classic Australian flavors with fresh ideas to keep cooking fun and stress‑free.

Leave a Reply

Your email address will not be published. Required fields are marked *

Recipe rating 5 Stars 4 Stars 3 Stars 2 Stars 1 Star